
Cabinets take up more visual space in a kitchen than almost anything else. Counters, backsplash, and floor all matter, but the cabinet fronts set the tone, and when they look tired, the whole room reads as dated even if everything else has been updated. Replacing them is one option. Refinishing, repainting, or refacing what you already own is another, and it usually asks far less of your budget and your daily routine. What follows is a practical look at the ideas Denver homeowners gravitate toward, the prep that makes those ideas last, and the realistic sequence of a refinishing project.
Start With the Look You Actually Want to Live With
Most refinishing decisions come down to two questions: how light or dark do you want the room to feel, and how much contrast do you want between uppers and lowers? Homeowners swapping ideas in design forums tend to circle the same handful of directions. Glossy white is the perennial favorite because it bounces light and rarely fights with anything else in the room. Shiny black lower cabinets paired with something lighter above show up often as a way to add weight without making a small kitchen feel closed in. Medium to dark green paired with copper accents is another recurring combination that reads warmer and more collected than plain white.
The trick is choosing a direction that fits the bones of your kitchen. A galley layout with one small window behaves differently than an open plan that borrows light from a living room. Before committing, look at your cabinets at three different times of day. North facing kitchens in particular can pull blue out of a paint color that looked perfectly neutral in the store.
Color and Finish Ideas Worth Considering
Bright whites and soft off-whites
White remains the safest resale choice and the easiest to live with long term. A sprayed white finish with a low sheen looks cleaner and more factory made than a thick, high gloss application, and it hides the small imperfections that accumulate on cabinet doors over years of use. Pair it with a warm wood floor and you get contrast without effort.
Charcoal and near-black
Charcoal has become a mainstream choice rather than a bold one. One widely shared refinishing project used charcoal paint on the cabinet bodies with stained brass hardware, and the combination delivers a high-end look without a full remodel. Dark colors show dust and fingerprints more readily than white, so a satin or semi-gloss sheen helps. If your kitchen is short on natural light, consider charcoal on an island or lower cabinets only.
Two-tone layouts
Two-tone kitchens let you keep the room bright while adding interest at eye level. The common approach is a lighter color on the upper cabinets and a deeper color below, which grounds the room visually and makes ceilings feel higher. This also gives you a way to test a bolder color without committing the entire kitchen to it.
Deep green with warm metal
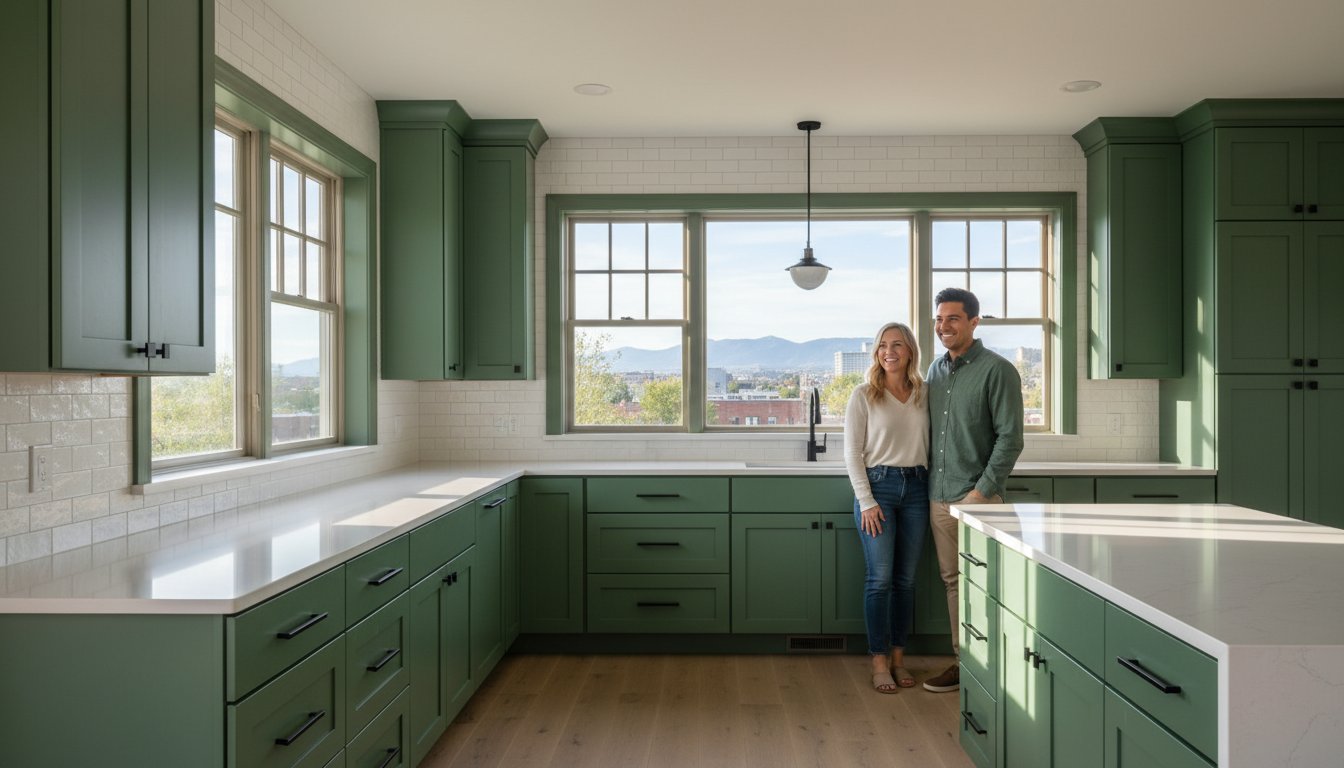
Medium and dark greens continue to show up in homeowner conversations, often alongside copper or brass hardware and warm wood tones. Green reads as a considered choice rather than a trend when the undertone matches the rest of the room. Samples painted on an actual cabinet door, not a wall, are the only reliable way to judge it.
Refinishing, Refacing, or Painting: What Each One Involves
These terms get used interchangeably, but they describe different amounts of work. Knowing which one you are asking for keeps estimates comparable.
| Approach | What the work typically involves |
|---|---|
| Painting | Cleaning and scuffing the existing surfaces, filling dings and cracks, then applying a new color over the current finish. |
| Refinishing or staining | Restoring the surface and applying a stain or clear finish, which keeps a wood grain look rather than covering it. |
| Refacing | Applying a wood veneer or new door and drawer fronts over the existing cabinet boxes, often with plywood used to build up surfaces that need it. |
Refacing sits closest to replacement in appearance because it changes the actual door surface, while painting and refinishing keep your existing doors and change what is on them. Refinishing and staining preserve the grain. Painting covers it. Each one has a place, and the right answer depends on how much of the original wood character you want to keep.
Prep Work Determines Whether the Finish Lasts
Almost every disappointing cabinet paint job traces back to prep, not product. Doors and drawer fronts need to be cleaned of the grease film that builds up invisibly in a working kitchen, because paint will not bond to oil. Dents, dents, cracks, and old hardware holes get filled and sanded smooth. One widely shared refinishing project went through two tubs of wood filler for a single kitchen, which gives you a sense of how much patching an older set of cabinets can need.
Sanding is the traditional step, though newer products allow for a lighter scuff and degloss instead of full sanding. Either way, the goal is a surface with enough tooth for the finish to grab. Skipping that step is the fastest route to peeling edges a year or two down the line.
Sprayed Finish Versus Brush and Roller
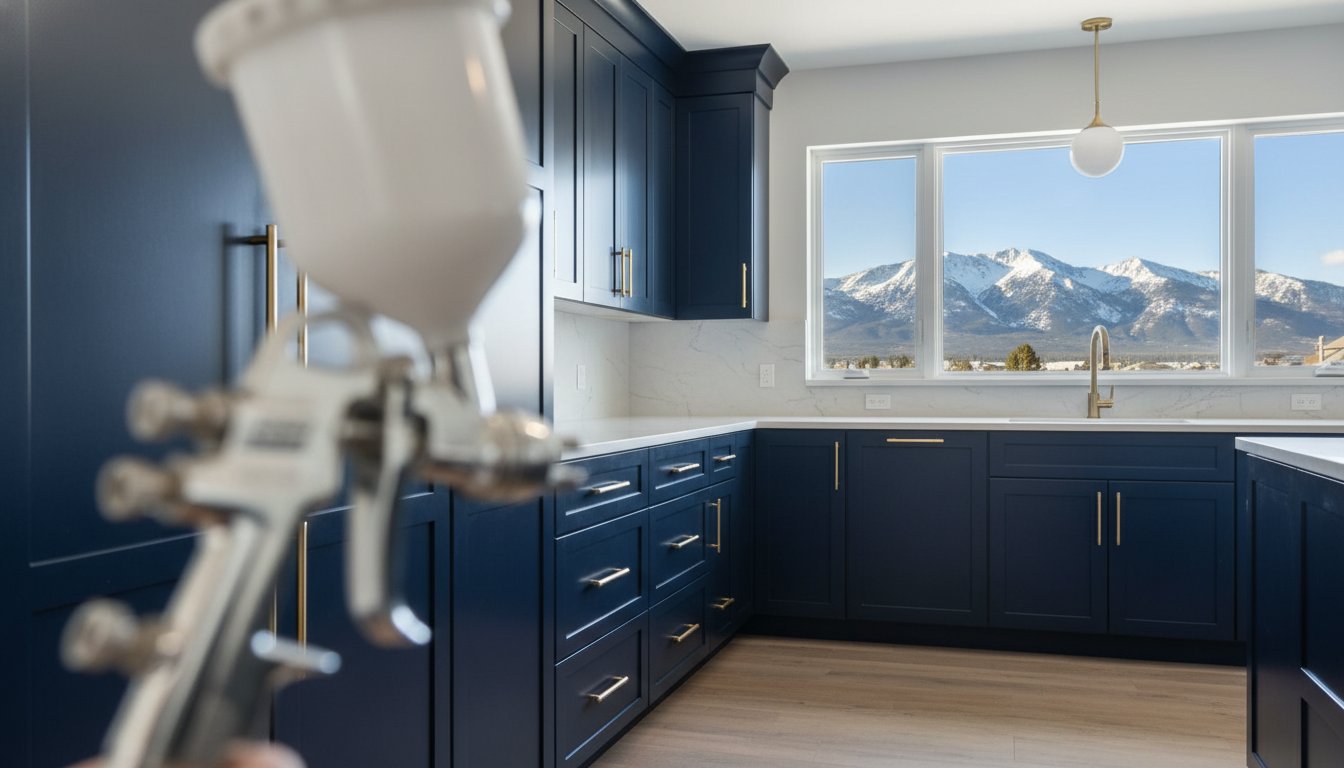
How the finish goes on matters as much as what goes on. Brushing and rolling can produce a good result in careful hands, but it tends to leave visible texture and brush marks, especially on flat slab or shaker doors. A sprayed finish lays down more evenly and produces the smooth, factory grade surface most homeowners picture when they imagine new cabinets. Hardware holes, panel edges, and the inside of door frames are all easier to coat evenly with a sprayer. If a smooth, uniform look is the goal, ask any contractor you speak with how they apply the finish and whether spraying is part of their standard process.
DIY or Hire a Denver Crew?
DIY refinishing is genuinely achievable. The project that used charcoal paint and stained brass hardware came in around $200 in materials, which is a fraction of what replacement would cost. That number covers supplies, not the value of a homeowner’s weekends, and it does not include the cost of mistakes that show up later. Before going the DIY route, be honest about three things: whether you can work in a well ventilated space, whether you have somewhere to lay out and dry every door and drawer front, and whether you are comfortable with the finish on your largest cabinet face being your first attempt.
Hiring a local crew shifts the risk. Cabinet Painting Denver works across the Denver metro area, including neighborhoods like Arvada, LoHi, RiNo, Cherry Creek, and Park Hill, along with nearby cities such as Aurora and Lakewood. The service includes free estimates and on-site consultations, scratch and damage repair, and a factory grade sprayed finish backed by a three-year workmanship warranty. That warranty is the practical difference between a project you finish and a finish you have recourse against.
The Sequence of a Professional Refinishing Project
Knowing the order of operations makes the disruption easier to plan around. It generally moves through an on-site consultation and estimate, a color and finish decision, removal and labeling of doors and drawer fronts, cleaning and repair, a sprayed application, a curing period, and reinstallation with a final walkthrough. Doors cannot go back on the moment they are sprayed, so plan for your kitchen to be partially out of service during that window. Emptying upper cabinets ahead of time and keeping everyday dishes, coffee gear, and a few pans within reach in another room makes the stretch far more tolerable.

Small Changes That Shift the Whole Room
Hardware is the highest return change per dollar in most refinishing budgets. Stained brass against charcoal, copper against deep green, or matte black against white all change the personality of the same cabinet color. New hardware also means you can fill and re-drill old holes during prep rather than working around a pattern you never liked.
If your doors are structurally sound but the finish is worn, a refresh that restores the door surface without heavy sanding can bring them back. If the door style itself is the problem, refacing with a wood veneer or new fronts changes the look more dramatically while leaving the boxes in place. And if you simply want the room to feel lighter, a two-tone layout with white uppers delivers most of the effect of a full remodel.
Frequently Asked Questions
How long does cabinet refinishing take?
Timelines depend on the number of doors and drawers, the amount of repair needed, and the cure time for the finish. A typical project spans several days rather than a single afternoon, with doors off the frames for part of that stretch. Ask your contractor for a written schedule during the estimate so you can plan meals and dish storage around it.
Do I need to empty my kitchen first?
Plan on clearing the cabinets being refinished and moving countertop items out of the work zone. Appliances usually stay in place, but the crew needs room to work and to cure doors without knocking into things. Staging dishes, small appliances, and pantry staples in another room before work begins prevents a scramble on day one.
Can refinishing fix damaged or outdated doors?
Many forms of damage, including scratches, dents, cracks, and old hardware holes, can be filled and sanded as part of the prep work before a new finish goes on. Deep structural damage or warped doors may need replacement instead. If the door style itself is dated, refacing with new fronts or a wood veneer changes the look more than paint alone.
Is refinishing cheaper than replacing cabinets?
Refinishing is positioned as a lower-cost alternative to cabinet replacement because you keep the existing boxes and change only the finish or the fronts. Actual savings depend on your cabinet count, condition, and chosen finish. A DIY refinished project can come in around a couple hundred dollars in materials, while professional work adds labor, equipment, and warranty coverage to that figure.