Touching up a painted cabinet with standard wall paint often creates an eyesore far worse than the original mark. Strong kitchen lighting exposes sheen differences immediately, leaving you with a distracting, cloudy patch on your woodwork. Learning how to repair scratches on painted cabinets cleanly requires diagnosing the exact damage depth before applying any product to the finish.
It’s frustrating to invest time into a repair only to see uneven brush strokes or flashing spots every time the sun hits the room. You shouldn’t have to risk stripping your cabinet’s smooth finish or worsening surface damage through aggressive sanding. You will learn how to assess whether a blemish needs simple burnishing or wood filler, select the correct enamel blending tools, and restore your surfaces without leaving visible edges.
This guide walks through the essential prep work, filler application, and color-matching steps needed for seamless DIY results, while outlining the clear threshold where heavy door damage calls for professional off-site spray finishing.
Key Takeaways
- Inspect damage depth under angled light to determine whether your surface requires simple enamel blending or structural wood filler.
- Master how to repair scratches on painted cabinets by degreasing the area, feathering the edges, and applying thin coats to avoid visible brush marks.
- Prevent flashing and uneven light reflection by precisely matching your coating product, cure stage, and application sheen.
- Identify when widespread coating failure, substrate moisture damage, or extensive chipping requires off-site spray services rather than manual spot repairs.
Diagnosing Cabinet Damage: Surface Scuffs vs. Deep Gouges
Every successful cabinet restoration starts with an accurate physical assessment. Before you reach for sandpaper, wood filler, or a brush, determine the exact depth of the defect. Applying paint over an unassessed blemish often highlights the imperfection instead of hiding it. Position a bright, portable light at an acute angle across the cabinet face. Raking light casts hard shadows inside depressions, immediately revealing whether you are dealing with a superficial topcoat abrasion or a structural void.
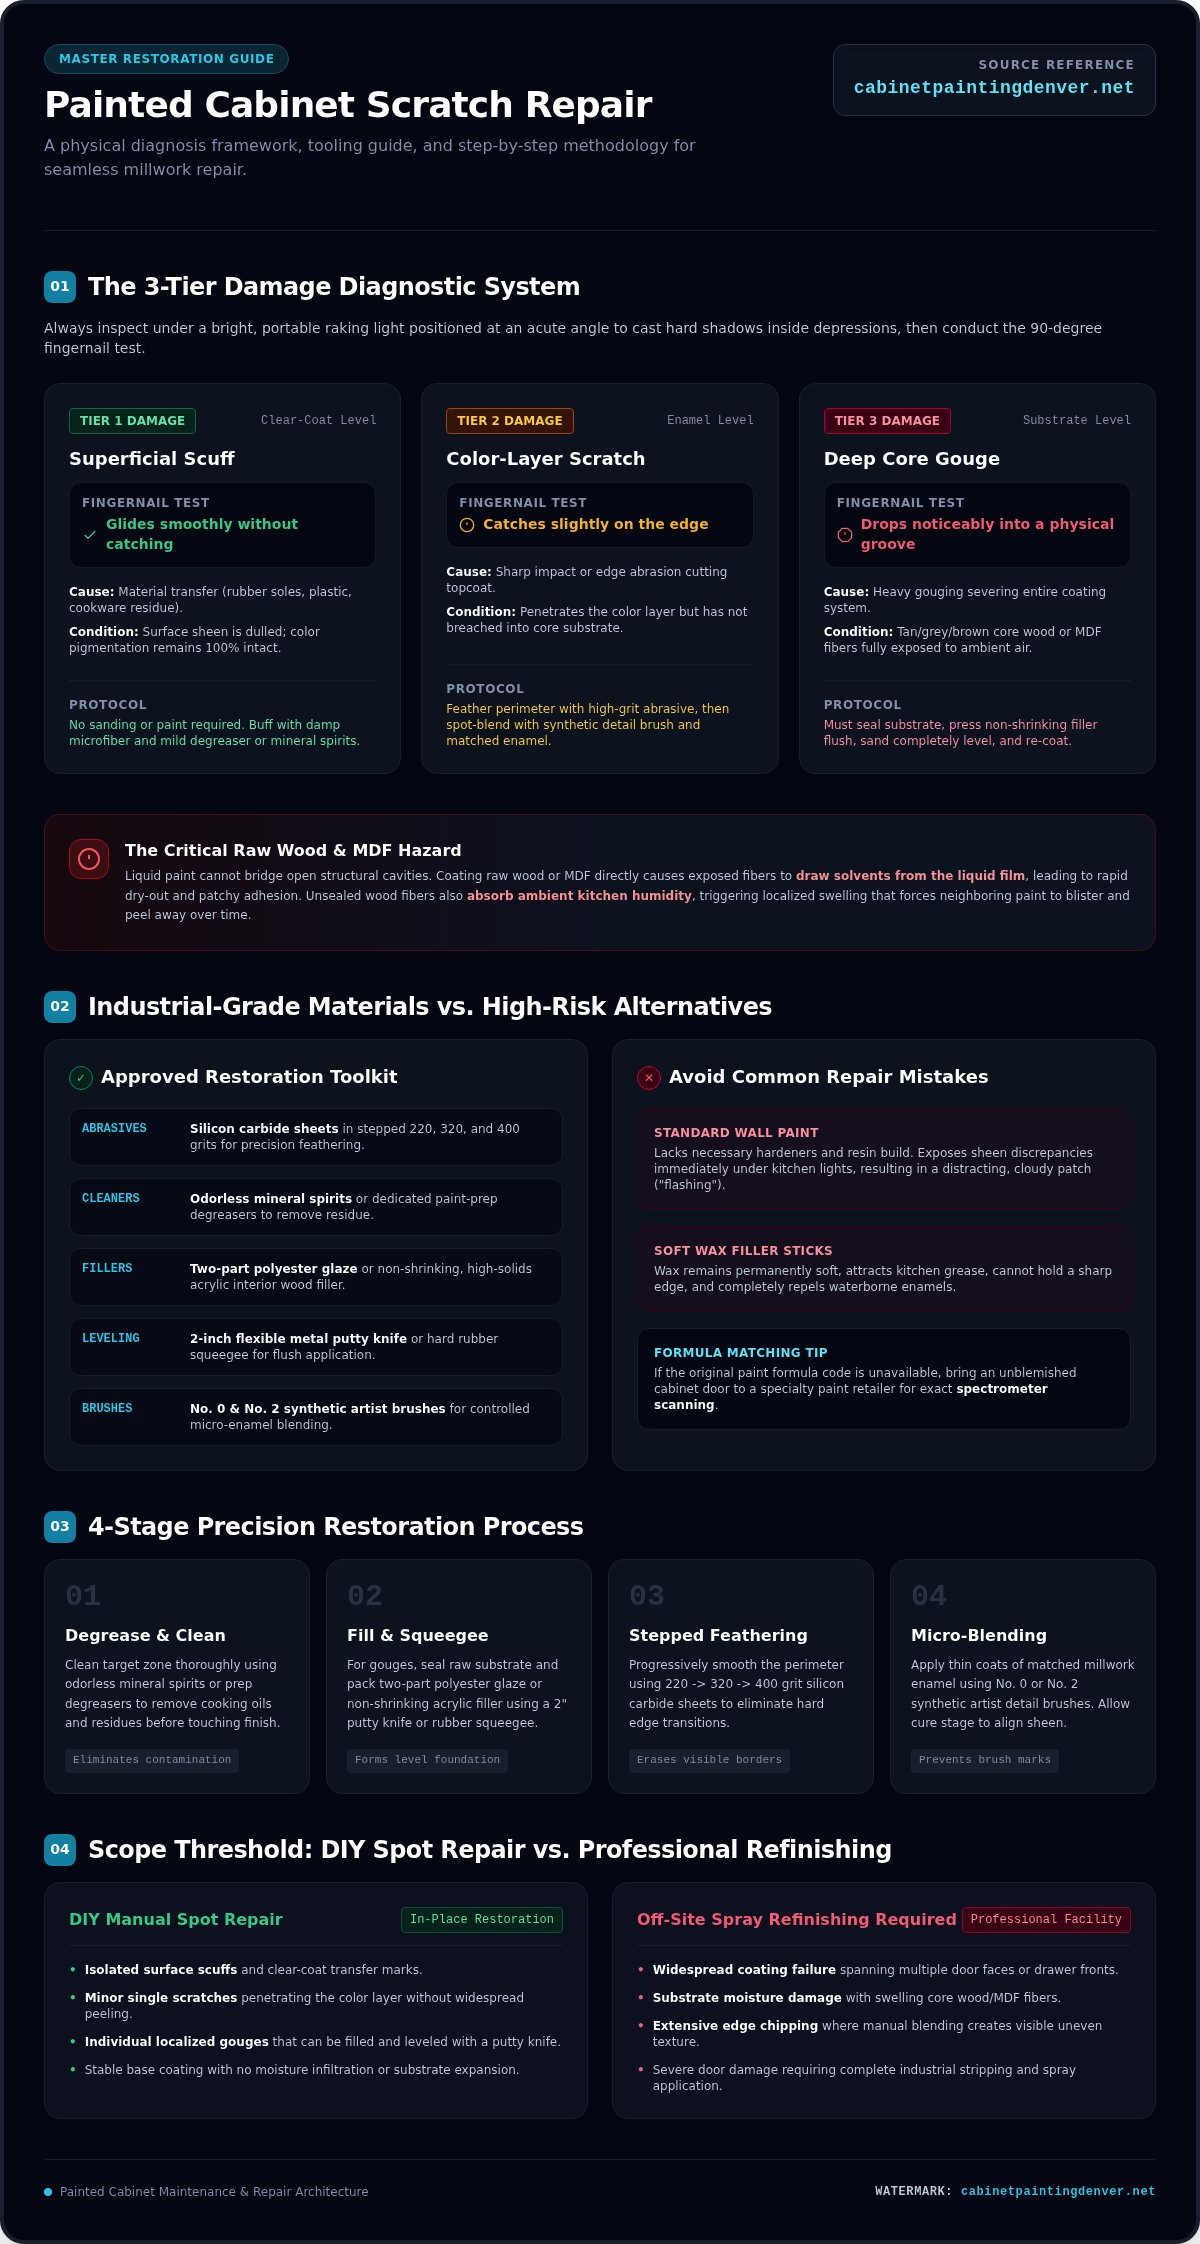
Perform a manual fingernail test across the defect. Draw your nail lightly over the mark at a 90-degree angle. If your nail glides smoothly over the surface without catching, the damage is restricted to the clear protective topcoat. If your nail catches slightly, the mark penetrates the color layer. When the nail drops noticeably into a physical groove, the defect reaches down into the underlying wood core. Mastering how to repair scratches on painted cabinets requires matching your repair steps directly to these three distinct tiers of damage.
To see this diagnostic assessment performed on finished millwork, watch this helpful video demonstration:
Identifying Surface Scuffs and Clear-Coat Marks
Surface scuffs frequently represent material transfer rather than paint loss. Rubber shoe soles, plastic toys, or cookware sliding across lower rails leave residue directly on top of the protective film. These marks dull the local sheen without stripping pigmentation. Understanding the layered structure of the standard wood finishing process clarifies why abrasive sanding is unnecessary here; you only need to clean the surface. Buffing the spot gently with a damp microfiber cloth and a mild degreaser or mineral spirits lifts the deposit, restoring the original sheen without touching up the paint.
Assessing Deep Gouges That Expose Bare Wood
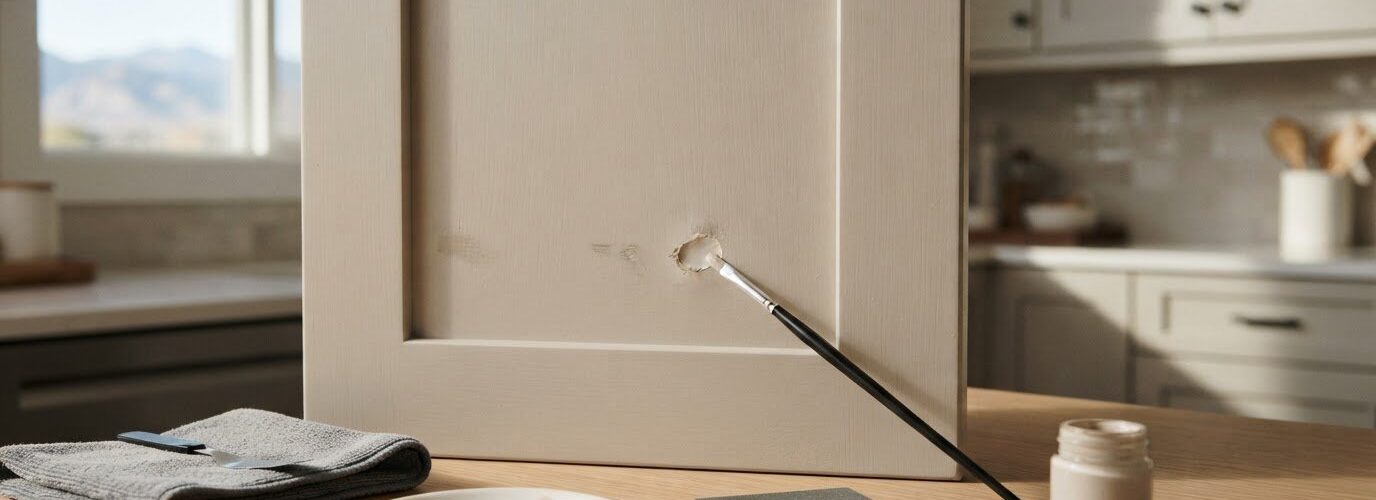
Deep gouges completely sever the finish system and expose tan, grey, or brown core wood fibers. Liquid paint cannot bridge these cavities. If you coat raw substrate directly, the exposed wood or medium-density fiberboard (MDF) pulls solvents from the liquid film, causing dry-out and patchiness. Raw wood fibers also absorb ambient kitchen humidity, which causes swelling and makes neighboring paint peel away over time. Knowing how to repair scratches on painted cabinets that reach raw substrate requires sealing the wood, pressing in structural wood filler, and sanding it level before color blending.
Essential Tools and Materials for Painted Cabinet Scratch Repair
Executing an invisible touch-up requires industrial-grade materials formulated specifically for millwork. Standard wall paints lack the hardeners necessary to withstand grease, moisture, and daily handling. When determining how to repair scratches on painted cabinets, your repair is only as durable as the coating you apply. Take an unblemished cabinet door to a specialty paint retailer for spectrometer scanning if you lack the original paint formula code. Explore our comprehensive guide on paint for cabinets to select optimal durable formulas with the correct resin build.
Prepare your toolkit with dedicated consumables before breaking the existing surface film:
- Abrasives: Silicon carbide finishing sheets in 220, 320, and 400 grits.
- Cleaners: Odorless mineral spirits or dedicated paint-prep degreasing agents.
- Fillers: Two-part polyester wood glaze or non-shrinking acrylic wood filler.
- Leveling tools: A flexible, two-inch metal putty knife or hard rubber squeegee.
- Applicators: Number 0 and Number 2 synthetic artist detail brushes.
Choosing the Right Fillers, Sandpaper, and Cleaners
Avoid standard soft wax filler sticks. Wax remains soft, collects kitchen grease, and cannot accept waterborne enamels. Instead, use a sandable, solvent-curing glazing putty or high-solids acrylic filler designed for interior trim. These compounds hold a sharp edge without shrinking as they dry. Repairing wooden furniture surfaces requires steady abrasives; use silicon carbide papers dry to achieve flat transitions between the repair core and intact surrounding paint without cutting deep grooves into the clear coat.
Applicators: Artist Brushes vs. Micro-Rollers
Standard trim brushes deposit thick film ridges that cause light flashing. For hairline cracks and narrow chips, use synthetic artist round brushes with a fine point. These allow you to deposit paint strictly within the perimeter of the scratch. If you must coat a wider section along a rail or stile, switch to a high-density foam micro-roller. Foam rolls paint out without leaving stipple, helping blend wet edges into factory-sprayed faces.
Learning how to repair scratches on painted cabinets with proper tools yields great localized results. However, if multiple drawer faces or door panels show widespread deep scratches across their center stiles, manual brush work will show visible texture under direct kitchen light. In those scenarios, consulting the team at Cabinet Painting Denver for professional spray applications will restore an unblemished factory aesthetic.
Step-by-Step Guide: How to Repair Scratches on Painted Cabinets
Executing an invisible touch-up requires a structured, multi-phase procedure. Rushing the cure times or skipping surface preparation leads directly to peeling patches and obvious repair borders. Following a strict sequence ensures structural bonding between the repair materials and the existing factory finish. Here is the exact process for how to repair scratches on painted cabinets with factory-grade durability.
Cleaning and Preparing the Damaged Area
Start by eliminating grease, dish soap film, and hand oils around the scratch. Wash the area thoroughly using a dedicated grease-cutting cleaner or mineral spirits applied with a clean microfiber towel. Rinse the spot with a water-dampened cloth to remove cleaner residue, then let it dry completely. Once clean, mask adjacent hardware or decorative profile edges with low-tack painter tape. Use 320-grit silicon carbide paper to lightly scuff the paint immediately bordering the scratch, feathering the edges down so no sharp paint ridges remain.
Applying Filler and Sanding Flush
Deep defects reaching bare wood require structural leveling before any pigment touches the face. Press your chosen filler firmly into the void using a two-inch flexible putty knife held at a 45-degree angle. Draw the blade cleanly across the gouge to slice away excess material. Leave the filler slightly higher than the surrounding wood to compensate for minor solvent evaporation during curing. After the compound dries per manufacturer instructions, wrap 320-grit sandpaper around a rigid wooden block and sand the patch dead flat using light, circular strokes.
Layering and Leveling the Touch-Up Paint
Paint application requires precision. Shake your enamel thoroughly, then transfer a dime-sized puddle onto a disposable palette. Dip the tip of your size 0 artist detail brush into the paint, wiping off excess along the rim. Dab the paint directly into the center of the sanded gouge, allowing the liquid to flow outward toward the feathered perimeter. Do not brush back and forth across intact topcoat.
Understanding how to pick the right paint finish helps prevent the repair from drying with an unnatural gloss or dull sheen. Let this initial micro-coat dry for four to six hours. If the pigment settles below the surrounding plane as solvents evaporate, apply a second micro-layer to achieve total optical uniformity. Practicing how to repair scratches on painted cabinets using this layered approach prevents high ridges and guarantees a flush, professional finish.
Mastering Sheen Matching: Preventing the Flashing Effect
Flashing occurs when a repaired patch reflects ambient light at a different angle than the surrounding panel. You might match the pigment hue perfectly, yet the touch-up appears as an obvious cloudy circle under direct overhead lighting. Preventing this issue is one of the most critical steps when learning how to repair scratches on painted cabinets. Factory finishes utilize baked or catalyzed clear coats with strict gloss units, whereas manual touch-ups use air-dried paints. Review our comprehensive methodology for kitchen cabinet painting to understand how factory-applied coatings cure and retain light reflection over years of kitchen use.
Natural environmental changes further complicate sheen matching. UV exposure from kitchen windows gradually bleaches pigments and lowers the original gloss rating over time. Regular surface cleaning with degreasers also polishes high-touch areas around knobs while leaving upper stiles matte. Applying fresh, unaged paint directly out of an old touch-up can creates an instant mismatch against weathered coatings.
Understanding Sheen Discrepancies and Light Reflection
Brushing paint onto a flat surface that was originally sprayed creates distinct micro-textures. Standard spray guns atomize liquid paint into microscopic droplets that settle flat. Brushes, however, leave directional tracks that scatter light irregularly. To eliminate these hard optical boundaries, feather the perimeter of your wet touch-up outward using dry brush tips. Blurring the paint edges over a quarter-inch zone helps human eyes transition across minor sheen variations without catching an abrupt edge.
Adapting to Low-Humidity Indoor Drying Conditions
Arid climates present unique challenges for waterborne enamels. In dry indoor air, the water carrier evaporates rapidly before the synthetic resins can flow and self-level. This causes wet edges to set prematurely, freezing brush marks in place and dulling the dried sheen. Add a dedicated waterborne extender or flow conditioner sparingly, limiting it to roughly one ounce per quart of enamel. Turn off nearby HVAC registers or portable fans during application to prevent premature flash-drying across your repair zone.
Mastering how to repair scratches on painted cabinets takes practice and patience. When extensive scuffing across entire door panels makes sheen flashing impossible to avoid with a brush, professional restoration is the best path forward. Contact Cabinet Painting Denver to schedule our specialized off-site door spraying service and return your cabinetry to a pristine, unified factory sheen.
When to Move from DIY to Professional Cabinet Refinishing
Every localized touch-up has practical limits. Understanding how to repair scratches on painted cabinets is ideal for handling single, isolated gouges caused by dropped pans or errant utensils. However, when surface deterioration spans multiple profiles or underlying adhesion fails, continuing with manual brush repairs leaves surfaces looking patchy. Homeowners facing extensive wear do not need to replace their cabinetry entirely; pursuing full cabinet refinishing restores existing casework to pristine condition without the expense of total tear-outs.
Recognizing When Spot Touch-Ups Will Look Unsightly
Spot touch-ups become counterproductive under specific structural and visual conditions:
- High damage density: More than three visible touch-ups on a single door create a mottled surface that catches cross-light unevenly.
- Profile and edge breakdown: Heavy wear on sharp outside door edges resists brush blending and chips away quickly.
- Substrate expansion: Deep gouges near dishwashers or sinks that have absorbed ambient moisture cause wood swelling, breaking paint adhesion beyond the scratch perimeter.
- Systemic flaking: If testing a scratch reveals surrounding paint lifting off easily in sheets, the original primer bond has failed.
Attempting manual spot fixes across large areas will result in visible brush tracks, uneven film build, and pronounced sheen variations. When cabinets exhibit widespread systemic wear, spot methods cannot provide a durable or cohesive aesthetic.
The Professional Advantage: Off-Site Spraying and Clean Finishes
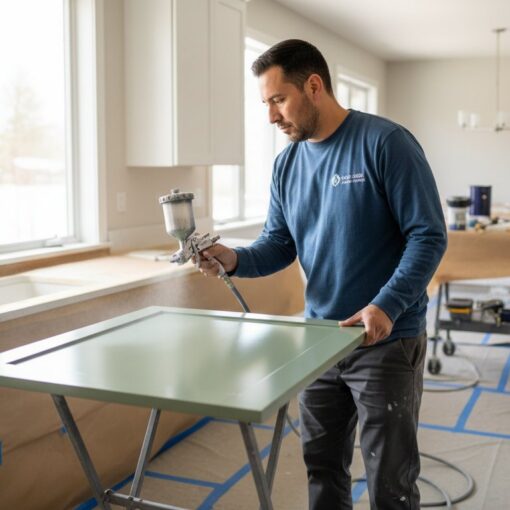
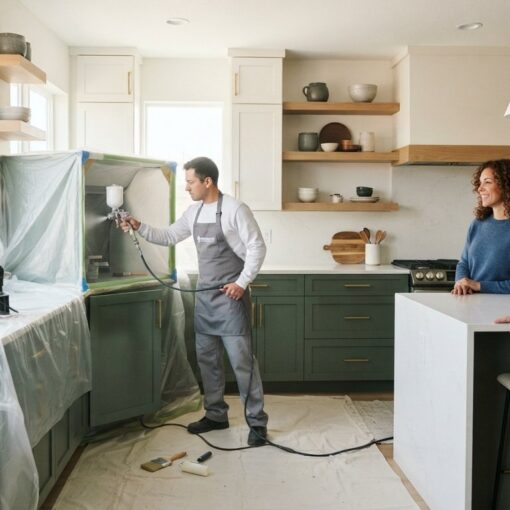
Professional restoration relies on controlled shop procedures that are impossible to duplicate with hand tools inside a finished kitchen. Technicians unmount doors and drawer faces, transporting them to a controlled spray facility. Off-site processing permits industrial-grade surface preparation, mechanical sanding, high-build primer leveling, and pressurized spraying in a dust-free environment. This approach yields an ultra-smooth, uniform cure unattainable with standard bristle brushes.
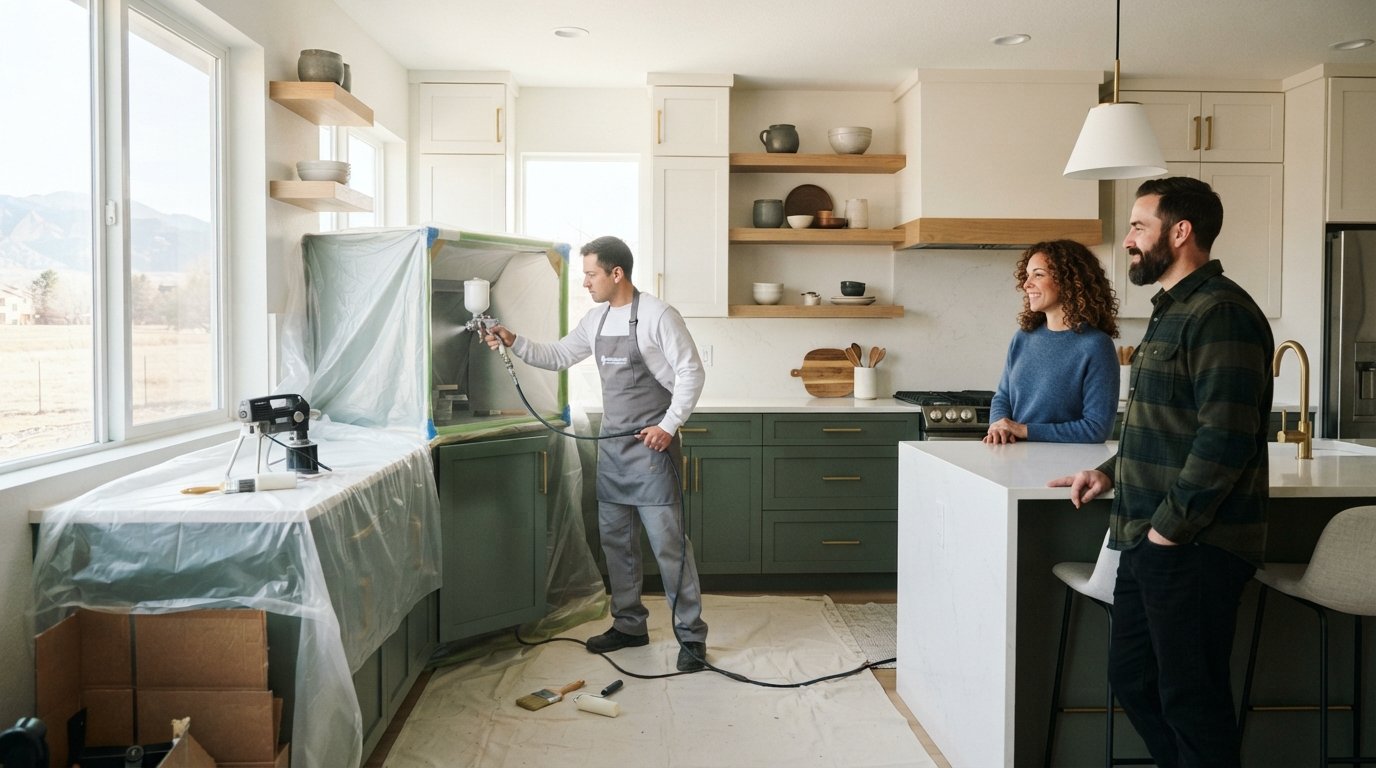
Cabinet face frames remain in place and undergo rigorous on-site masking, cleaning, and hand-applied or enclosed spray coatings that bond directly to the wood. The combined result delivers maximum chemical resistance against food acids and cleaning solutions. When widespread damage exceeds the scope of how to repair scratches on painted cabinets with basic tools, reach out to the specialists at Cabinet Painting Denver to restore complete millwork assemblies across your kitchen, bathroom, or built-in bookshelves.
Achieve Lasting Precision on Your Cabinet Surfaces
Restoring damaged woodwork requires a systematic approach. Assessing whether a blemish is a superficial clear-coat mark or a deep gouge dictates your repair materials and prevents unnecessary sanding. When executing localized spot repairs, using fine artist brushes, non-shrinking fillers, and feathered blending techniques keeps visible flashing to an absolute minimum. Mastering how to repair scratches on painted cabinets gives you complete control over everyday household wear.
When scratches accumulate across entire profiles or edges begin chipping, manual touch-ups won’t replicate a smooth factory profile. Our thorough preparation protocols and precision off-site spray finishing eliminate brush marks and uneven sheens for homeowners throughout the Denver metropolitan area. Request an estimate for expert kitchen cabinet painting to revitalize your kitchen, bathroom, or built-in bookshelves with a clean, durable spray finish you can enjoy every day.
Frequently Asked Questions
Can I use regular latex wall paint to touch up scratches on painted cabinets?
No, standard latex wall paint lacks the chemical hardness and resin structure required for cabinetry. Wall paint remains softer, scuffs easily, and dissolves when exposed to household grease or degreasers. Using it for touch-ups creates a rubbery patch that peels quickly. Always use a dedicated enamel specifically formulated for architectural woodwork and cabinetry to ensure strong surface bonding and long-term durability against regular handling.
How do I find an exact paint color match for my existing painted cabinets?
Remove an unblemished cabinet door or drawer front and take it to a specialized paint retailer for optical spectrometer scanning. This digital analysis reads both pigment hue and reflectance, generating a custom formula that matches aged paint far better than original factory swatch cards. If the manufacturer’s color code is known, verify a test patch first, since indoor lighting and natural UV exposure alter cabinet coatings over time.
Why does my touched-up scratch look shiny or dull compared to the rest of the cabinet?
This light discrepancy occurs because the touch-up paint’s gloss unit does not match the surrounding sheen, or the application method altered surface texture. Factory finishes are typically sprayed, creating a uniform, flat plane. Brushing touches up the mark with directional ridges that bounce light differently. When learning how to repair scratches on painted cabinets, always match product sheens accurately and feather the outer borders using dry brush tips to blend reflections.
Will a cabinet touch-up marker or wax stick provide a permanent repair?
Touch-up markers and wax sticks serve as temporary aesthetic fixes, not permanent repairs. Wax filler stays soft indefinitely, collecting dust, grease, and pet hair. It washes out during regular damp wipe-downs and cannot be painted over with protective enamel. For a permanent restoration, fill defects with a hardening polyester or acrylic compound, sand the patch level, and seal it with dedicated cabinet paint rather than relying on soft crayons.
How long should I wait for touch-up paint to cure before cleaning my cabinets?
While waterborne cabinet enamels feel dry to the touch within a few hours, full chemical curing requires 21 to 30 days. During this initial cure window, resins continue cross-linking to reach maximum hardness. Avoid aggressive scrubbing, detergent cleaners, or microfiber abrasion on fresh repairs for at least three weeks. If dust accumulates, wipe the area lightly with a dry or slightly water-dampened cloth using minimal downward pressure.
What is the best way to fix a scratch on a cabinet with a factory spray finish?
Isolated hairline scratches on factory spray finishes require cleaning with mineral spirits, leveling with an ultra-fine 320-grit abrasive, and pinpoint enamel application with a number 0 artist brush. However, factory spray finishes are exceptionally uniform. If the damage covers multiple rails or door faces, manual spot fixes will inevitably show texture. When mastering how to repair scratches on painted cabinets with factory finishes, extensive damage is best resolved by professional off-site spray application.
Can scratches on bathroom cabinets be repaired the same way as kitchen cabinets?
Yes, the basic repair sequence remains identical, but bathroom environments demand stricter moisture management. Bathrooms experience rapid humidity spikes and direct steam, which infiltrate unsealed wood fibers quickly. Ensure the bathroom stays dry and well-ventilated for 48 hours before starting. Seal any exposed wood cores immediately with high-solids primer and waterproof enamel to prevent internal swelling, mold development, or premature coating delamination along vulnerable door edges.