
Did you know that DIY cabinet painting is currently the most regretted home improvement project in Denver? According to recent contractor callback data, many homeowners end up with peeling surfaces and sticky finishes that fail within months. It’s a frustrating outcome, especially when a professional investment of $3,000 to $5,000 can yield a return of up to three times that amount during a home sale. When you are painting bathroom cabinets and walls, the stakes are high because of the constant humidity and specialized prep work required for a lasting result.
You likely want a space that feels like a modern retreat, but the fear of paint bubbling in the steam or choosing colors that don’t match is real. We’re here to help you navigate these challenges with confidence. This guide provides everything you need to coordinate your vanity and wall colors for a cohesive, factory-quality look. You’ll learn about the 2026 moisture-resistant coating trends, current VOC regulations, and the exact steps to ensure your bathroom refresh adds lasting value to your home.
Key Takeaways
- Learn how to apply the 60-30-10 design rule to create a seamless flow between your walls, vanities, and hardware for a professional look.
- Discover why antimicrobial additives in specialized paint lines are essential for preventing mildew and long-term peeling in high-humidity zones.
- Master the strategy for painting bathroom cabinets and walls simultaneously to maximize the visual impact and perceived space of your remodel.
- Understand the critical professional sequence of de-greasing, sanding, and priming required to achieve a durable, factory-like finish.
- Evaluate the benefits of HVLP spraying techniques that eliminate brush marks and provide superior resistance to daily bathroom wear.
The Impact of Painting Bathroom Cabinets and Walls Together
Most homeowners approach a bathroom refresh as a series of disconnected tasks. They might paint the walls one weekend and decide to tackle the vanity months later. This “piecemeal” strategy often results in clashing undertones or mismatched textures that make the room feel disjointed. When you commit to painting bathroom cabinets and walls as a single, synchronized project, you create a professional, intentional aesthetic that significantly boosts your home’s market appeal. In the Denver market, a professional cabinet painting investment of $3,000 to $5,000 can yield a return of two to three times that amount in a home sale, especially when the wall colors are expertly coordinated to match.
To better understand the transformation process for your vanity, watch this helpful video:
Successful design requires planning your colors and textures at the same time. This prevents the common mistake of choosing a beautiful cabinet color that looks “muddy” against your existing wall paint. You also need to consider how light reflects off different surfaces. Coordinating your paint sheen levels is vital; for instance, using a satin finish on walls and a semi-gloss on cabinets helps define the surfaces while maintaining a cohesive glow. While kitchen cabinets primarily face grease and heat, bathroom environments require coatings that can withstand constant steam and direct water contact without softening or peeling.
Why Cohesion Matters in Small Spaces
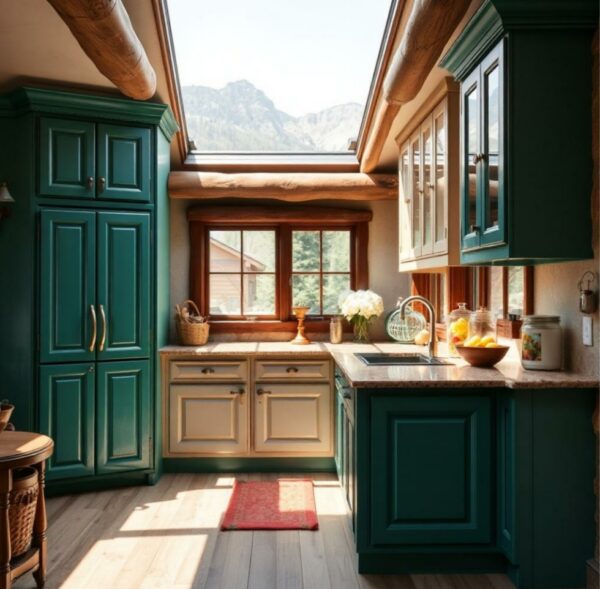
In a compact guest bath, high contrast between walls and vanities can “shrink” the room by creating visual breaks. The 2026 trend focuses on monochromatic designs where cabinets and walls share similar tones, such as sandy beige or sage green. This strategy eliminates harsh lines, making a small Denver bathroom feel significantly larger. By using vertical lines in your cabinetry and matching them to the wall tone, you draw the eye upward, creating an illusion of height and openness.
Setting Realistic Expectations for Durability
Bathroom surfaces endure more daily stress than almost any other part of the home. Between the humidity from showers and the use of harsh cleaning chemicals, standard interior paint won’t suffice. The 2026 standard for high-performance coatings includes advanced moisture-resistant technology designed to prevent the paint film from breaking down. Professional-grade finishes are now formulated to be self-cleaning and anti-bacterial, ensuring that your vanity doesn’t just look factory-new but also stands up to the rigors of a high-moisture environment for years.
Selecting Moisture-Resistant Finishes for Bathroom Walls
Choosing the right paint for bathroom walls isn’t just about color; it’s about chemistry. When you’re painting bathroom cabinets and walls, the wall finish acts as your first line of defense against mold. Unlike standard interior paints, moisture-resistant formulas contain antimicrobial additives designed to stop mildew from taking root in the paint film. While premium “Bath and Spa” specific lines might cost between $40 and $60 per gallon, the investment prevents the costly cycle of peeling and repainting every few years. These specialized products are engineered to withstand high humidity without the surfactant leaching that causes unsightly brown streaks on the walls.
Since bathrooms are often small and poorly ventilated, paying attention to Volatile Organic Compounds (VOCs) is a health priority. In 2026, the EPA limits for non-flat paints stand at 380 g/L, but many premium brands now offer “Zero-VOC” options with less than 5 g/L. This ensures you aren’t trapped in a small room with harmful fumes during application. If you are working on a home built before 1978, it’s vital to follow lead-safe work practices to ensure your family’s safety during the initial scraping and sanding phases. Sheen selection is equally critical. Matte finishes are porous and trap moisture, leading to water stains. Satin or semi-gloss sheens are non-negotiable because they create a hard, non-porous barrier that allows water to bead up and roll off rather than soaking into the drywall.
Top Paint Formulas for High-Humidity Zones
Acrylic-based paints generally offer superior steam resistance compared to traditional latex. When shopping, look for labels explicitly stating “mildew-resistant” or “fungistatic.” Many modern formulas are self-priming, which can save time, though professionals often prefer a dedicated moisture-blocking primer for maximum adhesion. These coatings create a flexible film that expands and contracts with temperature changes, preventing the micro-cracks where mold often starts.
Preparing Walls for a Long-Lasting Bond
You can’t paint over a year’s worth of hairspray and soap scum. Walls must be scrubbed with a degreaser like TSP first. Any holes around plumbing fixtures should be patched with a moisture-resistant compound before the first coat. Finally, respect the 24-hour drying rule. Steaming up the room with a shower before the paint fully cures will compromise the bond and lead to premature failure. If the technical details of moisture protection feel overwhelming, consulting with professional cabinet painters in Denver can help you select the right products for a durable finish.
Professional Vanity Painting: Why Surface Prep is Non-Negotiable
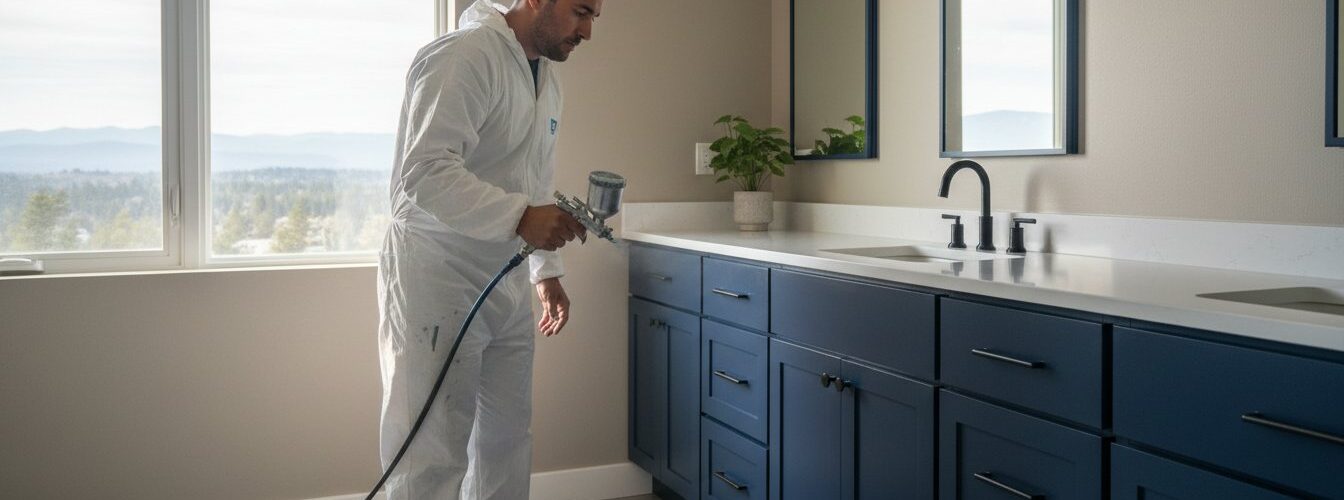
While walls provide the backdrop, your vanity is the focal point of the room. Achieving a durable finish on cabinets is significantly harder than on drywall. When painting bathroom cabinets and walls, the vanity requires a rigorous four-stage preparation process: de-greasing, sanding, priming, and spraying. Skipping even one step leads to the peeling issues that plague DIY attempts. Most bathroom vanities are coated in factory finishes designed to repel liquids. This means new paint won’t stick without a specialized bonding primer engineered to “bite” into slick surfaces.
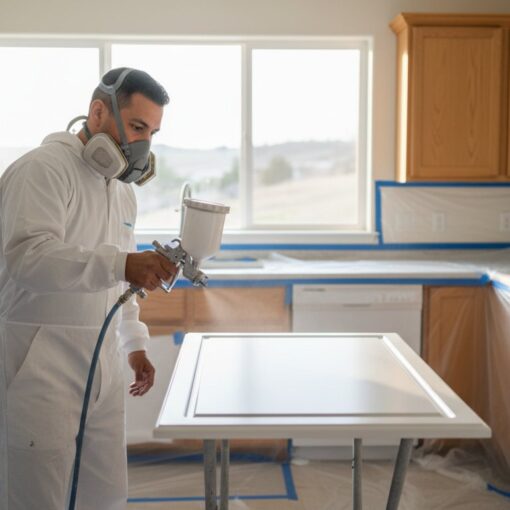
Professional painters favor spraying over brushing for a specific reason: surface tension. In a bathroom, brush marks create tiny ridges that trap moisture, soap residue, and dust. A sprayed finish, particularly one applied using High-Volume Low-Pressure (HVLP) equipment, creates a smooth, glass-like surface that sheds water effortlessly. This level of detail is especially important for materials like oak, where the deep grain must be filled to achieve a modern look. Conversely, MDF vanities require expert sealing to prevent the edges from swelling when exposed to the high-humidity environment of a Denver bathroom.
The Anatomy of a Professional Cabinet Finish
A truly professional result involves removing all doors and drawers to be sprayed in a controlled, dust-free environment. This ensures every edge is sealed against humidity. In 2026, the industry has shifted toward ultra-durable urethane alkyd enamels. These coatings offer the “leveling” properties of oil-based paint with the low VOCs and easy cleanup of water-based formulas. They dry to a rock-hard finish that resists the chips and scratches common in high-traffic bathrooms.
Common Pitfalls in DIY Cabinet Painting
Many homeowners fall victim to “paint bridging,” where thick paint dries across the gap between a door panel and its frame. This eventually cracks as the wood naturally expands. Another common issue is “blocking,” which happens when doors are reinstalled before the paint has fully cured, causing them to stick to the frame. To avoid a logistical nightmare, always label your hinges and screws. A survey of Denver contractors indicates that 65% of DIY “rescue” jobs are caused by poor organization or rushing the 48-hour minimum cure time required before heavy use. When painting bathroom cabinets and walls, patience in the preparation phase is the only way to guarantee a factory-like result.
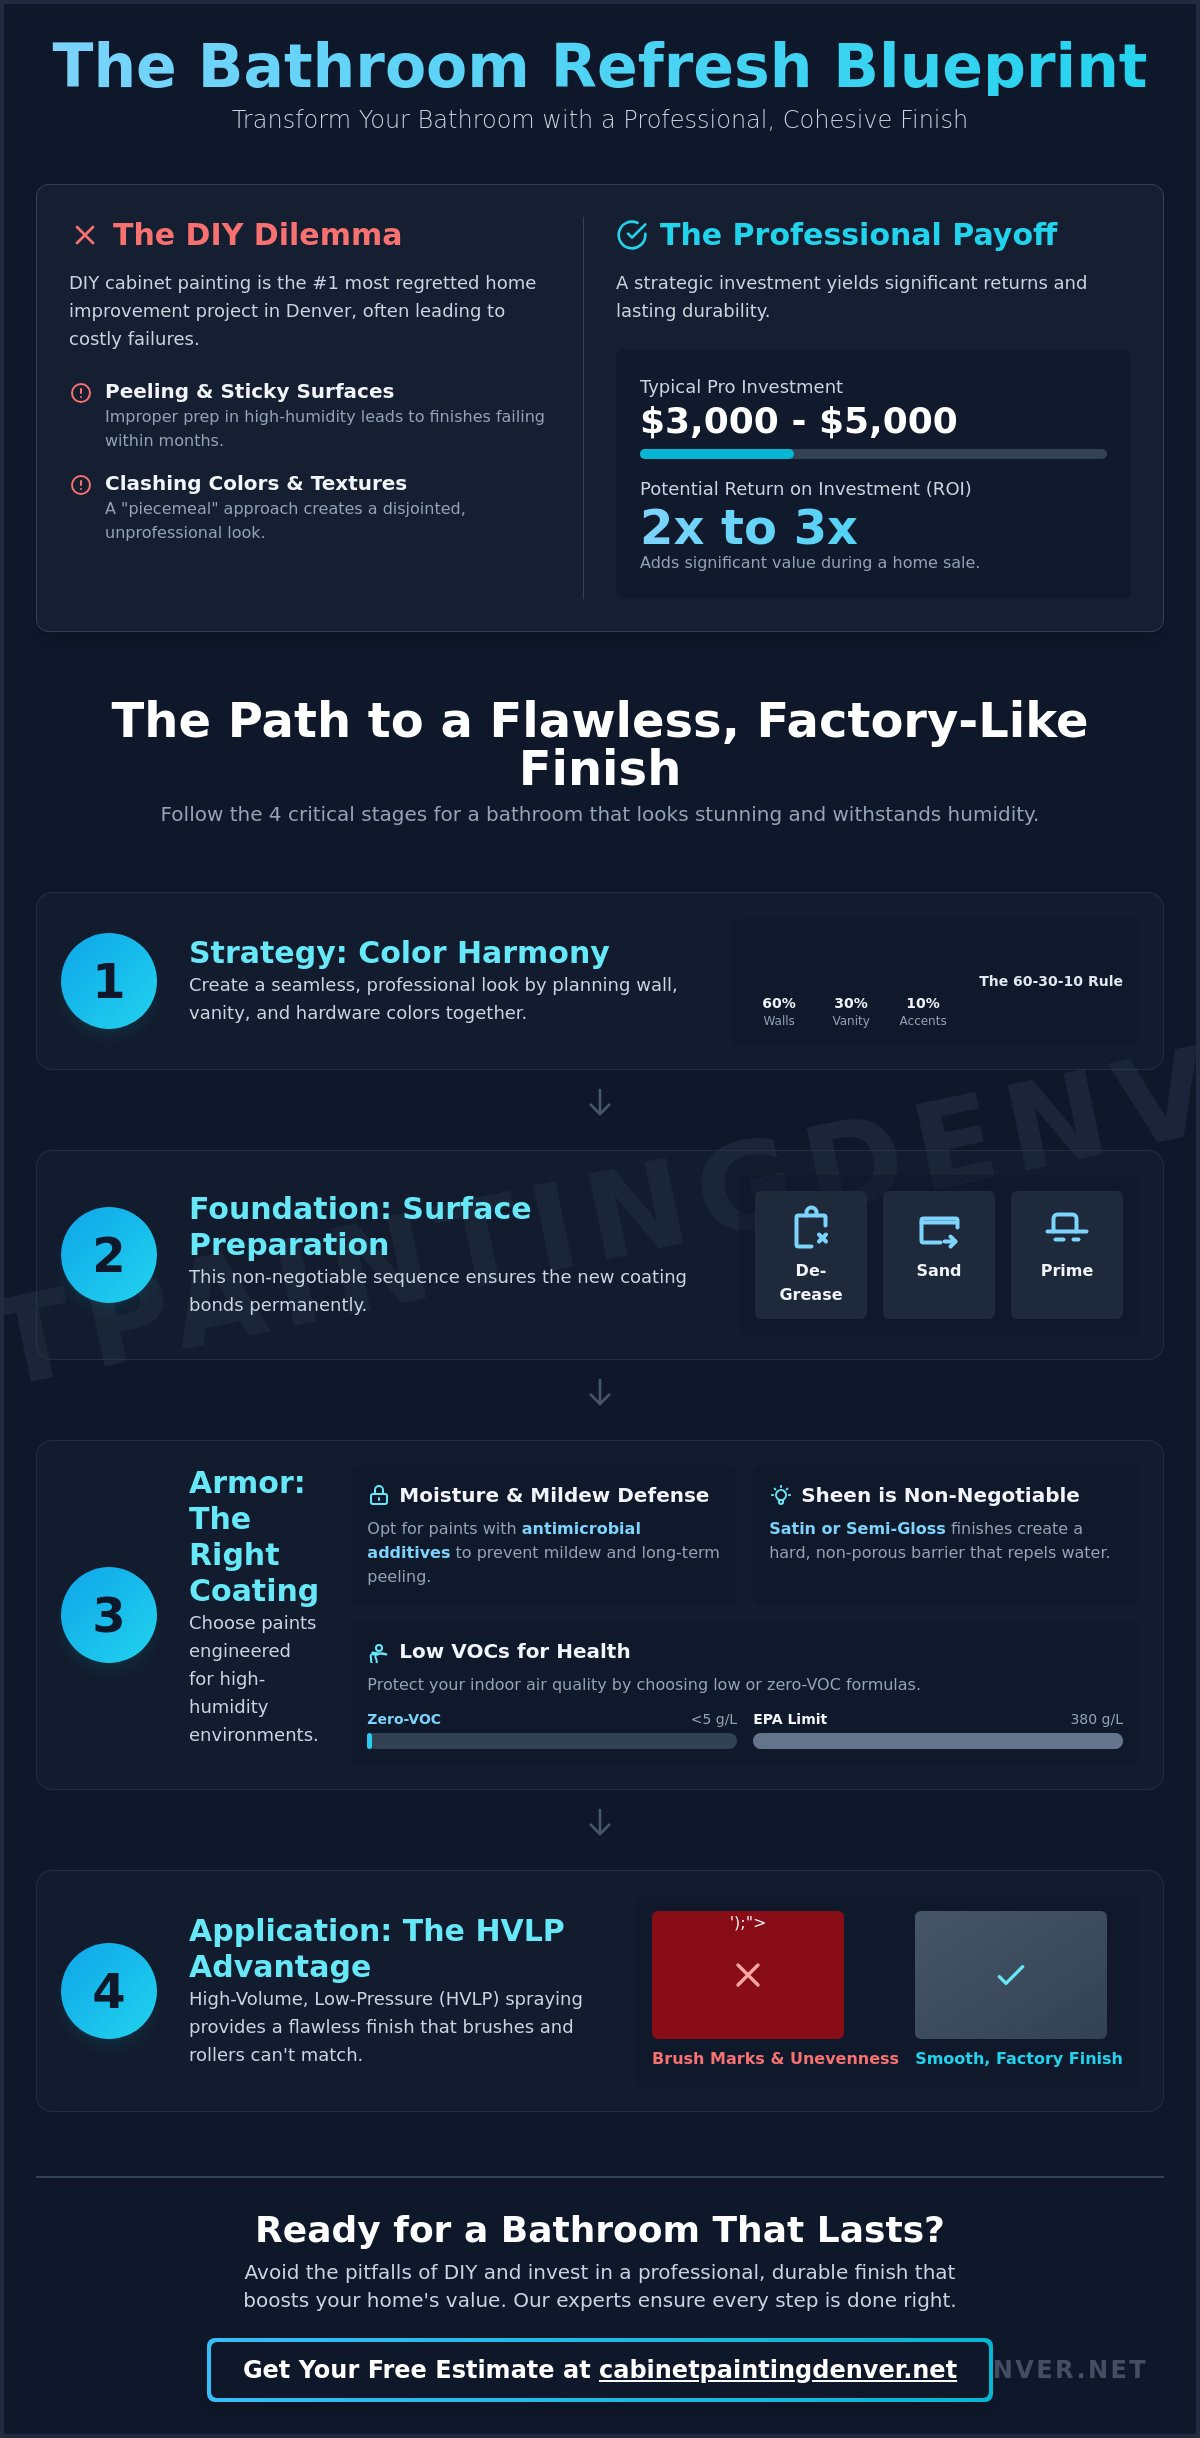
Coordinating Colors: A Guide to Cabinet and Wall Harmony
Achieving a high-end look requires more than just picking two colors you like. It’s about how they interact under specific lighting conditions. When painting bathroom cabinets and walls, the 60-30-10 rule is your best friend for visual balance. This classic design principle suggests that 60% of the room, usually the walls, should be your dominant color. 30% of the space, typically the vanity, serves as your secondary color. The final 10% is reserved for hardware and accessories. In May 2026, Denver homeowners are increasingly moving away from the cold whites of the past decade. Instead, we’re seeing a surge in warm, nature-inspired palettes like sandy beige, taupe, and muted sage green. The transition to “Greige” also remains a staple for Denver’s transitional homes, providing a bridge between cool and warm tones that complements both stainless steel and brass fixtures.
Lighting plays a massive role in how these colors translate. A sage green that looks serene in natural morning light might appear muddy under 3000K warm LED vanity bulbs. Because many bathrooms lack large windows, your artificial lighting will dictate the true tone of your paint for most of the day. Modern 2026 LED fixtures often allow you to toggle between warm and cool temperatures, so it’s vital to set your lighting before finalizing your paint swatches. Remember that paint often dries darker than it looks in the can. In a small, enclosed space, this effect is amplified, meaning a color that looks perfect on a small swatch might feel overwhelming once it covers all four walls.
Classic vs. Contemporary Combinations
For a timeless feel, white cabinets paired with dark navy walls create a crisp, nautical aesthetic that remains popular in 2026. If you prefer the “organic modernism” trend, consider pairing wood-toned refinishing with earthy neutral walls like terracotta or soft clay. For those wanting a bold statement, all-black powder rooms are a rising trend. This works best when you use high-gloss cabinets against matte walls to create depth through texture rather than color. This contrast prevents the room from feeling like a “black hole” and instead makes it feel like a sophisticated, high-end gallery.
Testing Samples in Bathroom Lighting
Testing paint is the most critical step when painting bathroom cabinets and walls because of the unique environmental factors. You must test paint swatches directly next to your mirror and vanity lights. The reflection from your countertop and tile can “cast” colors onto your walls, changing a neutral tan into a sickly yellow. Leveraging cabinet painting denver expertise allows you to see how different sheens interact with your specific hardware and stone surfaces. If you’re ready to revitalize your space with a cohesive look, contact us for a professional bathroom color consultation today.
The Professional Advantage: When to Call Denver Cabinet Experts
A DIY attempt at painting bathroom cabinets and walls often consumes three or four consecutive weekends. Between the deep cleaning, sanding, and multiple drying cycles, the process is grueling. In contrast, a professional crew typically completes a full bathroom transformation in three to five days. While Denver labor rates for skilled painters range from $40 to $100 per hour, the efficiency of a pro team prevents your primary bathroom from being a construction zone for a month. More importantly, professionals provide a “Factory-Finish” guarantee that is nearly impossible to replicate with a brush or roller. Using High-Volume Low-Pressure (HVLP) sprayers, experts apply a coating that is smooth to the touch and resistant to the chipping that often occurs around vanity handles.
Colorado’s unique environment also plays a role in the success of your project. Denver’s dry climate, where humidity frequently drops below 20%, causes paint to dry rapidly on the surface. If not managed correctly, this can lead to visible lap marks or a brittle finish. Professionals adjust their thinning ratios and application techniques for the 5,280-foot altitude to ensure the paint cures evenly from the inside out. Before you start your project, use this final checklist for success:
- Verify that all wall paints are labeled as antimicrobial or “Bath and Spa” grade.
- Ensure cabinets are cleaned with a heavy-duty degreaser like TSP to remove oils.
- Confirm that a high-adhesion bonding primer is used on all vanity surfaces.
- Allow at least 48 hours for the cabinet enamel to cure before reinstalling hardware.
Why Local Expertise Matters in Colorado
Hiring local cabinet painters ensures your project is handled by someone who understands the specific architectural styles found in Denver, from Wash Park bungalows to modern Cherry Creek condos. These experts know which products stand up best to our intense UV rays and dry air. A professional warranty also provides peace of mind, covering any unexpected peeling or failure that might occur during the first few years of use.
Getting Your Custom Quote
When you are ready for a formal estimate, clear out your vanity and remove any wall hangings to give the estimator a clear view of the surfaces. A comprehensive cabinet painting cost breakdown should include the price of materials, labor, and the number of doors or drawers being sprayed. In Denver, you can expect to pay between $100 and $200 per cabinet door for a premium spray finish. If you want a result that looks like it came straight from a showroom, contact Cabinet Painting Denver for a free quote today!
Take the Next Step Toward Your Dream Bathroom
Refreshing your space doesn’t have to involve a messy, months-long demolition. By focusing on the strategic synergy of painting bathroom cabinets and walls, you can create a high-end retreat that withstands the daily steam and moisture of a busy home. Success depends on using specialized antimicrobial coatings and following a strict preparation sequence of de-greasing and sanding. These professional standards ensure your new aesthetic remains durable for years to come. Choosing a factory-quality spray finish over a brush-on application eliminates unsightly marks and provides a surface that is easy to clean.
Our team serves the entire Denver Metro area, providing specialized moisture-resistant coatings that are perfect for the local climate. We’re dedicated to helping you increase your home’s value while achieving a modern, sophisticated look. Get Your Free Bathroom Cabinet Painting Quote in Denver today to see how easy a professional transformation can be. Your beautiful, updated bathroom is just a few steps away.
Frequently Asked Questions
Can I use the same paint for my bathroom walls and cabinets?
You shouldn’t use the same paint for both surfaces because they face different types of wear. Walls require a moisture-resistant emulsion that prevents mildew, while cabinets need a durable urethane alkyd enamel to resist chips. When you’re painting bathroom cabinets and walls, using specialized products for each surface ensures the vanity can handle frequent touching and the walls can breathe in a humid environment.
How long does it take to paint bathroom cabinets and walls?
A professional crew typically finishes the project in 3 to 5 days, while a DIY approach often stretches over 3 or 4 weekends. The timeline depends heavily on the curing process, as each coat needs time to set before the next application. Professionals use specialized drying equipment to speed up this process, ensuring you get your bathroom back quickly without compromising the finish.
Do I need to sand my bathroom cabinets before painting?
Sanding is an essential step that you can’t skip if you want the paint to last. It creates a mechanical bond by scuffing the existing factory finish, allowing the primer to grip the surface. Without sanding, even the most expensive paint will likely peel within the first year. It’s the most time-consuming part of the job, but it’s the foundation of a professional result.
What is the best paint finish for a bathroom vanity?
Semi-gloss or satin finishes are the best choices for a bathroom vanity because they offer superior water resistance. These sheens create a hard, non-porous barrier that allows moisture to bead up and roll off rather than soaking into the wood or MDF. High-gloss is also an option for a modern look, but it highlights every surface imperfection, making proper prep even more critical.
How much does it cost to have a professional paint bathroom cabinets in Denver?
The average cost to have cabinets professionally painted in Denver is around $800, with a typical range between $382 and $1,231. Some specialists in the Denver market charge between $100 and $200 per cabinet door for a high-end spray finish. For a comprehensive project involving multiple vanities, total costs generally range from $2,500 to $6,000 depending on the size and complexity of the work.
Will painting my bathroom cabinets hide the wood grain?
Paint alone won’t hide the deep grain of woods like oak, but a professional grain-filling process will. By applying a specialized filler before the primer, you can achieve a smooth, factory-like surface. If you skip this step, the texture of the wood will still show through the paint. This is a common point of confusion when painting bathroom cabinets and walls for a modern aesthetic.
How do I prevent my bathroom paint from peeling?
Prevention starts with high-quality, moisture-resistant paint that contains antimicrobial additives to stop mildew. You must also ensure the room is fully dry and clean before starting. Using a dedicated bonding primer is the best way to prevent peeling on the vanity. Finally, wait at least 24 hours before using the shower to allow the paint film to cure properly in the humid environment.
Can I paint my bathroom walls if they are already peeling?
You cannot paint directly over peeling walls without causing a total project failure. The loose paint must be scraped away, the edges sanded smooth, and the area patched with a moisture-resistant compound. Once the surface is level and clean, you should apply a high-quality primer before the final color. Painting over existing damage only traps moisture underneath, which forces the new layer to peel almost immediately.


