Professional cabinet painting is a surgical home upgrade; success depends as much on your temporary kitchen strategy as it does on the painter’s spray technique. It’s true that losing access to your primary meal preparation space feels like a significant disruption. You likely worry about managing dust, mitigating fumes, and keeping pets or children away from freshly painted surfaces. Knowing exactly what to do while cabinets are being painted is the difference between a stressful week and a seamless home transformation.
This survival guide provides a clear plan to maintain your daily routine and protect your investment while professional painters work. You’ll discover how to set up a functional temporary kitchen, understand the specific timeline for on-site frame painting, and learn the requirements for protecting the new finish during its curing phase. By following these objective steps, you can ensure the project remains efficient and the results meet factory-quality standards. Utilizing off-site door processing minimizes in-home clutter, but the remaining on-site work requires a structured approach from the homeowner to ensure a smooth transition and a durable finish.
Key Takeaways
- Establish a designated “dead zone” for three to five days to prevent dust from compromising the professional spray application.
- Identify exactly what to do while cabinets are being painted by relocating essential appliances to a temporary meal station.
- Don’t confuse initial dry times with the full 30-day curing cycle, as the paint remains soft and vulnerable for several weeks.
- Utilize off-site door spraying to significantly reduce the amount of active work and clutter inside your living space.
- Implement a strict 24-hour no-contact rule once doors are reinstalled to protect the integrity of the fresh finish.
Can You Use Your Kitchen While Cabinets Are Being Painted?
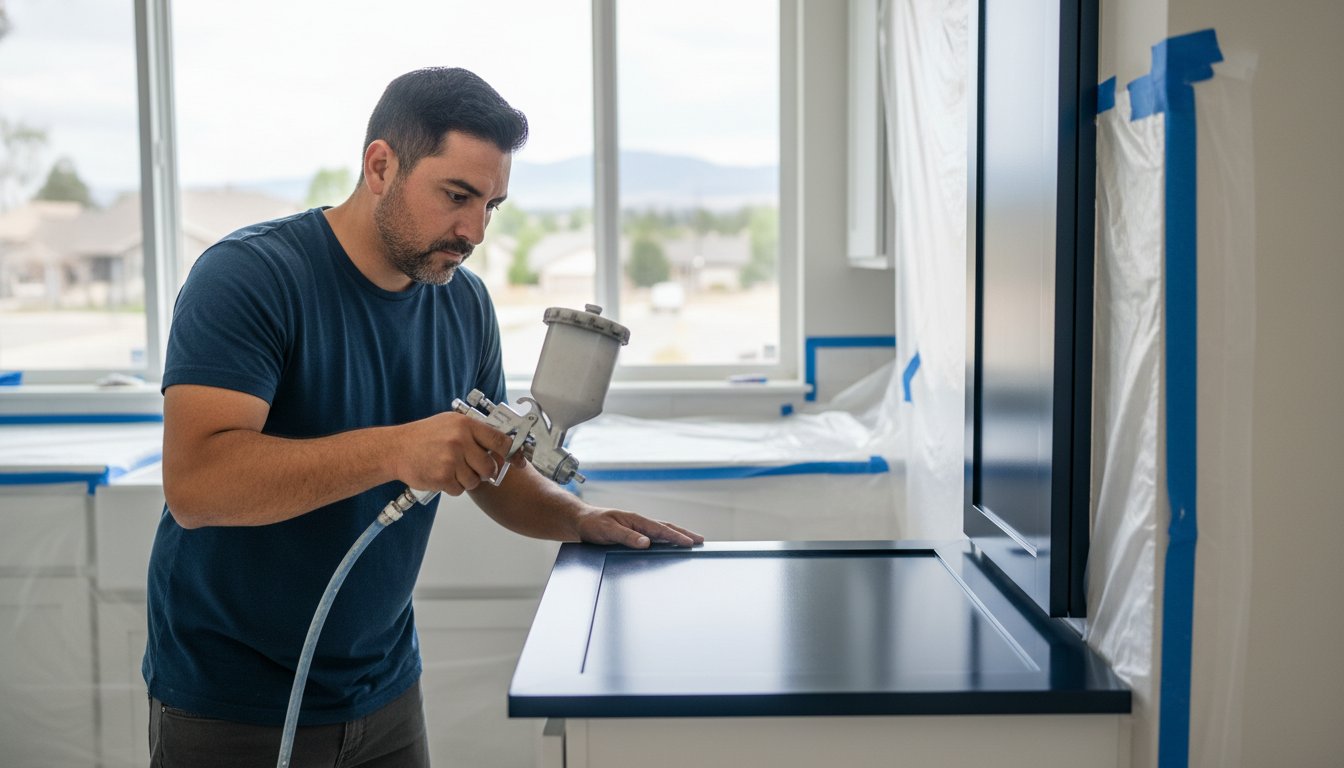
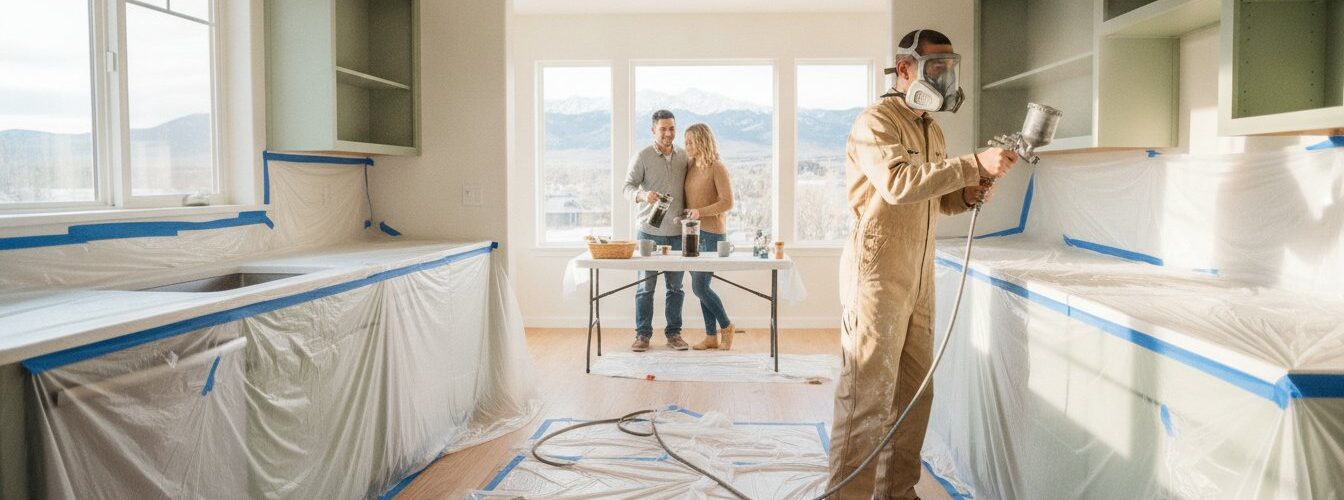
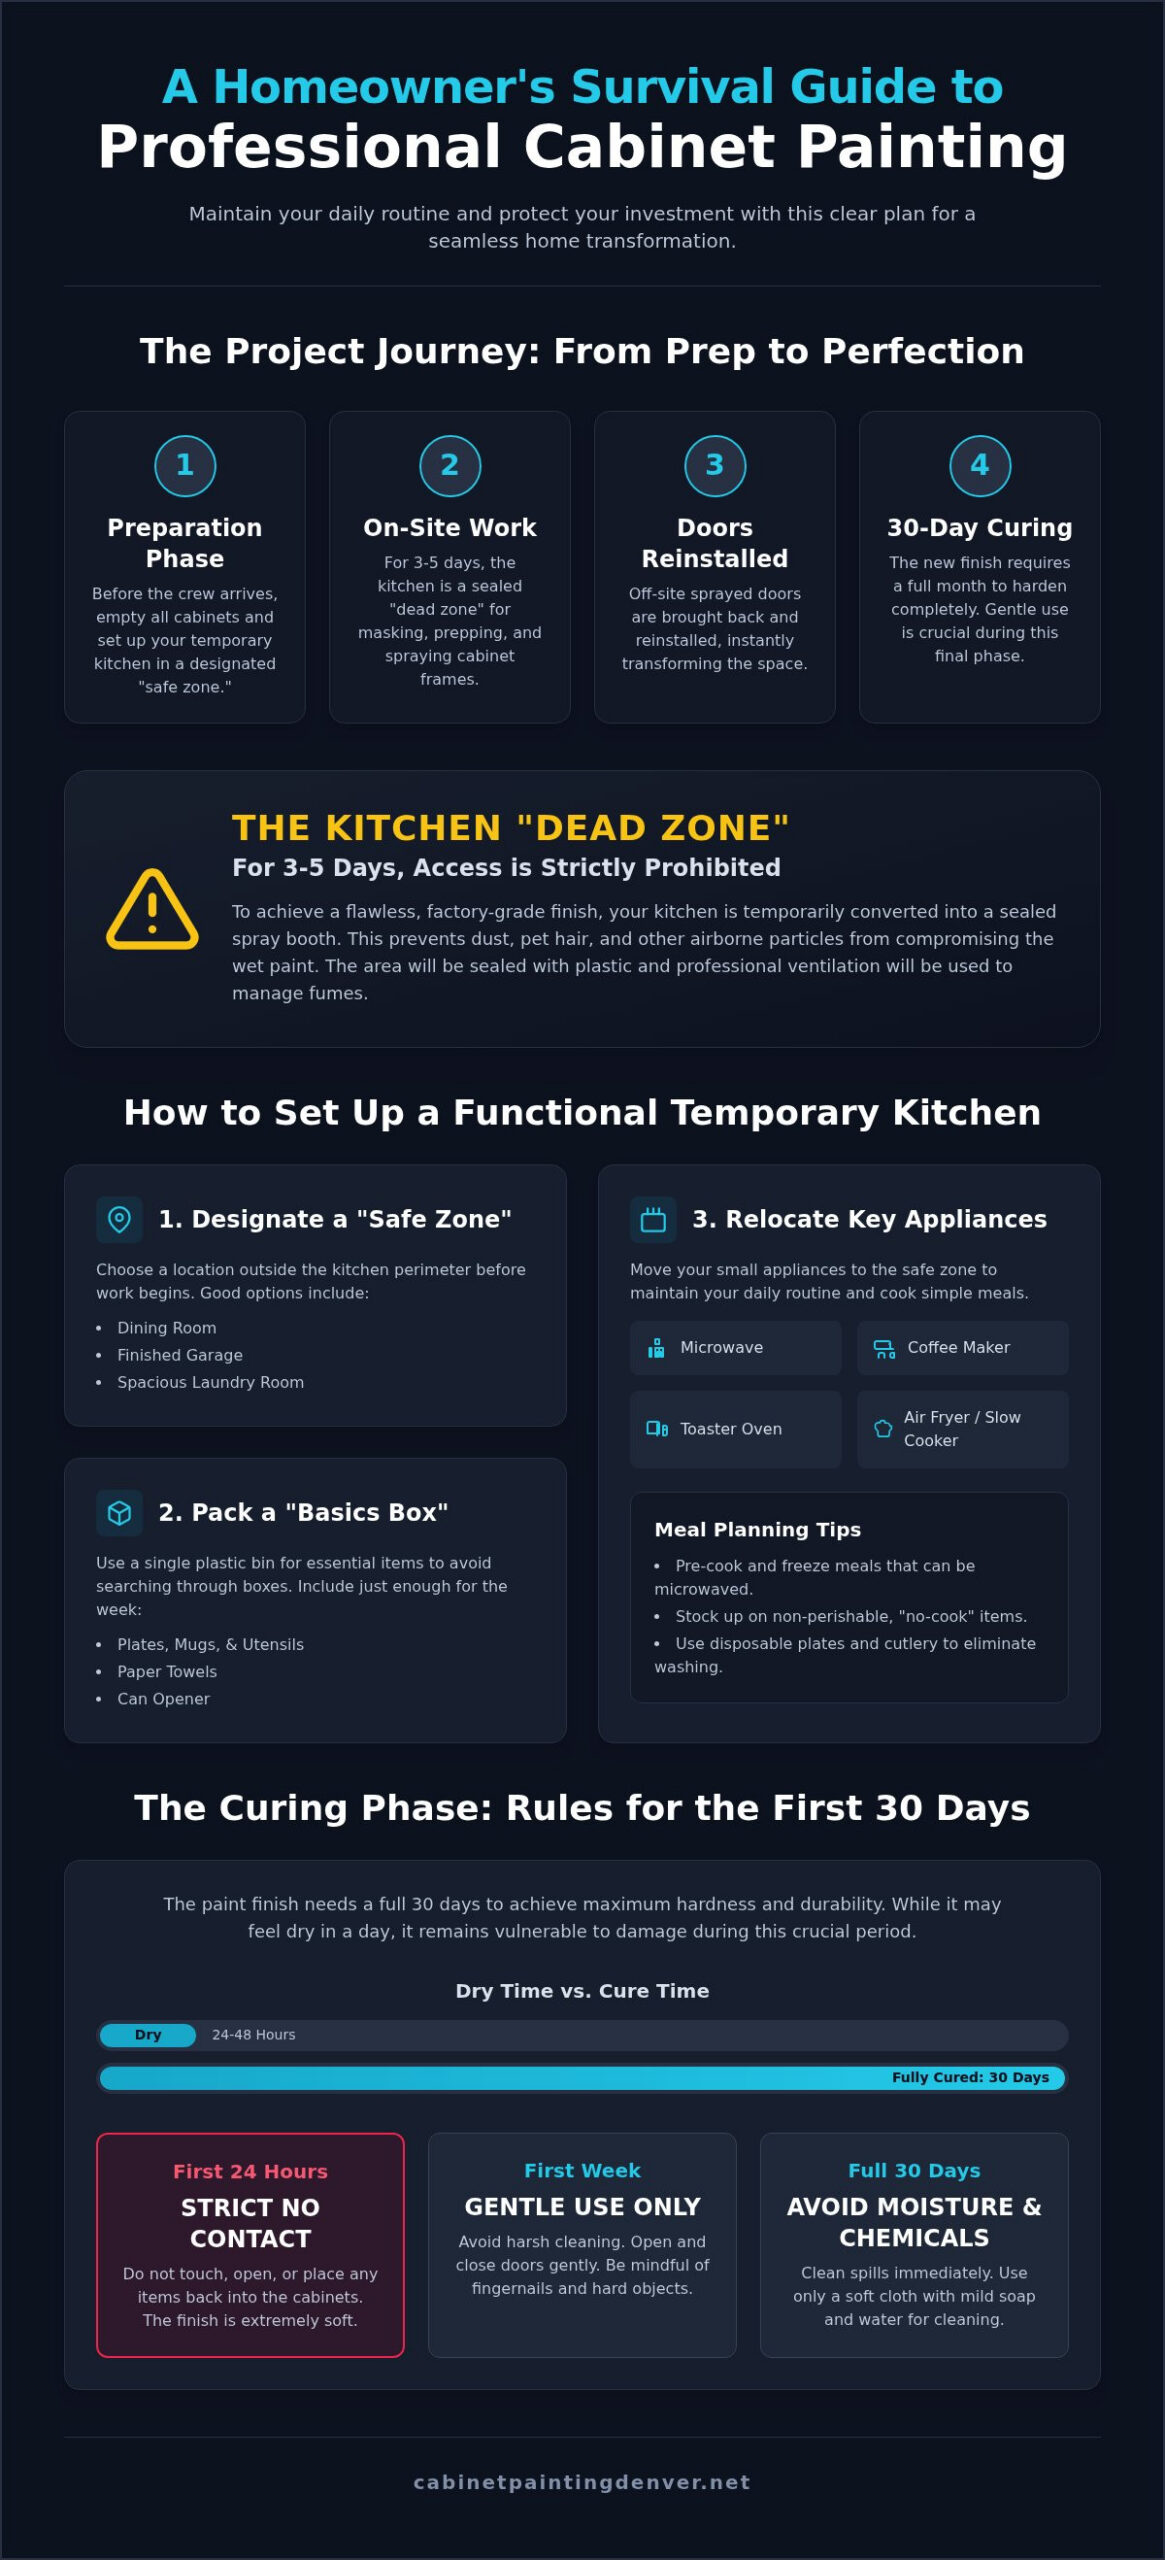
Professional cabinet painting is not a standard brush and roller job. It is a high precision application that demands a sterile environment. During the active work window, which usually lasts three to five days, your kitchen functions as a sealed laboratory. Planning what to do while cabinets are being painted involves accepting that access to your sink, stove, and refrigerator will be extremely limited or nonexistent. Maintaining a dead zone is the only way to prevent airborne contaminants like dust, lint, or pet hair from embedding themselves in the wet coating. This level of control is essential for achieving the smooth, factory grade finish that homeowners expect.
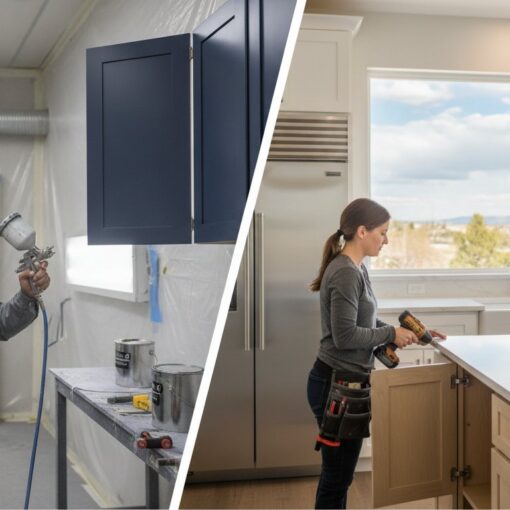
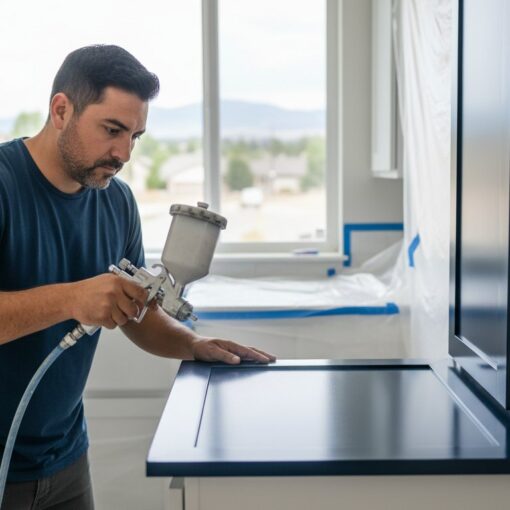
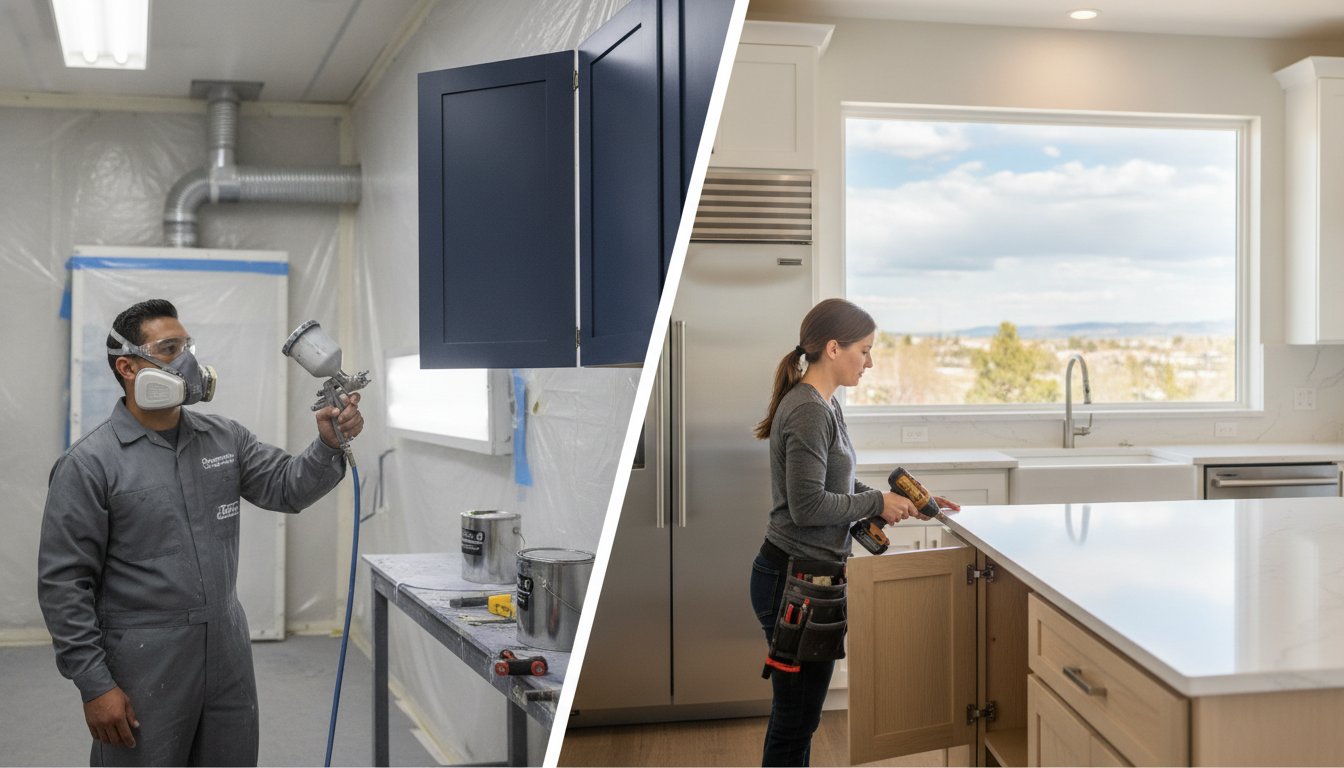
Achieving this result requires a deep understanding of kitchen cabinet construction and finishes. Professional painters treat the kitchen as a spray booth. This means sealing off the room from the rest of the house to contain overspray and manage air quality. While Cabinet Painting Denver processes doors off-site to reduce in-home disruption, the frames must still be handled on-site with the same level of care. If the seal is broken during the spraying process, the entire finish is at risk.
The Masking and Prepping Phase
Expect a significant amount of plastic sheeting and painter’s tape. Crews will cover your countertops, floors, and appliances to protect them from prep dust and paint particles. You must empty your cabinets completely before the team arrives. Removing all contents prevents damage to your belongings and allows the painters to work without obstructions. Proper ventilation is established using professional grade equipment. This often involving airtight seals around doorways to maintain pressure and air purity. If you leave items in the cabinets, they will likely be covered in fine sanding dust.
The Spraying and Drying Window
The 24 to 48 hour period during and after spraying is the most sensitive phase of the project. The kitchen remains strictly off-limits during this time. Professional grade exhaust fans are used to pull fumes out of the house, but the smell may still be noticeable in adjacent rooms. It is vital to keep pets and children away from the taped-off perimeter. Any accidental contact with a wet frame can ruin the finish and require extensive sanding and re-spraying. This window is also when the specialized coatings begin their initial set, which is influenced by local humidity and temperature levels.
How to Set Up a Functional Temporary Kitchen
Establish a designated safe zone outside the kitchen perimeter before the crew arrives. Common locations include the dining room, a finished garage, or a spacious laundry room. This area serves as your operational hub while your kitchen is sealed. The “Basics Box” strategy is the most efficient way to manage this transition. Pack a single plastic bin with only the essential utensils, plates, and mugs your family needs for the week. This prevents you from digging through packed boxes or attempting to enter the taped-off kitchen for a single fork.
Knowing exactly what to do while cabinets are being painted helps you avoid the frustration of lost access to your primary cooking tools. If your refrigerator is not built-in, consider moving it to an adjacent room before the floor is masked. If relocation is impossible, stock up on non-perishable “no-cook” items that don’t require refrigeration. This keeps your family fed without violating the sterile environment required for a factory-grade finish.
Relocating Key Appliances
Move your coffee maker, microwave, and toaster oven to your safe zone first. A dedicated coffee station prevents morning confusion and maintains your routine. High-efficiency tools allow you to prepare hot meals without needing a stove or oven. Consider relocating these items:
- Air fryers: Ideal for quick proteins and vegetables.
- Slow cookers: Useful for set-and-forget dinner prep.
- Electric kettles: Essential for tea or instant meals.
Ensure these appliances are placed on a heat-resistant surface with adequate power outlet access. If you are preparing for professional kitchen cabinet painting, setting these items up 24 hours in advance allows you to test the setup before the kitchen becomes inaccessible.
Meal Planning for the Project Week
Deciding what to do while cabinets are being painted includes prepping your menu; pre-cooking and freezing meals is the most effective way to minimize stress. Prepare batches of food that require only a microwave to reheat. Use disposable plates, cups, and cutlery to eliminate the need for a kitchen sink. For cleanup, use a bathroom sink or an outdoor hose for larger items. Since you won’t have a full kitchen, this is an excellent opportunity to support local Denver restaurants. Many homeowners plan their project week around dining out or ordering delivery to avoid the logistics of temporary food prep.
Safety is always the priority. If your home was built before 1978, ensure your chosen professionals follow lead-safe work practices to keep your temporary dining area free from hazardous dust. Maintaining this separation ensures your living space remains functional and safe throughout the transformation.
Protecting Your Home and the New Finish
Protecting your home during a renovation involves more than just covering furniture. When considering what to do while cabinets are being painted, you must account for invisible factors like air currents and static electricity. Professional crews use vacuum shrouded sanders to capture the vast majority of debris at the source, but your behavior in the home impacts the final result. Maintaining a stable environment is critical for the finish to level correctly without trapping airborne particles. This shared responsibility ensures the high quality finish remains pristine throughout the application process.
Denver’s semi arid climate presents unique advantages for this type of work. Low humidity levels often result in faster initial dry times compared to coastal regions. However, this dry air also increases static, which can attract household dust to wet surfaces. Keep your HVAC system set to a consistent temperature between 68 and 72 degrees. Avoid using high velocity fans or opening windows near the kitchen. These actions create turbulent air that carries hair and lint directly into the fresh coating. If you are unsure about your system’s settings, it’s best to leave the thermostat at a steady, moderate level.
Homeowners in coastal regions where humidity is a significant factor can discover 1st Class Painting & Restoration to see how professional painting teams manage environmental variables to ensure a flawless finish.
Dust and Debris Control
Our teams utilize HEPA filtration systems to scrub the air during the preparation phase. You can assist by following these protocols:
- Minimize foot traffic: Rapid movement near plastic sheeting creates a bellows effect, pushing air into the workspace.
- Keep exterior doors closed: Even a light breeze can carry outdoor pollutants into the house.
- Avoid heavy cleaning: Refrain from vacuuming or dusting in adjacent rooms while paint is wet to prevent stirring up settled particles.
These steps are vital for maintaining the integrity of the work zone. While the off site door processing handled by Cabinet Painting Denver reduces the overall footprint of the project, the on site frame painting remains highly sensitive to environmental changes.
Pet and Child Safety
The kitchen must remain a strict no-fly zone for the duration of the project. Cats are a primary concern as they often jump onto counters; this can lead to permanent paw prints in wet paint. Children should be kept away to prevent them from tripping over equipment or disturbing the masking seals. While we use high quality products, professional grade primers still have distinct odors. If you or your pets have sensitive noses, consider staying in a different part of the home or arranging a day out during the active spraying phase. This ensures safety for your family and prevents accidental damage to your investment.
The Curing Phase: Rules for the First 30 Days
The completion of the painting process is not the end of the project’s sensitivity. While your cabinets may feel dry to the touch within hours, they are not yet durable. Understanding what to do while cabinets are being painted includes mastering the post-application care requirements. The 24-hour rule is the most critical period immediately following door re-installation. During this time, you must avoid all contact with the surfaces. Even light pressure can leave permanent indentations or smudges in the finish, as the coating is still in a plastic-like state.
Denver’s low humidity environment generally accelerates initial drying times, yet it does not bypass the necessary chemical transition. For the first 14 days, you must adhere to a strict no-scrubbing policy. The bond between the paint and the substrate is still forming. Any mechanical stress or friction during this two-week window can cause the finish to peel or delaminate. If you notice a smudge or a spill, resist the urge to use force. Blotting gently is the only acceptable method for addressing surface issues during the early stages of the curing cycle.
Handling Your New Cabinets
Use only the installed hardware to open and close your doors and drawers. Avoid touching the painted edges with your fingers, as skin oils can interfere with the final hardening process. Curing is the chemical hardening process that takes up to 30 days to reach full structural integrity. You should also delay the installation of new clear bumpers or felt pads for at least 7 to 10 days. Applying these too early can trap solvents against the finish, leading to “blocking” where the door sticks to the frame and pulls the paint away upon opening.
If you are ready to upgrade your kitchen with a professional finish, contact Cabinet Painting Denver to schedule your transformation.
Cleaning and Maintenance Protocol
Maintenance during the first month requires a minimalist approach. Use only a clean, damp microfiber cloth to wipe down surfaces if necessary. You must avoid all chemical cleaners during the 30-day curing window. Banned substances include ammonia, bleach, and any abrasive sponges or “magic” erasers. These materials will dull the sheen and scratch the soft coating before it has fully hardened. If a spill occurs, blot the area immediately with a soft cloth; do not rub or use a circular motion. Following these procedural requirements ensures the longevity of your factory-quality finish.
Partnering with Professional Cabinet Painters
Professional cabinet painting is an industrial process performed within a residential environment. This specialized service requires a completely different approach than standard wall painting. While a general painter might use brushes and rollers, a factory-grade finish demands high-volume, low-pressure (HVLP) or airless spraying equipment. This distinction is why Cabinet Painting Denver prioritizes off-site door spraying. By processing doors in a controlled environment, we eliminate a significant portion of the in-home clutter and airborne debris risks discussed in previous sections. Knowing what to do while cabinets are being painted includes vetting your contractor’s specific equipment and preparation protocols to ensure they match these professional requirements.
Before the masking process begins, you should ask your contractor about their containment strategy. A professional team will provide a clear plan for protecting your flooring and countertops. During the final walkthrough, inspect the surfaces for sheen consistency and the absence of “orange peel” texture. Check that all hardware is correctly aligned and that doors open and close without catching on the fresh finish. This objective assessment ensures the project meets the high standards required for a durable, long-term result.
Communication and Expectations
Clear communication is the foundation of a successful home transformation. You should establish a daily start and stop time with the crew to maintain your household schedule. Determining the best entry point for the painters is also a vital part of planning what to do while cabinets are being painted. This minimizes traffic through non-essential areas of your home and helps maintain the “dead zone” required for a clean finish. Understanding the cost to paint kitchen cabinets is essential for ensuring your budget accounts for the extensive professional preparation required. High-quality results are directly tied to the labor-intensive cleaning and sanding phases that occur before the first drop of paint is applied.
Transforming Your Home with Cabinet Painting Denver
Our team maintains a commitment to a transparent and professional workspace. We prioritize procedural clarity, ensuring you know exactly which stage your project is in at any given time. Our specialized process, including off-site door processing, is designed to return your kitchen to full service as quickly as possible without compromising quality. We provide an objective statement of project status throughout the week to maintain your confidence. Get your free cabinet painting quote in Denver today! and discover how our structured approach delivers a factory-quality finish for your kitchen, bathroom, or bookshelves.
Preparing for Your Kitchen Transformation
Cabinet Painting Denver provides comprehensive preparation and off-site door processing to minimize in-home disruption. Our local Denver experts prioritize a clean, transparent workflow from the initial masking to the final re-installation. If you’re ready to revitalize your space with a professional touch, schedule your professional cabinet painting consultation today. You can achieve a beautiful, factory-quality kitchen while maintaining peace of mind throughout the process.
Frequently Asked Questions
Can I leave my food in the cabinets while they are being painted?
No, you must empty all cabinets completely before the arrival of the painting crew. This is a critical step for anyone deciding what to do while cabinets are being painted to ensure a clean workspace. Leaving food items inside exposes them to fine sanding dust and prevents painters from properly cleaning the interior edges. It’s best to store non-perishables in your designated temporary kitchen area until the project is finished.
How long does the smell of cabinet paint last in the house?
Odors from professional grade coatings typically dissipate within 24 to 48 hours after the final application. While we use exhaust fans to manage air quality, the specific duration depends on your home’s ventilation and local humidity levels. You’ll notice the strongest scent during the active spraying phase. Once the paint reaches its initial dry state, the smell will decrease significantly. Keep your HVAC system running to maintain consistent airflow throughout the space.
Is it safe to stay in the house while the cabinets are being sprayed?
It’s safe to remain in your home, but you should stay in rooms away from the sealed kitchen area. Professional painters use high volume exhaust systems to pull fumes outside, minimizing the impact on the rest of the house. If you have respiratory sensitivities or are concerned about what to do while cabinets are being painted, you might prefer to leave for a few hours during the spray phase. This ensures maximum comfort while the coatings are wet.
What happens if a pet touches the wet paint on the cabinet frames?
If a pet touches wet paint, the finish will be physically compromised and require professional repair. The area must be sanded down and re-sprayed to restore the factory quality appearance. Beyond the aesthetic damage, wet paint can be hazardous if a pet attempts to lick their fur. It’s essential to keep all animals behind a closed door or in a separate part of the home until the frames are dry to the touch.
How soon can I put my dishes back into the cabinets after painting?
You can typically return dishes to your cabinets 48 hours after the doors are re-installed, provided you handle them with care. Use only the handles and avoid dragging heavy stacks of plates across the shelf surfaces. Since full curing takes up to 30 days, placing heavy items too early can cause the paint to stick or “block.” It is safer to wait a full week before loading cabinets to their maximum capacity.
Can I use my stove or oven while the kitchen is taped off?
No, you cannot use your stove or oven while the kitchen is masked and sealed. The heat generated by these appliances can cause the paint to dry too quickly or unevenly, leading to a brittle finish. Additionally, cooking oils and steam create a surface film that prevents proper paint adhesion. Your kitchen remains a strict “no-cook” zone from the start of masking until the final inspection is complete.
Do I need to move all my furniture out of the kitchen area?
You don’t need to move large furniture out of the house, but you must clear a path for the technicians. Move small items like chairs, barstools, and decorative plants to another room. Larger pieces like dining tables can stay if they are positioned away from the cabinets and can be covered with plastic sheeting. This allows the crew to move freely with their equipment without risking damage to your household furniture.
What should I do if I notice a small drip or chip during the curing phase?
If you notice a drip or chip, do not attempt to fix it yourself. Touching the paint while it’s in the soft curing phase will create a larger, more difficult defect. Take a photograph of the area and notify your contractor immediately. Most professional crews will address minor imperfections during a scheduled touch-up visit. Patience is vital here; let the chemical hardening process continue until a professional can perform a proper repair.