
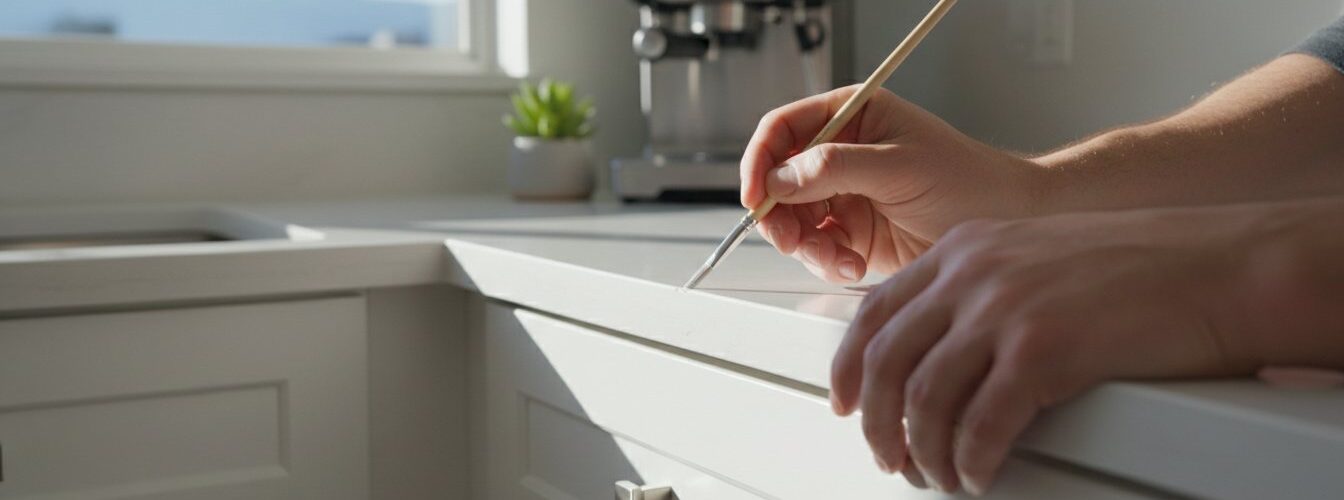
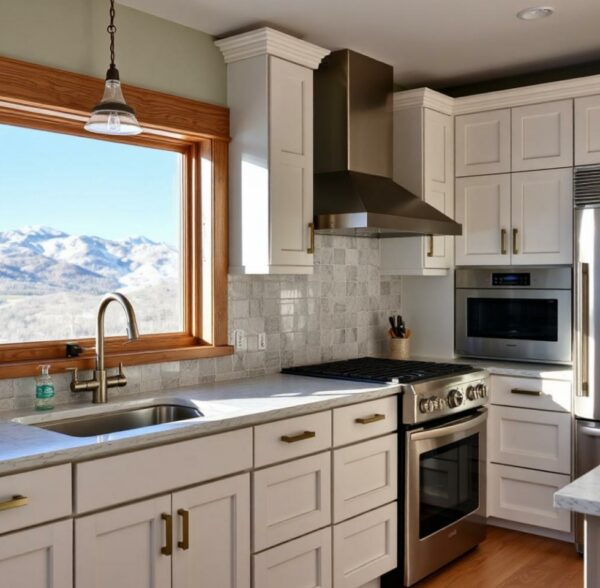
Last Tuesday, Sarah noticed a jagged 2-millimeter chip right on her white kitchen island door. It was the only thing she saw every time she walked into the room. You likely feel that same pit in your stomach when a stray pot or a rogue vacuum cleaner leaves a glaring scar on your cabinetry. It’s incredibly frustrating when you’ve invested in a high-quality finish, and now you’re terrified that a DIY painted cabinet touch up will look like a messy blob of mismatched paint. Most homeowners worry about visible brush marks or the repair peeling off after just 6 months of daily cleaning.
This guide shows you exactly how to perform a professional-grade repair that disappears into the existing surface. You’ll learn the specific sanding techniques and layering secrets that ensure your fix stays durable for years. We’ll explore the step-by-step process for a seamless blend and identify the 3 critical signs that your cabinets require a full professional refinish rather than a simple patch. You don’t have to live with those distracting imperfections anymore.
Key Takeaways
- Identify the difference between surface-level chips and structural damage to determine the most effective repair method for your kitchen.
- Learn how to select professional-grade tools and navigate color-matching challenges caused by years of UV exposure.
- Follow a professional step-by-step painted cabinet touch up process to ensure seamless paint adhesion and a factory-fresh finish.
- Discover how to avoid common DIY pitfalls like the “Halo Effect” that can make localized repairs look like obvious, shiny spots.
- Recognize the specific warning signs that indicate your cabinets have reached the point where they require professional refinishing rather than a simple patch.
What is a Painted Cabinet Touch Up and Why Does It Matter?
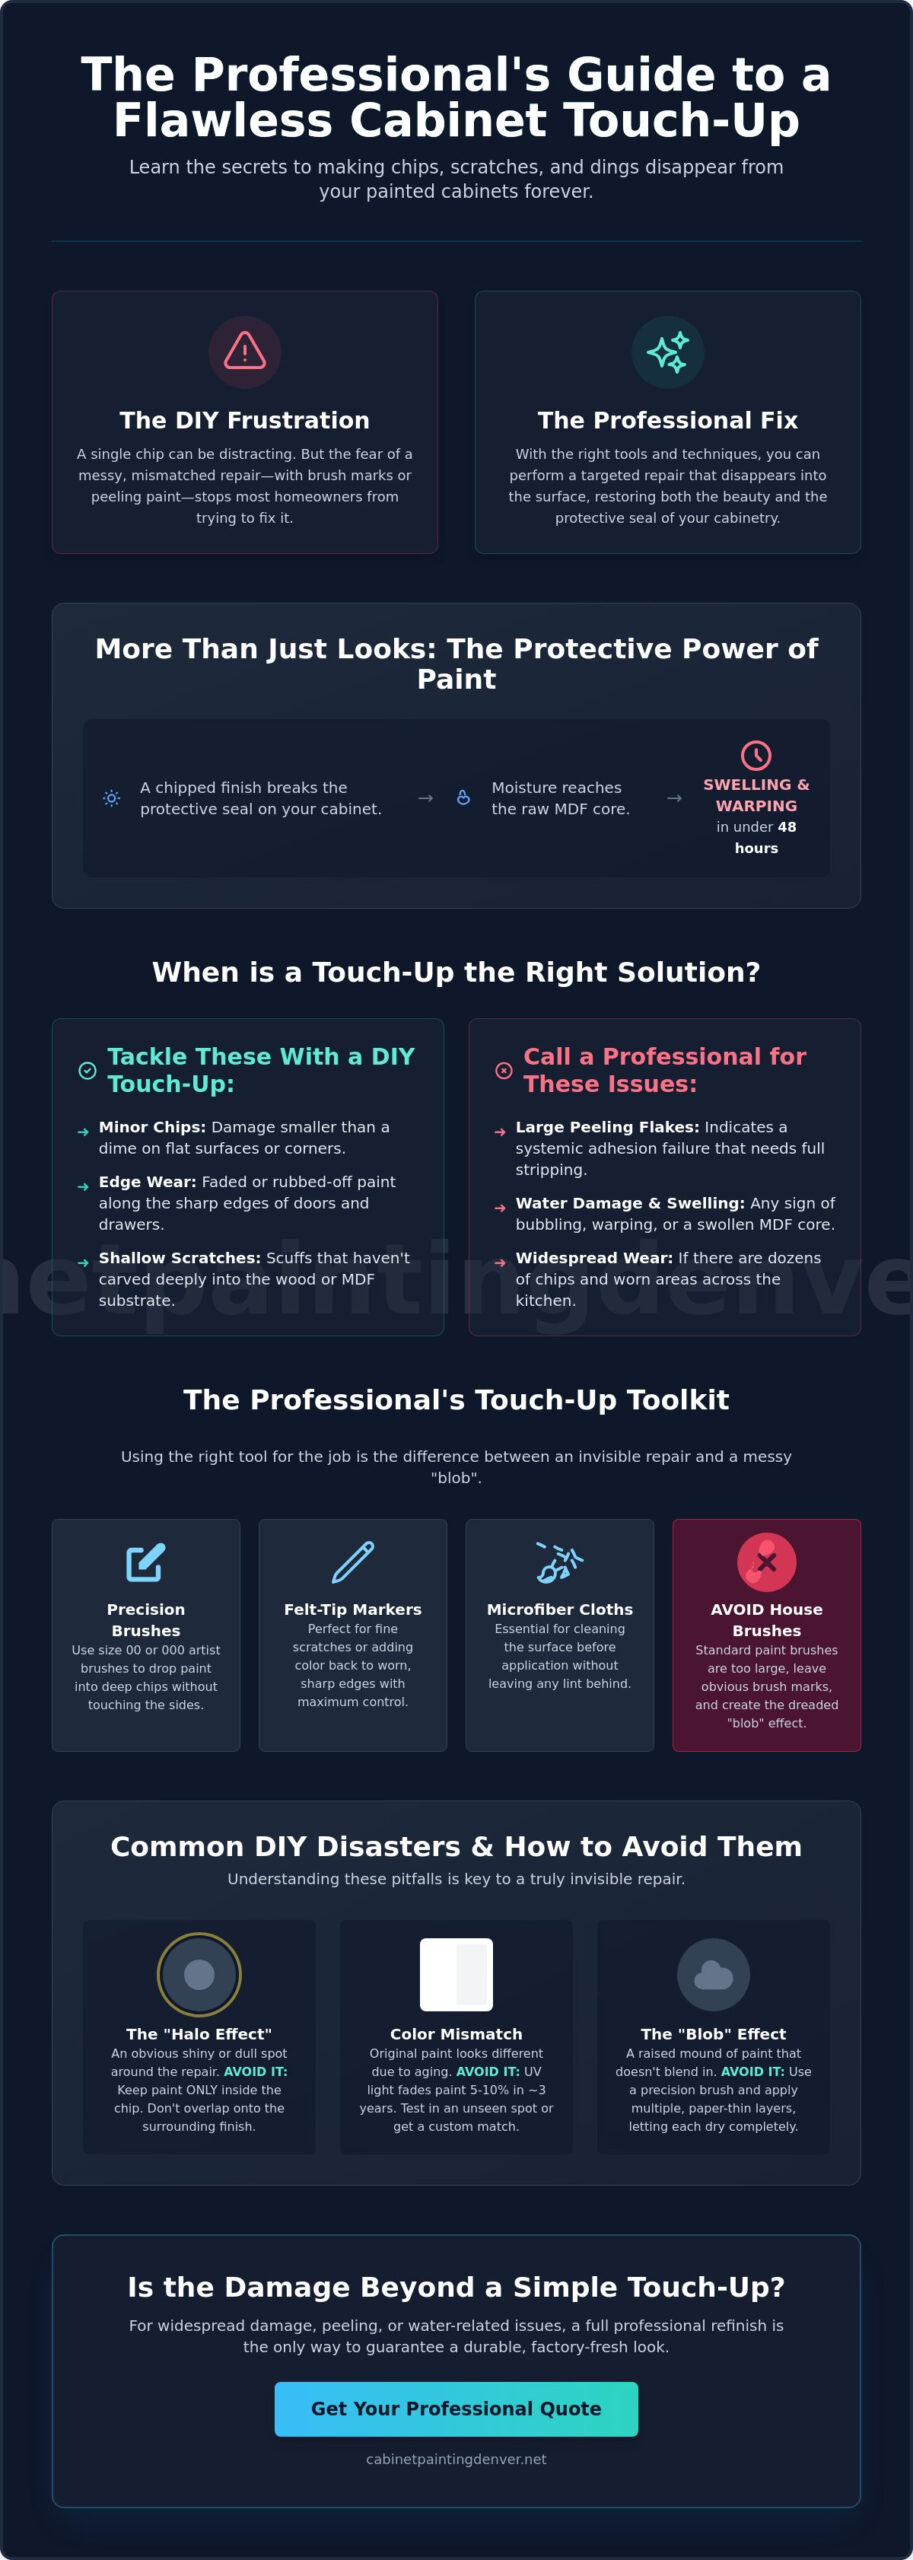
A painted cabinet touch up is a targeted, localized repair designed to restore the finish of your cabinetry without the cost of a full professional refinishing project. These repairs focus on surface-level aesthetic chips and minor edge wear rather than deep structural gouges. While a full repaint involves stripping and spraying entire doors, a touch up uses precision tools to fill in small gaps in the color coating. It’s a vital maintenance task that keeps a kitchen looking fresh between major renovations.
Beyond the visual appeal, these repairs serve a functional purpose. The paint on your cabinets acts as a seal. When that seal breaks, the underlying wood or MDF core becomes vulnerable. In a kitchen environment, moisture from boiling pots or sink splashes can reach the exposed core. Within 48 hours of exposure, raw MDF can begin to swell, leading to permanent warping that a simple paint dab won’t fix. Gaining a deeper perspective through understanding paint composition helps homeowners realize that their cabinet finish is a complex protective barrier, not just a decorative layer.
To better understand this concept, watch this helpful video:
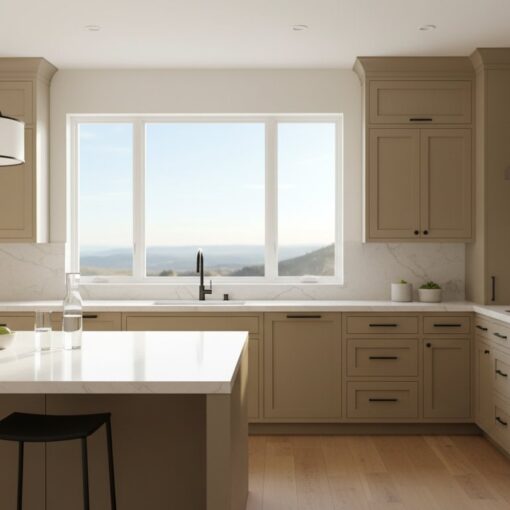
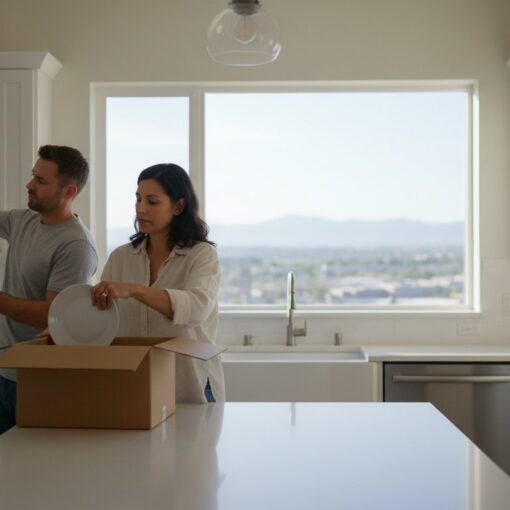
For residents in high-end Denver neighborhoods like Cherry Creek or Hilltop, a flawless kitchen is a standard expectation. Real estate data from 2023 suggests that minor kitchen blemishes can negatively impact a buyer’s first impression, even in luxury properties. Maintaining a pristine finish ensures the home’s value remains high. It’s often the difference between a kitchen that looks “lived in” and one that looks “expertly maintained.”
Common Causes of Cabinet Paint Damage
- Daily Friction: Constant contact near handles and drawer pulls causes skin oils to break down the topcoat over a 3 to 5 year period.
- Impact Events: Vacuum cleaners, heavy Dutch ovens, and grocery bags frequently strike the base cabinets, leading to sharp chips.
- Chemical Exposure: Using ammonia-based cleaners or leaving standing water on a shelf can soften the paint, making it easy to scrape away during routine cleaning.
When a Touch-Up is the Right Solution
A painted cabinet touch up is the ideal fix for chips smaller than a dime or minor rubbing along the sharp edges of a shaker-style door. If the damage is a deep scratch that has actually carved into the wood, you’ll need a filler before applying paint. You should also check for peeling. If the paint is lifting away in large flakes, this indicates a systemic adhesion failure. In that specific case, a touch-up is only a temporary bandage for a much larger problem that likely requires professional stripping and repainting.
Essential Tools and Color Matching for a Flawless Finish
A professional painted cabinet touch up requires more than just a leftover can of paint and a paper towel. The success of your repair depends on the hierarchy of tools you select and how you account for the natural aging of your finish. While original paint is technically the best match, UV exposure can shift a cabinet’s color by 5% to 10% over a three-year period. This means a direct application of original paint might actually stand out more than the chip itself. You must evaluate the current state of your kitchen’s finish before opening a single can.
- Precision Brushes: Use size 0 or 00 synthetic artist brushes for deep chips.
- Felt-Tip Markers: These are ideal for rubbing against worn corners or thin scratches.
- Foam Dabbers: Use these for larger areas to mimic the texture of a sprayed finish.
- Microfiber Cloths: Essential for cleaning the surface without leaving lint behind.
Choosing Your Application Tool
The right tool prevents the “blob” effect. For deep chips that reach the wood substrate, use a size 000 synthetic artist brush. These brushes allow you to drop paint into the crater without overlapping the surrounding finish. If you’re dealing with edge wear, a felt-tip touch-up marker provides more control than a brush. For larger repairs, a 1-inch foam dabber helps you mimic the slight orange-peel texture of a professional spray job. Avoid standard 2-inch house brushes because they leave visible bristle marks that catch the light at different angles.
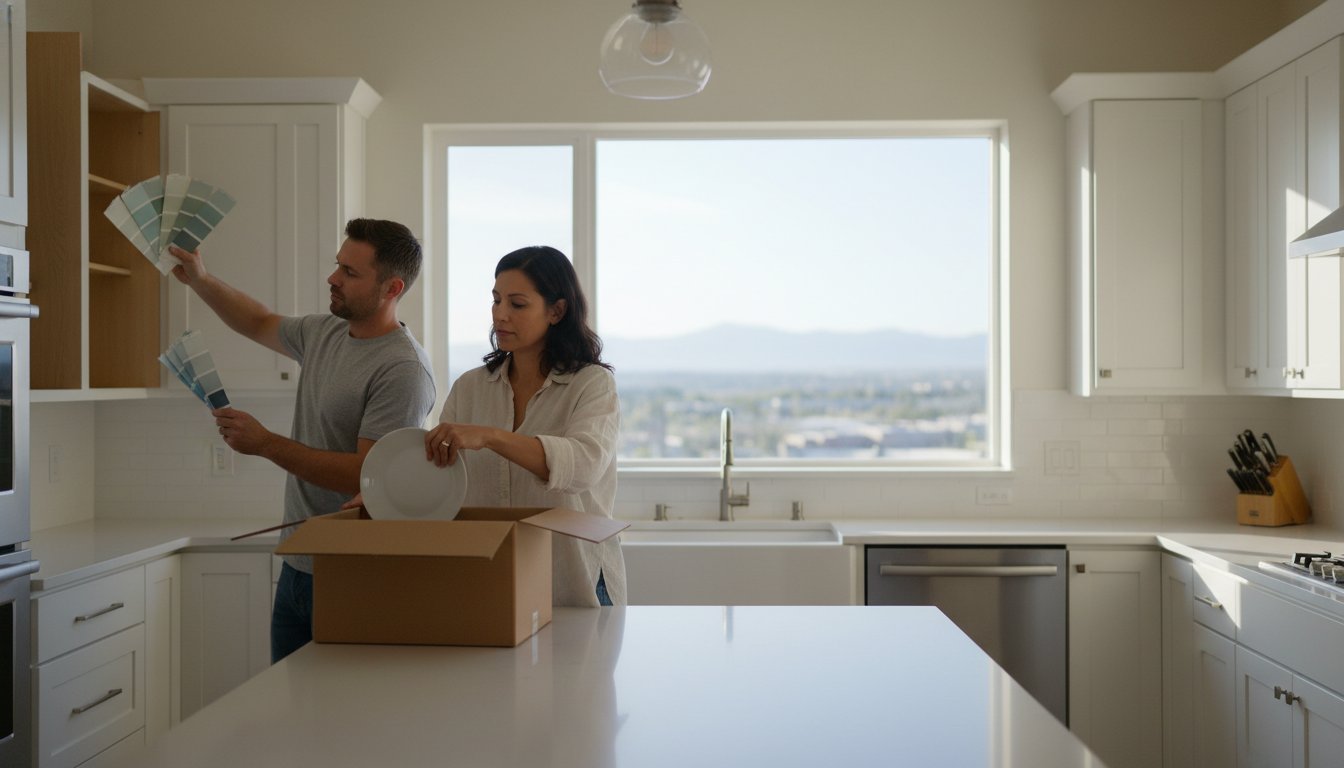
The Secret to Perfect Color Matching
Colorado’s intense sun exposure will eventually yellow or fade your cabinet’s finish. If your cabinets were painted more than 24 months ago, the original paint in your garage likely won’t match anymore. You should take a small drawer front or a hinge-hole cutout to a local Denver paint store for a spectrophotometer reading. This digital analysis captures the exact current state of the color. Always apply a test patch to a scrap piece of wood first. Most water-based cabinet paints dry 15% darker than they appear when wet, a phenomenon known as “dry back.”
The sheen is the final hurdle for a painted cabinet touch up. A perfect color match will still look like a “shiner” if the gloss level is off. Most modern kitchen cabinets use a satin finish, which reflects about 25% to 35% of light. If your touch-up looks too dull once dry, you can apply a thin layer of clear coat in the correct sheen to blend the repair. If you find the process overwhelming, consulting with a professional cabinet painter in Denver can ensure a seamless result for high-traffic kitchens.
Step-by-Step Guide to Touching Up Your Cabinets
Executing a professional painted cabinet touch up requires more than a quick dab of color. The difference between a visible patch and an invisible repair lies in the preparation and the patience you apply to the process. In a high-use environment like a kitchen, where surfaces face constant contact and heat, following a structured protocol ensures the repair lasts as long as the original finish.
Step 1: Preparation and Cleaning
Adhesion is your primary goal. Kitchen cabinets accumulate a layer of aerosolized cooking oils and skin oils that act as a barrier to new paint. You must clean the damaged area with a mild degreaser or a mixture of warm water and grease-cutting dish soap. If these contaminants remain, your touch up will peel away within 30 days. Once the surface is dry, use 400-grit sandpaper to lightly sand the edges of the chip. This process removes loose flakes and creates a smooth transition between the wood and the existing paint. Use low-tack painter’s tape to protect your hinges and handles, as even a small drop of paint on hardware can ruin the professional look of your kitchen.
Step 2: Layering the Paint
If your scratch is deep enough to reveal bare wood, you need to apply a tiny amount of primer first. Wood is porous and will soak up the moisture in the paint, leading to a dull or uneven finish. When you start the painted cabinet touch up, apply the paint in very thin layers using a fine-tipped artist brush or a specialized touch up tool. Building the color layer by layer prevents the “glob” effect that catches the light and reveals the repair. Feathering is the technique of thinning paint at the edges. Allow at least 30 minutes between these thin coats. This interval is crucial because it allows the solvents to evaporate, ensuring the next layer bonds correctly without dragging the previous one.
Step 3: Leveling and Finishing
After your final color coat has dried for at least four hours, you might notice the patch sits slightly higher than the surrounding surface. Use a micro-sander or a very fine sanding block to level the patch until it’s flush. To protect the repair, apply a final clear topcoat that matches the specific sheen of your cabinets, whether that is matte, satin, or semi-gloss. Denver’s dry climate, where humidity often drops below 20%, causes paint to feel dry to the touch very quickly. However, dry is not the same as cured. You must avoid the urge to scrub or even touch the repair for a full 24 hours. While the low humidity speeds up initial evaporation, the chemical hardening process still takes time to reach maximum durability.
- Cleaning: Use a 50/50 water and vinegar solution for light grease.
- Sanding: Only sand the damaged spot, not the healthy paint around it.
- Application: Use a “dabbing” motion rather than a “brushing” motion for chips.
- Curing: Keep the kitchen well-ventilated to help the paint harden.
The “Halo Effect” and Other Common DIY Pitfalls
The “halo effect” remains the most frequent frustration during a painted cabinet touch up. This phenomenon occurs when the new paint creates a visible ring or a “shiny spot” that catches the light differently than the surrounding area. It’s often caused by a slight mismatch in sheen or by applying the paint too thickly at the edges of the repair. While a chip might be small, the resulting halo can make the entire door look blotchy under kitchen task lighting. Many homeowners try to solve this by using “all-in-one” paint products found at local hardware stores. These retail paints rarely bond correctly with professional factory finishes or high-end conversion varnishes. Because the chemical structures don’t align, the touch-up often peels away within 6 to 12 months, leaving the cabinet vulnerable to moisture.
Over-sanding is another trap that turns a five-minute fix into a weekend project. A chip the size of a peppercorn only requires localized attention. If you use a heavy hand with 120-grit sandpaper, you can quickly create a 3-inch bald spot. Once you burn through the factory primer to the raw wood or MDF, you’ve compromised the substrate. This usually requires a full panel refinish to restore the original look. Precision is the only way to maintain the integrity of a professional finish.
Avoiding the Shiny Spot
To prevent the dreaded halo, use a “dry brushing” technique. After filling the chip, use a tiny artist’s brush to feather the edges of the wet paint outward into the original finish. You should never use a standard 2-inch wall brush for cabinet repairs; the bristles are too coarse and leave deep track marks. Success also relies on matching the original paint for cabinets exactly. Even a 5% deviation in gloss level will be glaringly obvious once the paint dries and cures.
Environmental Factors in Colorado
Denver’s climate introduces variables that can ruin a painted cabinet touch up if you aren’t prepared. With average winter humidity often dropping below 15%, paint dries much faster than it would at sea level. This rapid evaporation prevents the paint from “leveling,” which is the process where brush marks flatten out naturally. You might end up with a textured “hill” of paint instead of a smooth surface.
- Static and Dust: Dry air in Denver homes creates significant static, attracting dust to fresh paint like a magnet.
- Temperature Swings: Colorado can see 30-degree temperature shifts in a single afternoon. These fluctuations cause wood to expand and contract, which can crack a fresh touch-up before it fully cures.
- Elevation Adjustments: Higher elevation means lower boiling points for solvents, so your drying expectations must be adjusted by at least 20% compared to coastal regions.
If your DIY repairs are leaving visible marks, it might be time for a professional touch. Contact our team for a professional cabinet assessment to restore your kitchen’s factory-smooth finish.
When to Call a Denver Professional for Cabinet Refinishing
Every painted cabinet touch up has its limits. If you’re spending every Saturday morning with a brush and a tiny pot of paint, you’ve moved past maintenance and into a cycle of diminishing returns. A patch is a temporary fix for a single 2mm chip. It isn’t a long-term solution for an entire kitchen where the finish is failing. Professional cabinet refinishing becomes the more economical choice when the total surface area of damage exceeds 10 percent of the cabinetry. At that point, the labor involved in individual repairs outweighs the cost of a comprehensive spray. A professional job typically lasts 8 to 10 years, whereas constant patching often looks messy and inconsistent after just 18 months.
Signs You Need a Full Pro Update
- Widespread spider-web cracking: Also known as checking, this occurs when the wood expands and contracts but the paint has become too brittle to move with it. If this covers more than 15 percent of a door, the paint film has reached the end of its life.
- Adhesion failure: When paint peels away in large sheets, the bond between the primer and the wood has broken. A simple painted cabinet touch up won’t fix this because the underlying layers are unstable.
- Deep gouges: Scratches that penetrate through the wood grain require more than a dab of paint. They need professional high-solids fillers and industrial sanding to prevent moisture from rotting the door core.
The Professional Advantage in Denver
Our cabinet painting denver service provides a level of durability DIY methods can’t match. We use industrial-grade coatings applied in a controlled, off-site spray booth. This environment eliminates 99 percent of airborne dust particles that typically ruin a home-applied finish. The result is a smooth-as-glass surface that resists household chemicals and impacts better than standard retail paints.
The process involves stripping the old, failing layers and applying a fresh, factory-grade coating. This eliminates the “lumpy” look that occurs when you layer too many patches on top of one another. If your kitchen looks tired and the surfaces feel sticky or rough, it’s time to stop patching. Request a free quote for kitchen cabinet painting today to see how a professional finish can restore your home’s value and aesthetic.
Restore Your Kitchen’s Pristine Factory Finish
Mastering a painted cabinet touch up requires patience and the right materials to avoid common DIY mistakes like the dreaded halo effect. While small chips are manageable with a steady hand and 100% color matching, larger areas often demand a more permanent solution. You’ve learned that surface preparation is the most critical step for adhesion, but even the best brush-on repair can’t mimic the durability of a professional application. Most homeowners find that DIY fixes work for minor nicks, yet they struggle to achieve a seamless blend across high-traffic doors.
If your kitchen cabinets show significant wear or you want a total transformation, our team brings over 15 years of local Denver expertise to your home. We specialize in high-end kitchen projects, providing a factory-quality spray finish that resists future chipping better than any hand-painted fix. Stop worrying about mismatched patches and give your woodwork the long-term protection it deserves. Get a Free Estimate for Professional Cabinet Refinishing in Denver and see how our specialized process revitalizes your space. Your dream kitchen is just a professional spray away. We look forward to helping you fall in love with your home again.
Frequently Asked Questions
Can I use a Sharpie to touch up my black or white cabinets?
No, you shouldn’t use a Sharpie because permanent markers contain dyes that turn purple or blue over time. These markers lack the 30% to 40% solids found in cabinet-grade paint, leaving a flat finish that won’t match. For a professional painted cabinet touch up, always use a small vial of the original coating to ensure the sheen and color depth remain consistent across the surface.
How do I find the original paint color of my cabinets if I didn’t paint them?
Look for a leftover can in the garage or a label on the back of a drawer box. If you can’t find a name, remove one small cabinet door and take it to a local paint retailer. Most stores use a spectrophotometer to provide a 95% accurate color match. This device analyzes the light reflection to create a custom formula that matches your existing finish perfectly.
Why does my touch-up paint look darker than the rest of the cabinet?
Touch-up paint often looks darker because the pigment settles or the application is too thick. Most water-based acrylic paints dry 1 to 2 shades darker than their liquid state. If you apply a heavy glob instead of a thin layer, the light hits the texture differently, creating a shadow. Stir your paint for at least 60 seconds to ensure the pigments are fully integrated before applying.
Is it better to brush or spray a touch-up area?
Brushing is the superior method for small chips and scratches. Use a high-quality 0.5-inch synthetic artist brush to dab the paint into the damaged area. Spraying is reserved for larger sections where you need to blend a 12-inch radius or more. For a standard painted cabinet touch up, a brush allows you to control the amount of material and prevents overspray on your countertops or floors.
How long should I wait before cleaning a touched-up cabinet area?
You must wait at least 30 days before using any chemical cleaners on the repaired spot. While the paint feels dry to the touch in 1 hour, it takes approximately 720 hours to reach its full chemical hardness. If you scrub the area too early, you’ll likely pull the fresh paint right off the surface. Stick to a dry, soft microfiber cloth for any light dusting during this initial month.
Will a touch-up kit work on cabinets that have been glazed or distressed?
Standard kits usually fail on glazed finishes because these cabinets involve 2 or 3 distinct layers of color. A simple paint pen won’t replicate the depth of a hand-applied glaze or the random patterns of distressing. You’ll need to apply the base coat first, let it dry for 4 hours, and then use a dry brush technique with a secondary glaze color to mimic the original artistic detail.
Can I touch up cabinets that were originally stained and then painted?
Yes, you can repair these, but you must use a shellac-based primer first. If the original stain was oil-based, the tannins will bleed through your new paint within 24 to 48 hours. Applying a small dab of primer prevents this discoloration in 90% of cases. Once the primer dries for 45 minutes, you can safely apply your color-matched topcoat without worrying about brown spots appearing later.
What is the best way to fix a chip on the corner of a cabinet door?
Rebuild the corner using a 2-part epoxy wood filler before applying any paint. Corners take the most abuse, so a simple layer of paint won’t hide the structural dent. Shape the filler with a putty knife, let it harden for 20 minutes, and sand it with 220-grit sandpaper until it’s flush. This creates a solid foundation that ensures your repair remains invisible and durable against future impacts.

