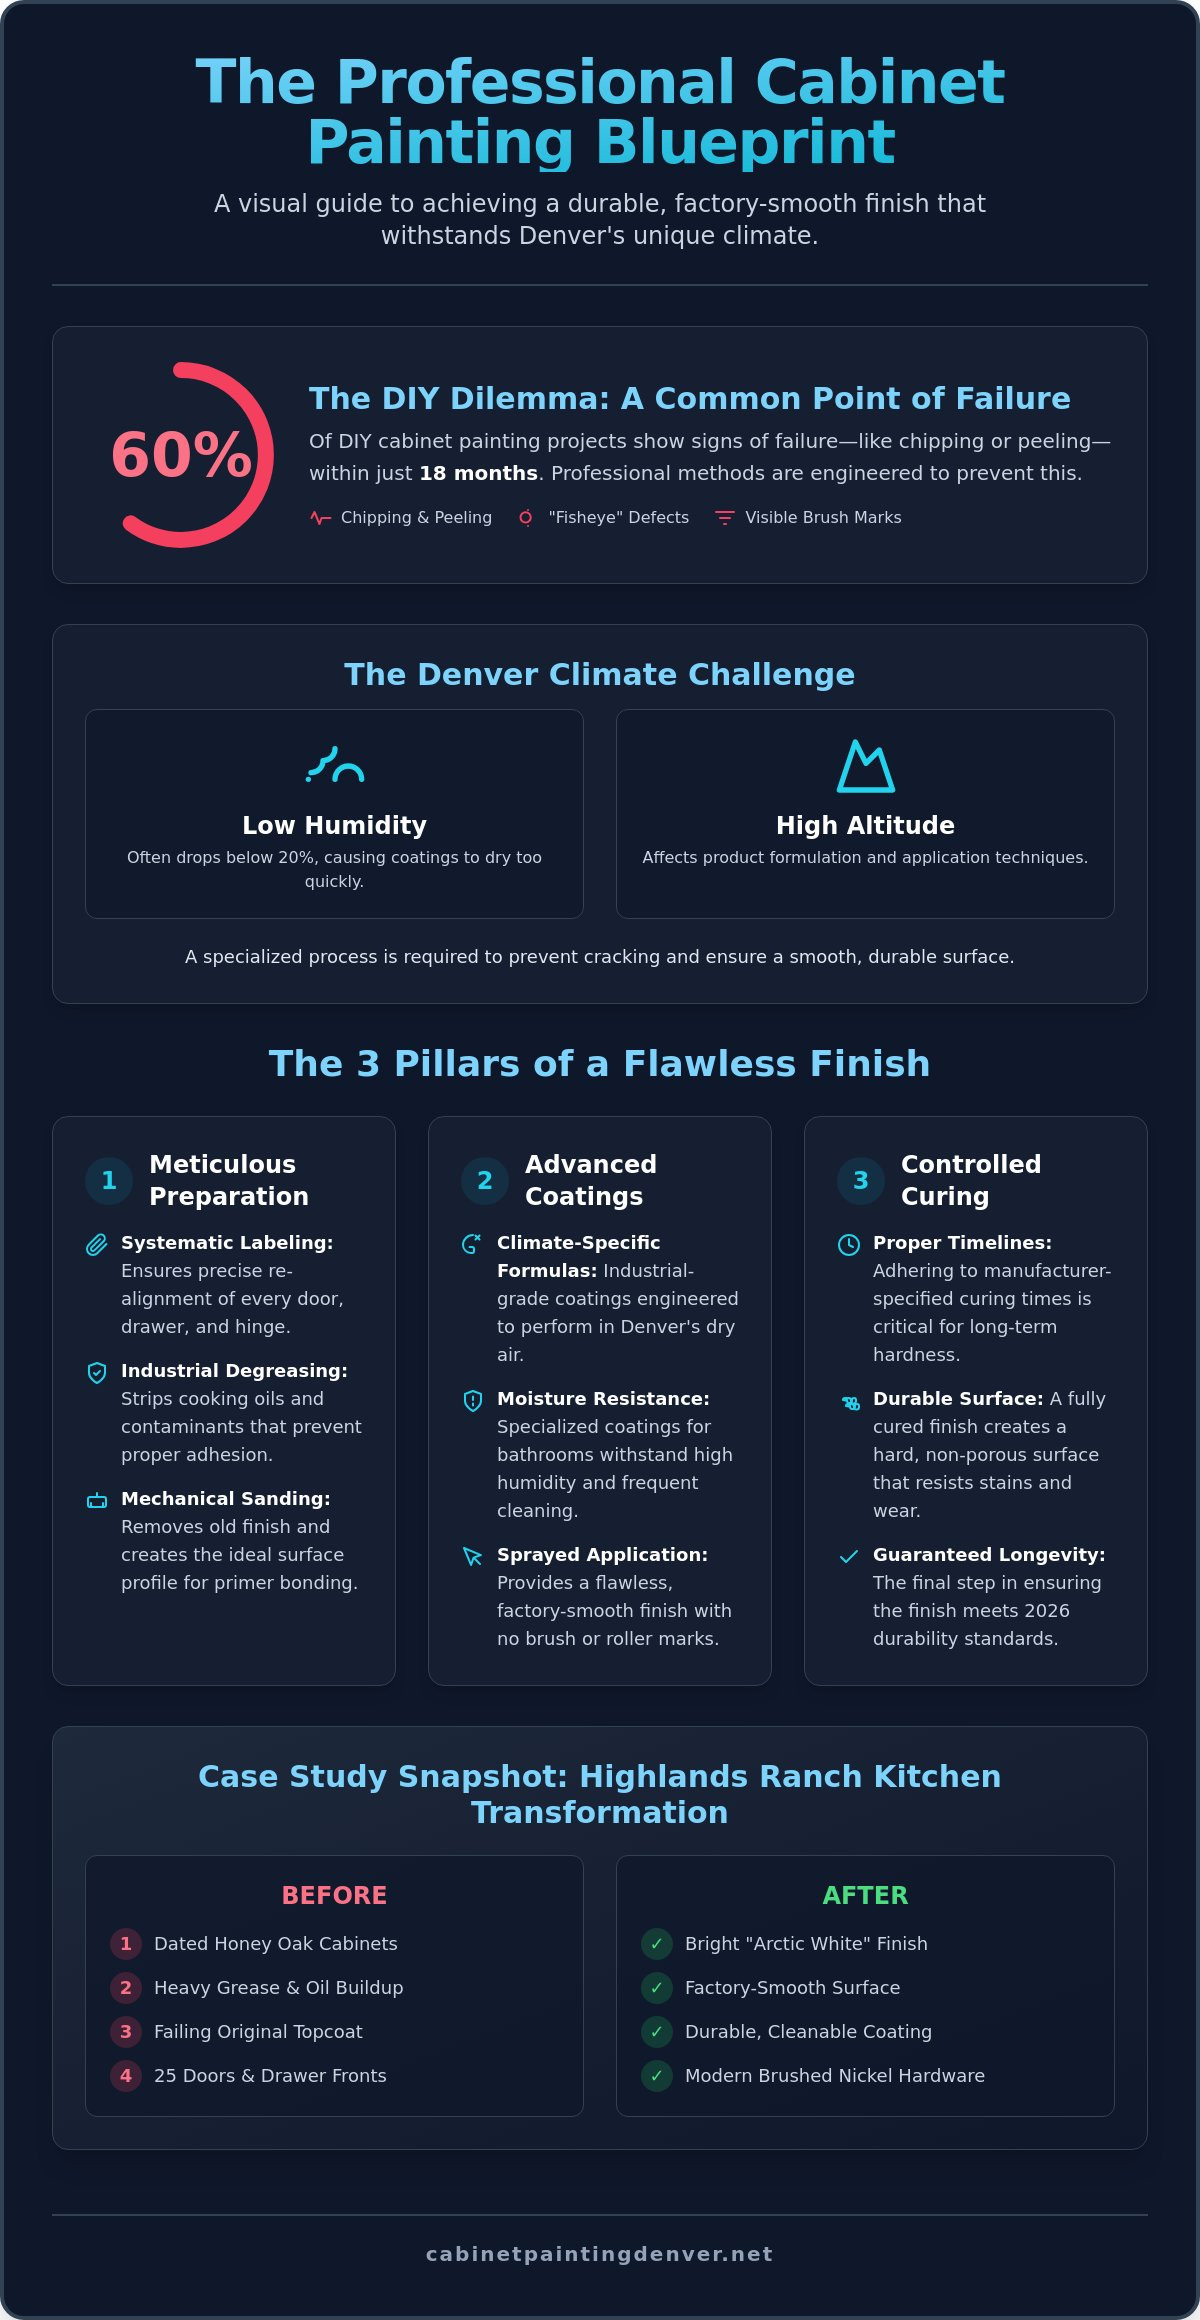
Did you know that 60% of DIY cabinet painting projects show signs of failure, such as chipping or peeling, within just 18 months? It’s a common frustration for Denver homeowners who want to move past outdated honey-oak or dark cherry cabinets but want to avoid the high cost of a full replacement. You probably recognize that your kitchen needs a refresh, yet you’re concerned about how a new finish will hold up against Colorado’s low humidity and high altitude. These local cabinet painting case studies demonstrate that a professional application is a technical engineering process designed to withstand our unique local climate.
This article shows you exactly how professional transformations achieve a factory-smooth finish for kitchen cabinets, bathroom cabinets, and bookshelves. We provide detailed project breakdowns and process insights that highlight the importance of mechanical sanding and industrial-grade coatings. You’ll see how these methods minimize household disruption while significantly increasing home equity. By reviewing real results, you’ll understand how current 2026 standards and proper curing times ensure a durable, beautiful outcome for your Denver home.
Key Takeaways
- Reviewing local cabinet painting case studies provides transparency into the professional process and confirms a contractor’s familiarity with Denver’s architectural styles.
- Learn how specialized preparation protocols successfully restore kitchen cabinets affected by heavy grease buildup and worn existing finishes.
- Understand why bathroom cabinet painting requires specific moisture-resistant coatings to withstand high-humidity environments and frequent cleaning.
- Discover how professional techniques manage Denver’s low humidity to prevent visible brush marks and ensure a factory-smooth surface.
- Gain a structured framework for evaluating your cabinets’ wood species and current condition to help plan your renovation steps.
Why Local Cabinet Painting Case Studies Matter for Your Project
Reviewing local cabinet painting case studies provides more than just aesthetic inspiration. It offers concrete proof that a contractor understands the architectural nuances of Denver homes and the technical demands of our high-altitude environment. While a generic portfolio might show beautiful results from a humid coastal region, those methods often fail in Colorado. Our local climate, characterized by low humidity levels that frequently drop below 20%, requires a specific approach to ensure the finish doesn’t dry too quickly or crack over time.
Case studies allow you to look past the “after” photo and examine the procedural clarity of the entire project. They document how professionals handle specific challenges, such as heavy grease buildup in older kitchens or the need for moisture-resistant barriers in master bathrooms. By analyzing these real-world transformations, you can set realistic expectations for your own timeline and final results.
To better understand the technical requirements of a successful project, watch this helpful video:
Visualizing Potential: From Honey Oak to Modern Tones
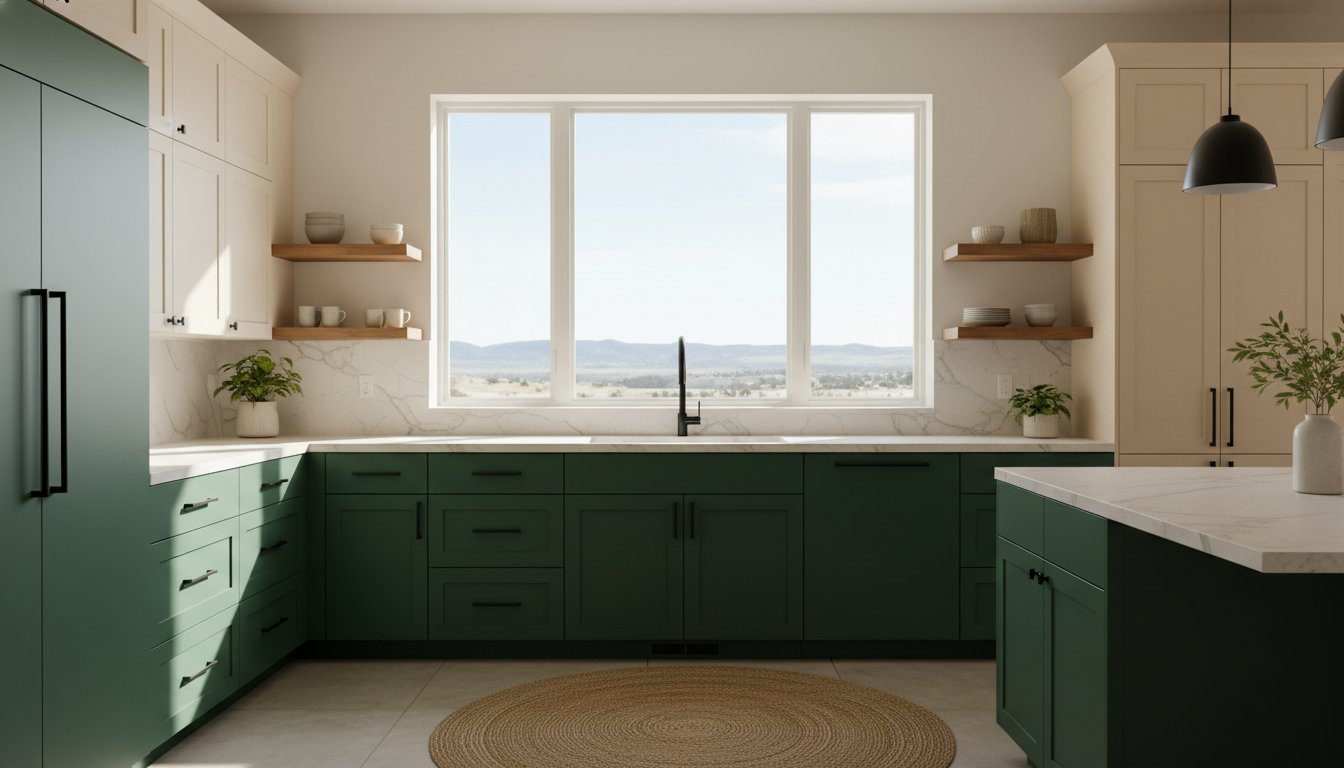
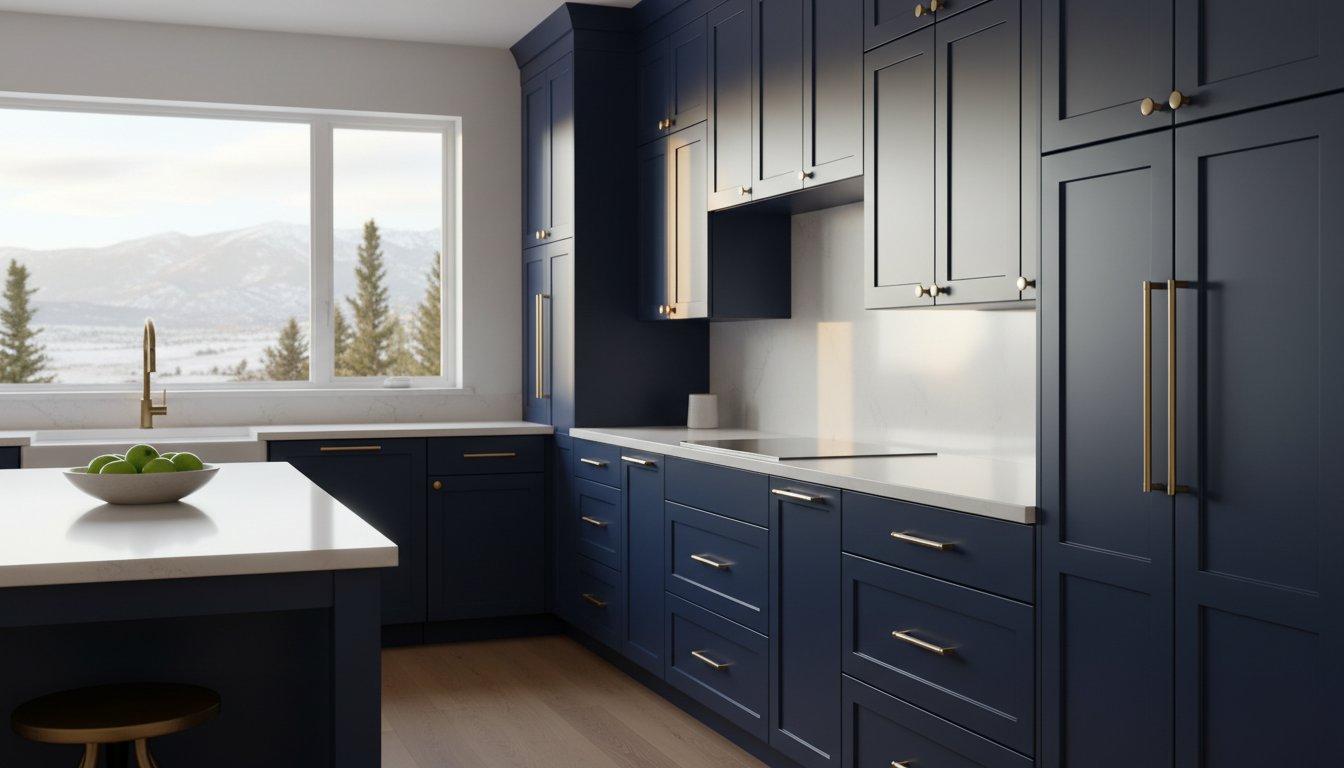
Most Denver homes built between the 1990s and early 2000s feature honey oak, maple, or MDF cabinets. These materials react differently to the Wood finishing process due to their grain patterns and porosity. For example, oak requires grain-filling techniques to achieve a smooth surface, while maple demands meticulous sanding for proper adhesion. Local projects demonstrate how current 2026 trends, like “new neutrals” including mushroom and warm stone, look under the specific lighting conditions found in open-concept Colorado floor plans. Choosing between a matte or satin finish becomes easier when you see how those lusters perform in a similar local setting.
The Transparency Factor: Beyond the Portfolio
A professional transformation isn’t just about the topcoat; it’s about the engineering underneath. Since roughly 60% of DIY projects fail within 18 months due to peeling or chipping, documenting the preparation steps is essential. High-quality local cabinet painting case studies highlight the degreasing and mechanical sanding phases that prevent these failures. You’ll also see the distinct difference between a textured “hand-painted” look and the factory-smooth finish produced by industrial-grade sprayers. Close-up photography in these reports helps you identify the sharp lines and even coverage that define professional workmanship.
Case Study 1: Transforming a Dated Kitchen in Highlands Ranch
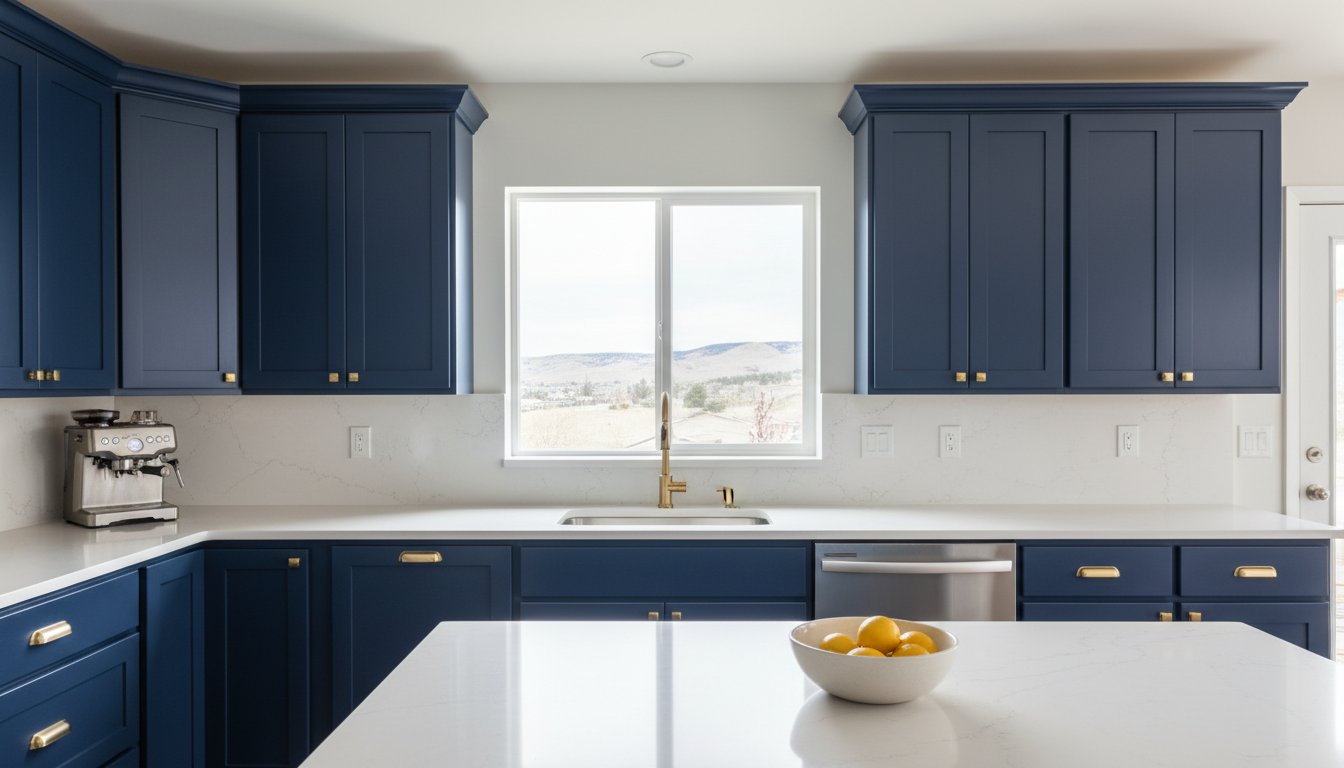
This Highlands Ranch project serves as a prime example of how professional intervention solves common residential wear and tear. The kitchen consisted of 25 doors and drawer fronts featuring heavy grease buildup and a failing original topcoat. Unlike generic portfolios, these local cabinet painting case studies highlight the specific chemical and mechanical requirements needed to restore high-traffic surfaces in the Denver area. The homeowners requested an “Arctic White” finish to brighten the space and selected new brushed nickel hardware to replace the original brass fixtures.
The transformation followed a strict procedural framework to ensure durability:
- Systematic labeling: Every door, drawer front, and hinge was numbered and cataloged to ensure precise re-alignment during the final installation phase.
- Industrial deglossing: We used professional-grade degreasing agents to strip away cooking oils and contaminants that standard household cleaners cannot remove.
- Multi-stage sanding: Technicians performed mechanical sanding to remove the existing sheen and create a specific profile for the primer to bond with.
The Technical Preparation Phase
The cleaning process extends beyond the removable components to the cabinet boxes remaining in the home. This prevents “fisheye,” a common defect where residual silicone or oils repel the new coating. For homes built before 1978, we adhere to lead-safe work practices to protect the household from toxic dust during the abrasion phase. We then applied a high-build, stain-blocking primer. This step is critical for preventing tannin bleed-through, which often causes yellowing on white finishes. Technicians performed fine-grit sanding between each coat using 320-grit abrasives to ensure a glass-smooth surface and promote maximum inter-coat adhesion.
Achieving the Factory-Quality Finish
To achieve a professional result, we utilized HVLP (High Volume Low Pressure) sprayers. This equipment provides a controlled application that avoids the “orange-peel” texture often seen in DIY projects. We processed all removable components in a controlled, off-site spray booth to eliminate dust interference and environmental contaminants. The final stage involved careful re-installation, where we adjusted soft-close hinges and aligned new hardware for a perfect fit. If you’re planning a similar update, reviewing our kitchen cabinet painting process can help you understand the timeline and expected outcomes for your own renovation.
Case Study 2: Bathroom Cabinet Refinishing in Cherry Creek
This Cherry Creek project involved the transformation of master and guest bathroom vanities. The primary challenge centered on the high-humidity environment and frequent exposure to household cleaning chemicals. Our collection of local cabinet painting case studies includes specialized bathroom projects where moisture management is the primary objective. To address these conditions, we utilized industrial-grade waterborne alkyd enamels. These coatings provide the surface hardness of a traditional oil-based paint with the low-odor benefits of a water-based product. We completed the entire project within a 2-day timeline. This rapid turnaround minimized disruption for the residents while ensuring the surfaces were ready for the necessary curing cycle.
Maintaining indoor air quality remains a priority for interior projects in confined spaces. We select coatings that comply with Colorado’s Regulation Number 21 regarding Volatile Organic Compounds (VOCs). These professional-grade products cure quickly and emit fewer fumes compared to traditional solvent-based finishes. By using these advanced materials, we ensure the home remains habitable throughout the process.
Moisture Resistance and Durability
Standard interior latex paint is unsuitable for bathroom environments. It lacks the necessary moisture barrier and often peels when exposed to steam or direct water contact. During the refinishing process, we prioritize sealing the bottom edges of vanity doors. This prevents floor moisture from wicking into the wood or MDF substrate. The selected alkyd enamel finish withstands daily contact with toiletries and water, meeting industry durability standards for chemical resistance. These local cabinet painting case studies confirm that technical precision is required to maintain a finish in high-moisture areas.
ROI Analysis: Refinishing vs. Replacement
Refinishing provides a significant financial advantage over a full bathroom gut. When evaluating the cabinet painting cost, homeowners find that refinishing typically requires only a fraction of the budget needed for new custom vanities. In the 2026 Denver real estate market, a minor refresh like this can yield a return on investment of over 100%. A 48-hour transformation also improves home appraisal values for Cherry Creek listings without the long lead times associated with new cabinetry. The cost-to-value ratio of refinishing is demonstrably higher than that of a full replacement because it avoids the labor expenses of demolition and plumbing reconfiguration.
The Denver Difference: Why Local Climate Matters for Cabinet Painting
Denver’s environmental factors dictate the success or failure of a cabinet finish. Low humidity levels, which frequently drop below 20%, accelerate the evaporation process of standard paints. This rapid drying reduces “open time,” preventing the coating from leveling out properly. Consequently, visible brush marks or a pebbled texture can occur if the application isn’t technically adjusted. Our cabinet painting denver process utilizes industrial-grade formulations specifically engineered for these atmospheric conditions. Local cabinet painting case studies prove that environmental awareness is as important as technical skill during the application phase.
The altitude in Denver also increases UV exposure. High-altitude sunlight delivers more intense radiation, which can degrade the chemical bonds in lower-quality pigmented coatings over time. This leads to premature fading or yellowing, especially in kitchens with large south-facing windows. We select materials with superior color stability to ensure the finish maintains its original hue despite the intense Colorado sun. Understanding these variables is why a localized approach outperforms national, generalized painting methods.
Just as interior coatings must be engineered for the local climate, exterior surfaces require similar expertise to withstand Colorado’s unpredictable weather. For Front Range homeowners concerned about the structural impact of severe storms, Metro Reconstruction Services, Inc. provides specialized resources for identifying hail damage on stucco and other exterior finishes.
Managing Paint Curing in Low Humidity
To combat the dry air, we incorporate specialized retarders into our coatings. These additives extend the flow and leveling period, allowing the paint to settle into a factory-smooth surface before it sets. The first 24 hours of the curing cycle are critical. Homeowners must maintain a consistent indoor temperature during this window to prevent the coating from becoming brittle. Standard DIY paints often trap moisture beneath a quickly dried surface, leading to “solvent pop” or future peeling. Professional application ensures the finish cures from the substrate outward, creating a flexible yet hard barrier that doesn’t crack as the wood naturally expands and contracts.
Selecting Materials for Colorado Homes
We utilize high-performance water-borne alkyd and urethane enamels designed for rapid environmental shifts. These products are compliant with Colorado’s Regulation Number 21 and 2026 EPA standards regarding Volatile Organic Compounds (VOCs). This is particularly important for winter projects when ventilation is limited. Furthermore, many older Denver homes have multiple layers of previous finishes, from old oils to waxes. We use high-adhesion primers that create a chemical bond with these legacy surfaces, preventing the delamination common in older neighborhoods. If you’re ready to update your home with a finish built for the local climate, you can request a professional project consultation to begin the process.
Planning Your Project: How to Use These Case Studies
Homeowners should utilize these local cabinet painting case studies as a technical framework for their own kitchen or bathroom renovations. A structured planning approach ensures that the final result aligns with both aesthetic goals and the functional requirements of a high-altitude environment. By following a specific sequence of steps, you can move from the inspiration phase to a completed project with minimal disruption.
- Step 1: Identify wood species and condition. Determine if your cabinets are oak, maple, or MDF. Check for structural issues like loose hinges or significant surface damage that requires repair before the coating process begins.
- Step 2: Determine your desired aesthetic. Decide if you prefer a solid color finish or a traditional cabinet refinishing approach. This choice dictates the level of preparation and the type of primers required.
- Step 3: Evaluate your timeline. Review your household schedule to identify a 2-day to 5-day window where kitchen or bathroom accessibility can be limited. Professional crews work systematically to minimize this downtime.
- Step 4: Request a professional consultation. A site-specific assessment is necessary to verify the adhesion requirements and environmental factors unique to your home’s layout.
Customizing the Process for Your Home
Matching your project to the most relevant example in our local cabinet painting case studies helps establish realistic expectations. If your kitchen features heavy graining like the oak cabinets in Highlands Ranch, you’ll need to communicate the need for grain filling to achieve a factory-smooth surface. If you’re updating a bathroom, emphasize moisture resistance as a primary pain point. Establishing these requirements early allows for a more accurate budget based on the complexity of your specific layout and the current state of your cabinetry’s existing finish.
Next Steps for Your Denver Home
During the initial on-site estimate, a technician will evaluate the current finish for compatibility with industrial-grade waterborne enamels. They will also inspect hardware alignment and identify any necessary repairs for hinges or drawer slides. To prepare for the arrival of a professional crew, homeowners should clear all countertops and remove the contents of the cabinets. This ensures a clean workspace and prevents dust contamination during the cleaning and sanding phases. Once the site is prepared, the systematic application process can begin. Contact Cabinet Painting Denver for your free project assessment to determine the specific technical requirements for your home.
Start Your Denver Cabinet Transformation
Professional cabinet painting is a technical investment that requires more than just an aesthetic eye. These local cabinet painting case studies demonstrate that success depends on engineering a finish that withstands Colorado’s low humidity and intense UV exposure. By prioritizing industrial-grade preparation and specialized coatings, you can achieve a factory-smooth result that increases home equity while avoiding the high costs of a full replacement. We specialize in meeting Denver’s unique high-altitude climate requirements to ensure your cabinetry remains durable for years to come.
With over a decade of experience in local kitchen transformations, we provide a factory-grade HVLP spray finish that standard DIY methods cannot replicate. Our process minimizes household disruption and delivers a surface that meets the highest industry standards for hardness and chemical resistance. You can take the first step toward revitalizing your home’s interior today. Schedule Your Free Denver Cabinet Painting Estimate to discuss your project requirements with our technical team. Your cabinets have the potential to look brand new again with the right professional approach.
Frequently Asked Questions
How long does a typical kitchen cabinet painting project take in Denver?
A standard kitchen project typically requires 3 to 5 business days for onsite completion. This timeline includes the removal of doors and drawer fronts, the preparation of face frames, and the final re-installation of all components. Reviewing our local cabinet painting case studies shows how this structured schedule minimizes household disruption compared to a full kitchen remodel.
Will the paint smell linger in my home during the project?
Modern industrial-grade coatings are formulated with low Volatile Organic Compounds (VOCs) to ensure indoor air quality. Any minor odors from the application process typically dissipate within 24 hours. We utilize waterborne alkyd enamels that comply with Colorado’s environmental regulations, making them safe for use in residential environments during any season.
Do you paint the inside of the cabinet boxes as well?
Standard service includes painting the exterior face frames and the visible finished ends of the cabinet boxes. The interior shelves and back panels are generally left in their original state to maintain durability and prevent sticking. This approach focuses on the aesthetic transformation of the kitchen while preserving the functional integrity of the storage spaces.
Can you fill the wood grain on oak cabinets for a smooth look?
Yes, wood grain filling is a specific technical process used to achieve a factory-smooth surface on oak cabinetry. This involves applying specialized grain-filling compounds followed by mechanical sanding to create a level profile. Our local cabinet painting case studies highlight how this technique removes the deep, porous patterns common in older Denver homes for a modern appearance.
How do I clean my painted cabinets without damaging the finish?
Clean your cabinets using a soft microfiber cloth dampened with mild soap and warm water. It’s important to avoid abrasive sponges, ammonia-based cleaners, or harsh chemical solvents that can degrade the industrial-grade topcoat. For the best results, dry the surfaces immediately with a clean towel to prevent water spots or moisture buildup.
What happens if the paint chips after the project is completed?
Professional finishes are engineered for high impact resistance but can chip if struck by heavy or sharp objects. If damage occurs, homeowners should follow the specific touch-up protocols provided at the end of the project. Maintaining the surface according to the recommended curing schedule during the first 30 days is the best way to ensure long-term durability.
Do I need to empty my cabinets before the painters arrive?
Yes, you must remove all items from your cabinets and clear your countertops before the crew arrives. This requirement ensures that the technicians have full access to the face frames and prevents dust contamination on your kitchenware. A clear workspace is essential for the mechanical sanding and degreasing phases of the project.
Is it better to paint or replace my cabinets if they are 20 years old?
Painting is the superior choice if your cabinet boxes are structurally sound and the layout still meets your needs. It provides a high-end aesthetic update at a fraction of the cost of a full replacement. If the wood is not rotting and the frames are secure, a professional finish will extend the life of your cabinetry for another decade.