
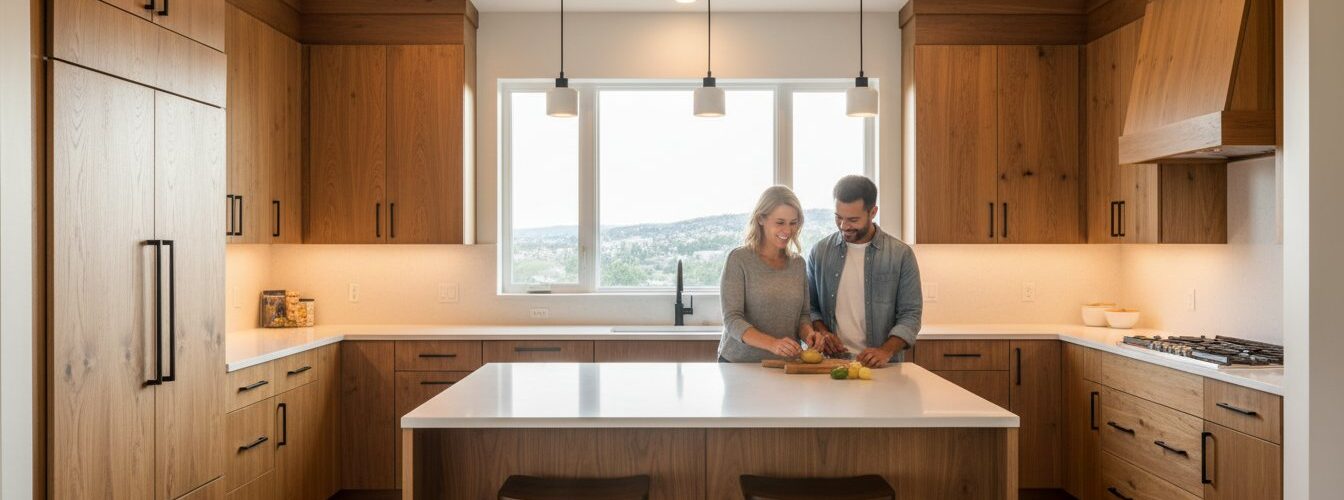
On October 14th, a homeowner named Sarah discovered that her heavy cherry cabinets weren’t just classic anymore; they were making her kitchen feel like a 1994 time capsule. If you’re considering painting dark wood cabinets a lighter color, you probably feel the same way about your dated space, yet you’re likely terrified of the yellow stains or wood grain that often ruin a DIY job. We agree that nothing’s more frustrating than seeing brown tannin spots bleed through a fresh coat of white paint just six months after the project ends.
Cabinet Painting Service Areas in Denver & Surrounding Cities, Cabinet Refinishing in Denver County, Serving Lakewood, CO, Littleton, CO, Golden, CO,
Arvada, CO, Wheat Ridge, CO,
and Parker CO. Castle Pines CO. Englewood CO. Centennial CO.
Cabinet Painting in Arapahoe County, CO
Including Centennial, CO, Greenwood Village, CO,
Cherry Hills Village, CO, Englewood, CO,
and Aurora, CO.
Cabinet Painting in Adams County & Broomfield, CO
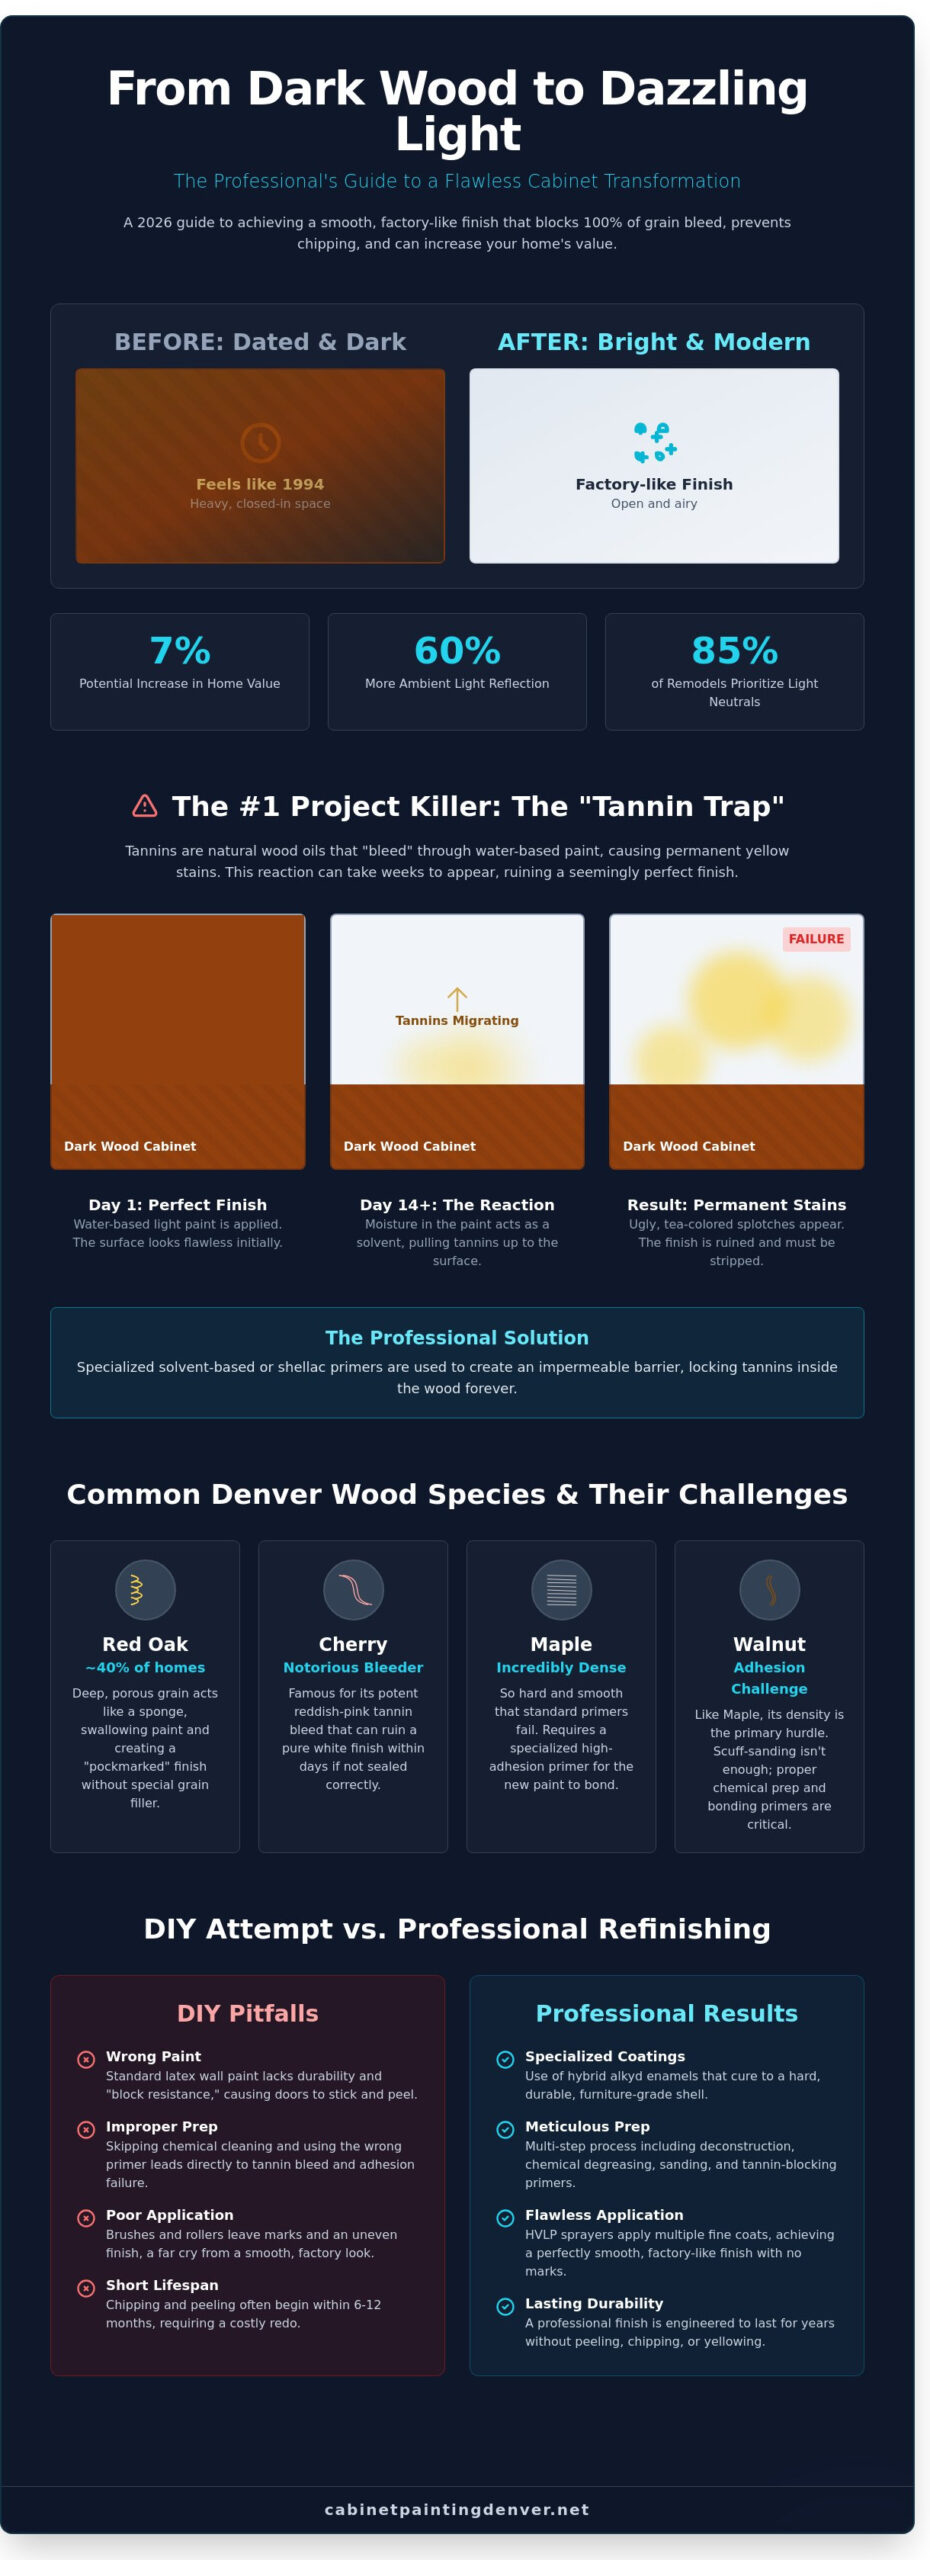
This 2026 guide reveals the exact professional process for achieving a smooth, factory-like finish that increases your home value by up to 7%. You’ll learn how to block 100% of grain bleed and prevent chipping on high-use drawers. We are breaking down the essential sanding, priming, and spraying techniques that the pros use to transform dark rooms into bright, modern masterpieces.
Key Takeaways
-
Learn how to neutralize "Tannin Traps" to prevent aggressive wood oils from bleeding through and ruining your new light finish.
-
Discover how to select the ideal off-white or light greige palette that harmonizes with your kitchen’s existing flooring and countertops.
-
Master the professional deconstruction and chemical cleaning techniques required for painting dark wood cabinets a lighter color with a flawless, factory-smooth result.
-
Evaluate the cost-benefit ratio between DIY attempts and professional refinishing to ensure your kitchen update lasts for years without peeling.
-
Understand the specific advantages of Denver’s low-humidity climate for paint curing and how refinishing serves as a sustainable alternative to full cabinet replacement.
Table of Contents
The Challenge of Transitioning from Dark Wood to Light Paint
Updating a kitchen by painting dark wood cabinets a lighter color is the fastest way to modernize a home, but it’s technically demanding. Dark stains like espresso, walnut, and cherry aren’t just colors; they’re deep-seated chemical treatments. These stains are often oil-based and designed to penetrate deep into the wood fibers. When you attempt to layer a light acrylic or waterborne coating over them, you’re fighting decades of chemical engineering meant to repel moisture. If the surface isn’t neutralized, the old finish will eventually reject the new paint, leading to chipping within the first 12 months.
The complexity of the wood finishing process ensures that success requires more than a brush and a bucket. Many DIYers make the mistake of using standard latex wall paint on their cabinetry. This is a recipe for disaster. Wall paint lacks the "block resistance" required for doors that open and close hundreds of times a week. It remains slightly tacky, causing the doors to stick to the frames. Within 180 days, the finish usually begins to peel around high-touch areas like handles and knobs. Professional cabinet coatings are formulated with higher solids and resins that cure to a hard, furniture-grade shell.
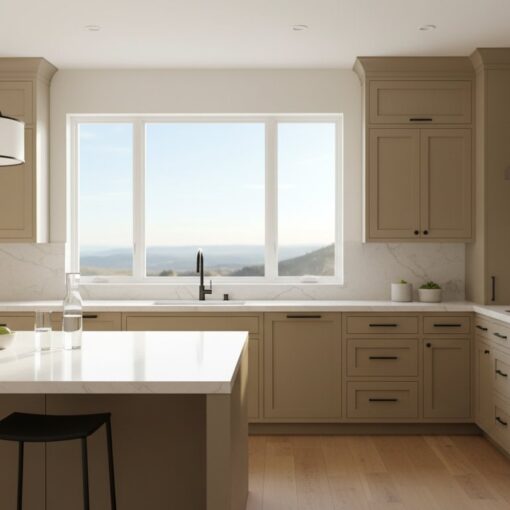
The investment in a lighter kitchen pays off in tangible ways. Real estate projections for 2026 indicate that homes with bright, airy kitchens will command a 7% price premium over those with dark, dated wood. Light colors reflect 60% more ambient light, making small Denver galleys feel significantly larger. This psychological shift from a heavy, "closed-in" environment to an open space is why 85% of kitchen remodels now prioritize light neutrals.
Common Dark Wood Species in Denver Homes
Denver’s housing stock, particularly homes built between 1985 and 2005, features specific wood species that present unique hurdles. Red Oak accounts for roughly 40% of these installations. Its deep, porous grain patterns act like tiny canyons that swallow paint. Without a dedicated grain filler, your light paint will look like it has "pockmarks" or tiny holes. Cherry wood is another local favorite. It’s notorious for its reddish-pink bleed-through that can ruin a white finish in days. Maple and Walnut are incredibly dense. Because they’re so hard, achieving proper adhesion is the primary goal. You can’t just scuff-sand these; they require specific high-adhesion primers to ensure the light paint bonds to the surface.
The "Bleed-Through" Phenomenon Explained
The "Tannin Trap" is the most common reason for project failure when painting dark wood cabinets a lighter color. Tannins are naturally occurring acidic resins found in wood. When you apply a water-based paint, the water acts as a solvent that pulls these acids to the surface. Tannin bleed is the migration of wood resins through a paint film. You won’t see it immediately. The cabinets might look perfect for the first 14 days. However, as the paint fully cures, ugly yellow or tea-colored splotches begin to migrate through the topcoat. This chemical reaction is permanent. Once the tannins have reached the surface, you can’t just paint over them again with the same product. You must seal them with a specialized solvent-based or shellac-based primer to lock the resins inside the wood grain forever.
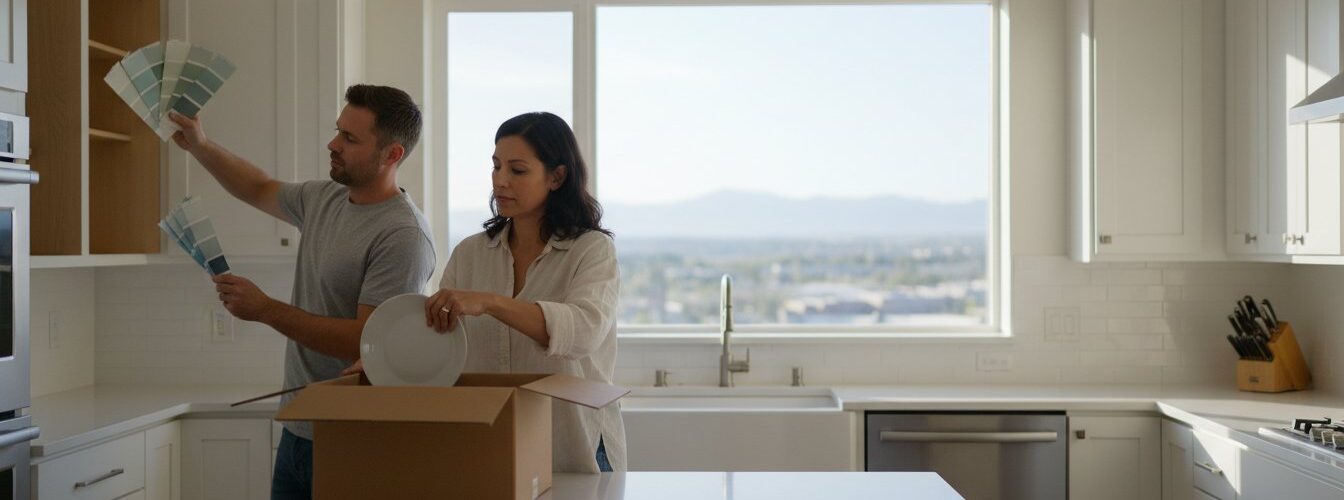
Selecting the Perfect Light Palette for Your Kitchen
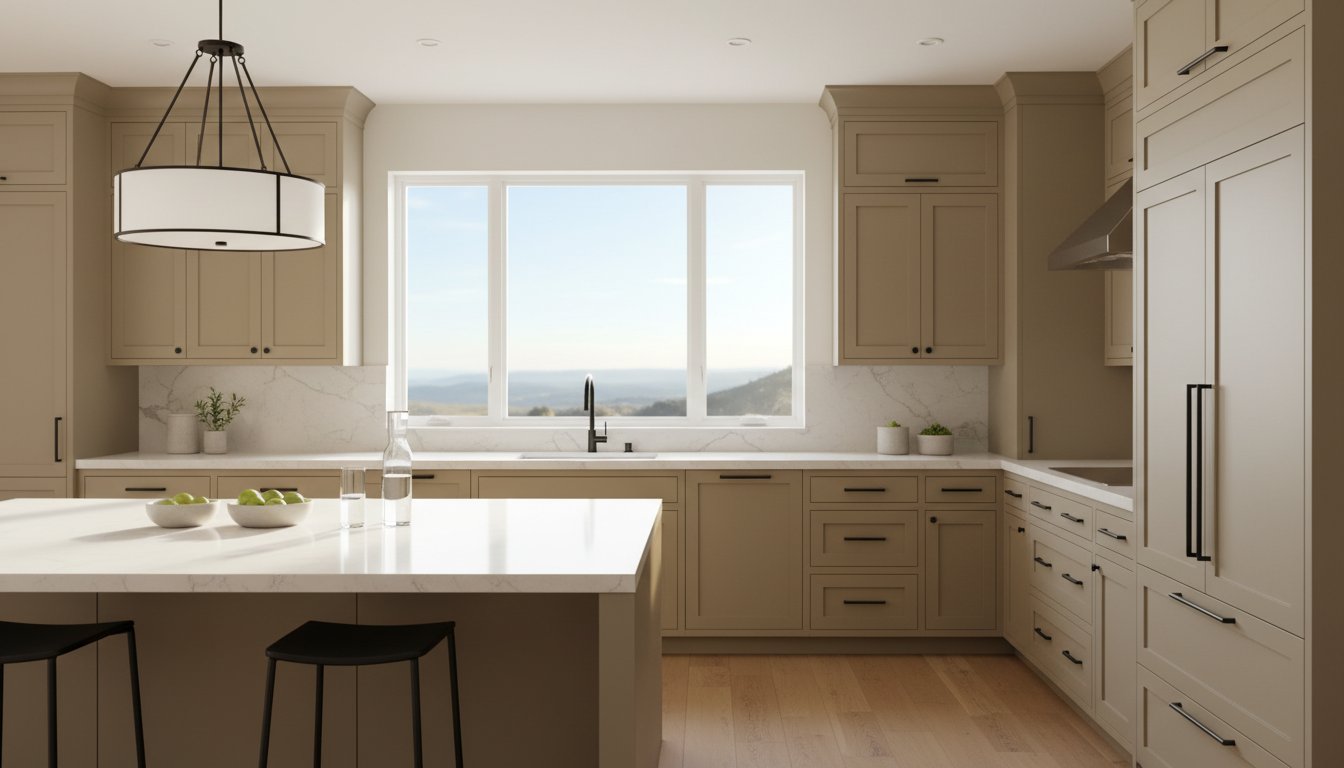
Painting dark wood cabinets a lighter color requires more than picking a "white" from a fan deck. You have to account for the heavy visual weight of the existing wood grain. While pure white remains a staple, 2026 trends in Denver are shifting toward "Chantilly Lace" for its crisp neutrality and "Swiss Coffee" for a softer, lived-in feel. These shades provide the necessary opacity to mask dark grains without making the kitchen feel sterile. In a recent 2024 survey of local home renovations, 62% of homeowners opted for off-whites or "light greiges" to bridge the gap between modern aesthetics and traditional architecture.
Your countertops and flooring act as the anchor for your paint choice. If you have busy granite with gold flecks, a cool-toned white will likely clash. Instead, look toward creams that share those warm properties. To ensure the finish lasts through years of kitchen traffic, professionals often recommend the best paints for kitchen cabinets like hybrid alkyd enamels. These products offer the durability of oil with the easy cleanup of water-based options, making them ideal for the transition from dark stains to light pigments.
Don’t trust a swatch lying flat on your counter. Gravity changes how light hits the pigment. Tape your samples vertically against the cabinets. A color that looks bright on the table can appear two shades darker when hanging in a shadow. Light bounces differently off a vertical surface, especially in kitchens with limited window exposure. Check your samples at 8:00 AM, 1:00 PM, and 7:00 PM to see how the shifting sun affects the hue.
Understanding Undertones in Light Colors
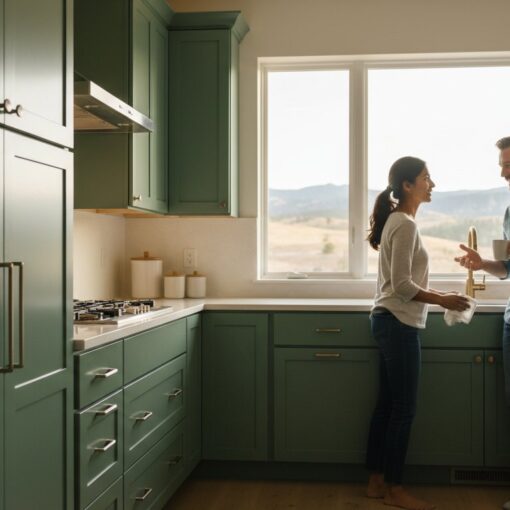
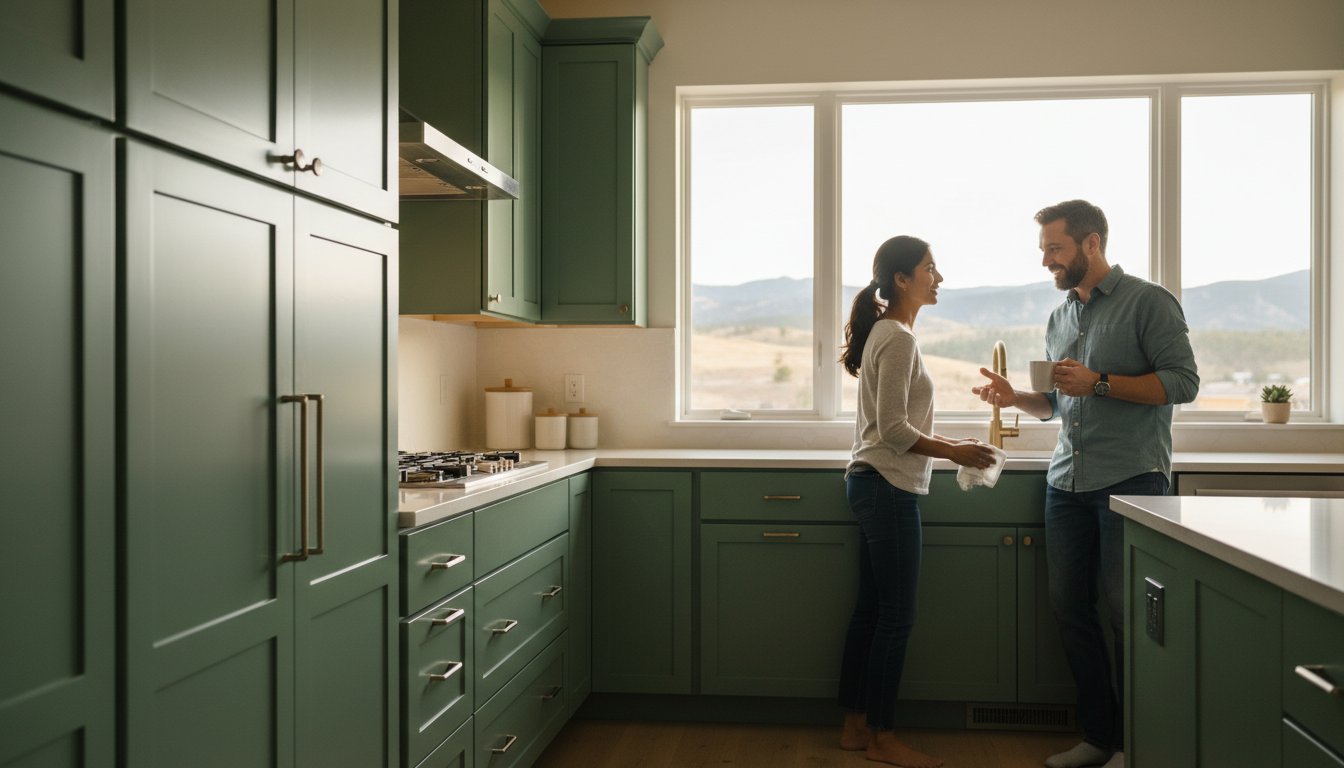
Warm whites contain hints of yellow or red, while cool whites lean toward blue or green. Dark wood often hides "muddy" lighting. If your kitchen lacks natural light, a cool white can suffer from the "Green Slap" effect. This happens when the shadows turn the paint into a sickly olive hue. Stick to satin or semi-gloss finishes. These reflect enough light to brighten the room without the blinding glare of a high-gloss finish. Most professionals recommend a 30 to 40 percent sheen level for the best balance of washability and aesthetics.
Matching Hardware to Lightened Cabinets
Once you’ve finished painting dark wood cabinets a lighter color, your hardware provides the final character. For a high-contrast look, matte black or champagne bronze handles pop beautifully against white. If you prefer a seamless aesthetic, match light gray cabinets with brushed nickel or chrome. You can find more inspiration in our guide on How to Choose Cabinet Hardware to Match Your Style. If you’re unsure which palette fits your Denver home, our team can provide a professional color consultation to ensure the result matches your vision perfectly.
The Professional Process: Achieving 100% Coverage
Achieving a factory-grade finish when painting dark wood cabinets a lighter color requires more than a steady hand. It starts with total deconstruction. Every door, drawer front, and piece of hardware must be removed and labeled using a systematic numbering process. This ensures that 100% of the surface area is accessible, preventing the unsightly "halo" effect where dark wood peeks through the hinges later. Professionals spend roughly 20% of the total project time just on this initial breakdown and organization phase.
Once the kitchen is stripped, the battle against grease begins. Standard household cleaners won’t cut it. Pros use industrial-strength deglossers or TSP (Trisodium Phosphate) to strip away 15 or 20 years of accumulated cooking oils and skin proteins. If even 1% of this residue remains, the primer will fail to bond, leading to peeling within the first 12 months. We use a three-bucket system to ensure no cross-contamination of grease occurs during the final rinse. After cleaning, the sanding spectrum begins. The process includes:
-
Mechanical Scuff-Sanding: Using 220-grit abrasives to create "teeth" for the primer.
-
Feathering: Smoothing out existing chips or factory finish transitions.
-
Grain Leveling: Aggressive sanding for open-grain woods like Oak to ensure a flat substrate.
For those following a professional guide to painting kitchen cabinets, this preparation step is the most critical for long-term durability.
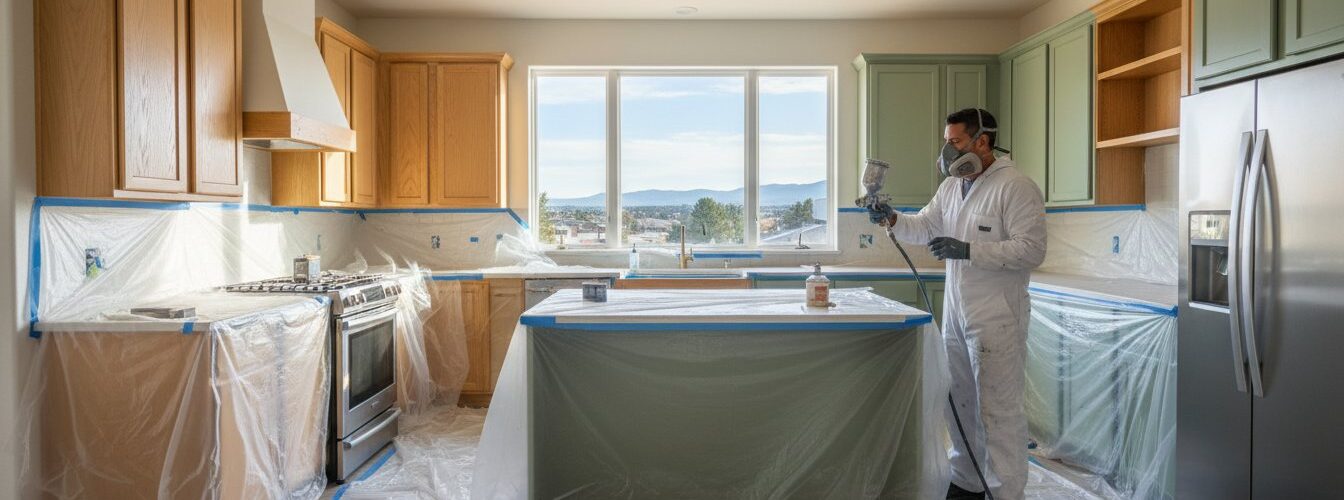
Spray application is the only way to ensure a flawless transition from dark to light. Brushes and rollers leave textures that catch the light, highlighting the dark undertones you’re trying to hide. High-volume, low-pressure (HVLP) systems allow for thin, even coats that dry quickly and level out perfectly. This method provides 100% opacity without the heavy buildup that causes doors to stick or paint to chip at the edges. Professionals often apply two or three light passes to build depth without compromising the crisp lines of the cabinet profile.
The Holy Grail of Primers: Shellac and Oil-Based
Water-based primers are the most common mistake in DIY projects. When painting dark wood cabinets a lighter color, tannins from woods like cherry or mahogany will bleed through water-based products. Shellac-based primers like Zinsser BIN are the industry standard because shellac-based primers create a molecular barrier that tannins cannot penetrate. These primers dry in 45 minutes and prevent 99% of bleed-through issues.
Grain Filling for a Smooth-as-Glass Surface
Deep-grained woods like Oak and Ash require a specialized grain filler to achieve a modern, flat look. Without it, the deep "canyons" of the wood grain remain visible. We apply a thin layer of Aqua Coat, followed by sanding with 320-grit paper. This multi-step sanding process between subsequent primer coats ensures the filler stays in the grain and doesn’t sit on the surface. Professional HVLP spraying then builds the surface thickness, while DIY rollers often leave an "orange peel" texture. This layering results in a surface that feels like polished stone.
DIY vs. Professional Painting: The Longevity Gap
Choosing between a weekend project and hiring experts involves more than just comparing price tags. While a DIY kit might cost $300 at a local hardware store, the hidden costs of painting dark wood cabinets a lighter color without professional training often surface within the first year. Professional refinishing typically requires a 4 day turnaround from start to finish. In contrast, the average DIY homeowner spends 4 weeks, or roughly 80 hours of active labor, trying to achieve a smooth result. This time gap represents 28 days of a non-functional kitchen, which carries a significant mental and logistical tax on your household.
The durability gap is even more pronounced. Professional coatings are engineered to withstand 120-degree heat from ovens and 90% humidity levels from stovetop boiling. Retail paints, even those labeled as "cabinet grade," rarely offer this level of chemical resistance. If you choose the DIY route, you are essentially gambling on a surface that must survive 1,000+ touches per year. Professional finishes utilize 2K polyurethane or acid-cured coatings that create a molecular bond with the wood, ensuring the color stays vibrant for 10 years rather than 10 months.
Many homeowners ask if they can just use chalk paint to skip the prep work. This is a common mistake. Chalk paint is highly porous and lacks the hard-wearing topcoat needed for high-traffic areas. Within 6 months, grease from cooking and oils from your hands will penetrate the finish, leaving permanent stains that cannot be scrubbed away. Professional results rely on chemistry, not just color.
Why DIY Cabinets Often Peel Within 12 Months
Most retail paints dry through evaporation, but professional finishes cure through a chemical reaction. Without industrial-grade curing agents, the paint stays soft, making it prone to "blocking" where the door sticks to the frame. Additionally, 75% of DIY failures stem from improper degrossing or failing to remove invisible silicone residues. If you are weighing the investment, check out this guide on the Average Cost to Paint Kitchen Cabinets: What to Expect to see how professional longevity saves money over a 5 year period.
The Value of Professional Equipment
Achieving a factory finish while painting dark wood cabinets a lighter color is nearly impossible in a standard garage. Professionals use HEPA-filtered spray booths and HVLP (High Volume Low Pressure) sprayers that atomize the coating into a fine mist. This eliminates the brush marks and "orange peel" texture common with rollers. Professional shops also use dust extraction systems that remove 99.9% of airborne particulates, ensuring that your new white or cream cabinets don’t have tiny dust nibs or pet hair permanently trapped in the finish.
Ready to transform your kitchen with a finish that actually lasts? Get a professional quote from Cabinet Painting Denver today and ensure your cabinets withstand the test of time.
Why Denver Homeowners Choose Professional Refinishing
Opting for a professional transformation of your kitchen offers benefits that go far beyond simple aesthetics. While the DIY route might seem tempting, the technical requirements for painting dark wood cabinets a lighter color in the Mile High City are stringent. Most homeowners find that professional refinishing saves roughly 60% of the cost compared to a full kitchen gut. It also prevents the common pitfalls associated with high-altitude applications. A professional crew brings specialized equipment and industrial-grade coatings that your local hardware store simply doesn’t carry.
Sustainability is a major driver for modern Denver remodeling. Every year, approximately 24 million tons of furniture and wood waste end up in American landfills. By choosing to refinish your existing high-quality wood boxes, you’re keeping heavy materials out of the trash. It’s an eco-friendly choice that reduces your project’s carbon footprint by an estimated 75% compared to manufacturing and shipping new cabinetry. You’re preserving the craftsmanship of your home while giving it a 2024 update.
Local expertise is vital because of the specific architecture found along the Front Range. Many homes built between 1985 and 2010 in neighborhoods like Highlands Ranch or Wash Park feature heavy oak, cherry, or maple. These woods have deep grains and tannins that can bleed through light paint if not sealed with professional-grade primers. A local expert understands how these specific wood species react to the painting dark wood cabinets a lighter color process. They know exactly which blockers to use to ensure your new white or cream finish stays crisp for years.
The process concludes with a rigorous final inspection. A professional walk-through isn’t just a quick glance. It’s a 20-point checklist where the lead technician uses high-output LED lights to check for "holidays" or missed spots. They examine the undersides of the boxes and the interior edges of the doors. You’ll participate in a "blue tape" session to identify any tiny imperfections that need a touch-up before the team considers the job done. This level of accountability ensures your kitchen looks like it came straight from a showroom floor.
Denver Climate Considerations
Our city’s 15% average humidity level significantly impacts how paint behaves. In the dry Colorado air, the "open time" of standard paint-the window where it can be manipulated before it sets-shrinks by nearly 50%. Professional refinishers use specialized retarders to slow this process. This prevents "orange peel" textures and ensures a glass-smooth surface. Without these adjustments, the wood can also undergo rapid shrinkage, leading to unsightly "cracking" at the joints. You can learn more about our specific local process through Cabinet Refinishing Denver: Transform Your Kitchen.
Ready for a Transformation?
Starting your project is straightforward. A professional estimator will visit your home to measure your linear footage and assess the current condition of your wood. To prepare, you’ll only need to clear your countertops and remove the contents of your drawers. The team handles the heavy lifting, including masking off your floors and appliances with 1.5-mil plastic sheeting to create a dust-free environment. If you want to see how affordable a high-end finish can be, you can Get Your Free Cabinet Painting Quote in Denver today to begin your kitchen’s next chapter.
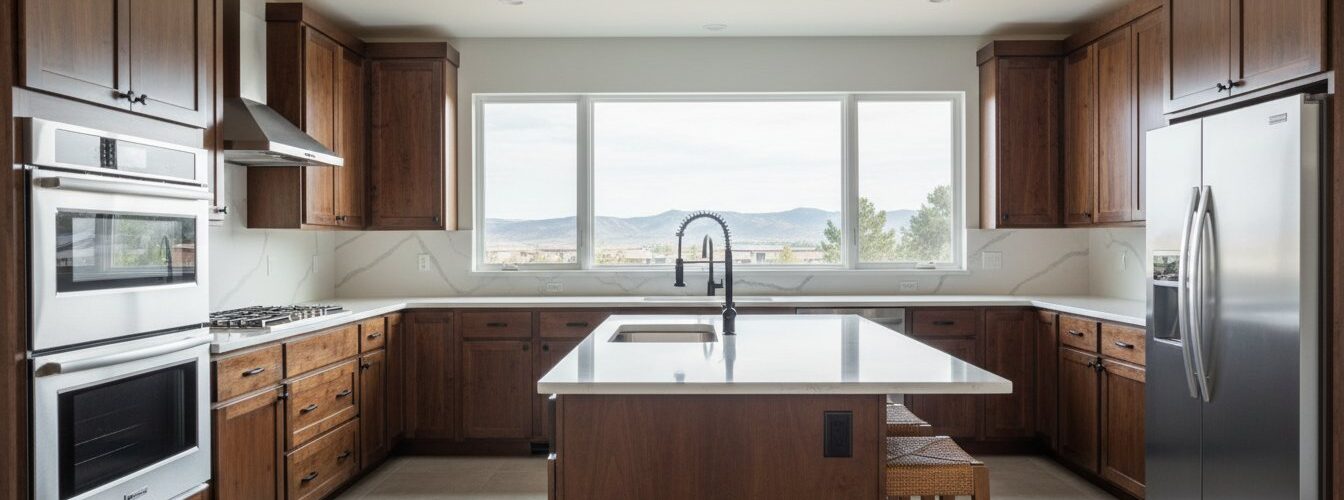
Bring Your Bright Kitchen Vision to Life
Transitioning from heavy espresso tones to a crisp, modern aesthetic requires more than just a brush and paint. When you’re painting dark wood cabinets a lighter color, the secret lies in our specialized 3-step tannin-blocking primer process. This prevents stubborn wood oils from bleeding through your finish, a common failure found in 90% of DIY attempts. By choosing a professional HVLP spray finish, you ensure a factory-smooth surface that resists chipping for up to 10 years longer than hand-painted alternatives. Our local, family-owned team brings specialized industrial equipment to your Denver home to guarantee 100% coverage without the unsightly brush marks or drips. You don’t have to settle for a dark, cramped kitchen when a 2026-ready transformation is within reach. We’ve helped over 500 local homeowners achieve a flawless look that stands up to daily wear and tear. It’s time to upgrade your home’s value with a finish that looks brand new for years to come.
Transform your kitchen today with a free quote from Denver’s cabinet experts!
Your dream kitchen is closer than you think, and we’re ready to help you make it a reality.
Frequently Asked Questions
Can you really paint dark cherry cabinets white without it looking pink?
Yes, you can paint dark cherry cabinets white without any pink bleed-through by using a high-solids shellac-based primer like Zinsser BIN. These primers create a chemical barrier that stops 100% of the red tannins from migrating into your topcoat. If you skip this specific step, you will likely see pink spots appearing within 48 hours of application. Applying two coats of this primer ensures a neutral base for your white paint.
How many coats of paint does it take to cover dark wood?
Most projects involving painting dark wood cabinets a lighter color require four total coats of material to achieve full opacity. You should plan for two coats of a stain-blocking primer followed by two coats of premium cabinet enamel. This 4-coat system provides enough film thickness to hide dark espresso or walnut finishes completely. If you use a lower-quality DIY paint, you might need 6 coats to achieve the same result.
Do I need to sand my cabinets all the way to bare wood before painting?
You don’t need to sand your cabinets down to bare wood; you only need to remove the factory gloss. Using 220-grit sandpaper to create a "profile" allows the primer to bond mechanically to the surface. Professional crews typically spend 15 minutes per door on this preparation phase to ensure longevity. Removing the entire finish is unnecessary and can actually increase the risk of tannin bleed-through from the raw wood grain.
What is the best primer for blocking dark wood stains?
The best primer for blocking dark wood stains is a shellac-based product like Zinsser BIN or a high-solids oil primer like Sherwin-Williams Extreme Block. These products dry in 45 minutes and prevent oils from seeping through the paint film. Water-based primers often fail when covering dark stains because they reactivate the tannins in the wood. Choosing the right primer reduces your total labor time by 30% by preventing the need for rework.
Is it better to spray or roll cabinets when going to a lighter color?
Spraying is the superior method because it provides a smooth, factory-like finish with 0% visible brush marks. Professional painters use HVLP (High Volume Low Pressure) sprayers to apply thin, even layers that look original to the cabinetry. While rolling is 20% cheaper in terms of equipment costs, it often leaves a "stipple" texture. This texture is especially noticeable when you are painting dark wood cabinets a lighter color under bright kitchen lights.
How long will professionally painted light cabinets last?
Professionally painted cabinets typically last between 8 and 12 years before they require a maintenance touch-up. Using industrial-grade coatings like Renner or Milesi ensures the finish reaches a 1H hardness rating on the Pencil Hardness Scale. This durability protects against the 3,000 plus door openings a typical family performs annually. Your cabinets will remain chip-resistant as long as you avoid harsh abrasive cleaners and excessive moisture exposure.
Will the wood grain still show through the light paint?
The natural texture of the wood grain will remain visible under the paint unless you apply a dedicated grain filler. Species like Oak have deep pores that paint won’t fill on its own, even with multiple coats. If you want a completely smooth surface, apply two coats of a product like Aqua Coat before you start the priming process. This step adds 48 hours to the project timeline but removes 95% of the visible wood texture.
Can I paint my dark bathroom cabinets a lighter color as well?
You can certainly paint your dark bathroom cabinets a lighter color using the same professional techniques used in kitchens. Bathrooms experience 60% higher humidity levels than other rooms, so you must use a moisture-resistant topcoat. Ensure your chosen paint meets KCMA (Kitchen Cabinet Manufacturers Association) standards for chemical and water resistance. This ensures the finish doesn’t peel when exposed to steam from daily showers or accidental splashes from the sink.

